My Story - Unit Plan

Who are you and what is your story?
Supplies:
- Previously made My Story work samples
- Slideshow of Artists books
- Pre-prepared Paper Pulp or Paper Clay
- Can be commercial variety if budget allows
- However very easy to make using recycled/shredded paper which is plentiful in schools, I used a variation of this recipe using toilet tissue and PVA
- Slightly Larger piece of card per students
- Masking tape
- Disposable gloves
- Wooden boards for students to work on
Demonstrate to the students that they should sit on the mat but are free to dance in place whilst the song plays.
Fade the music out and ask the students if they have any clues about what the lesson might be about. Open it up to discussion about what This is me might be about and why it’s important to be yourself and its ok to like whatever it is you like.
Show the students samples of identity books (Faith Ringgold reference is a good place to start) including the My Story sample for this unit; introduce the closed book as being something like the house we live in or the clothes we choose to wear on the weekend or how we cut our hair etc.
The pages inside are like some of the different parts of us that make up our identity, be very clear and specific that there are many different things that make up who we are and they are different things for everybody.
Pass around the work sample for the students to look at closely and especially point out the tactile, 3D effect of the front cover and explain that that is what they will be starting work on today.
Demonstrate to students how to begin before they move to tables.
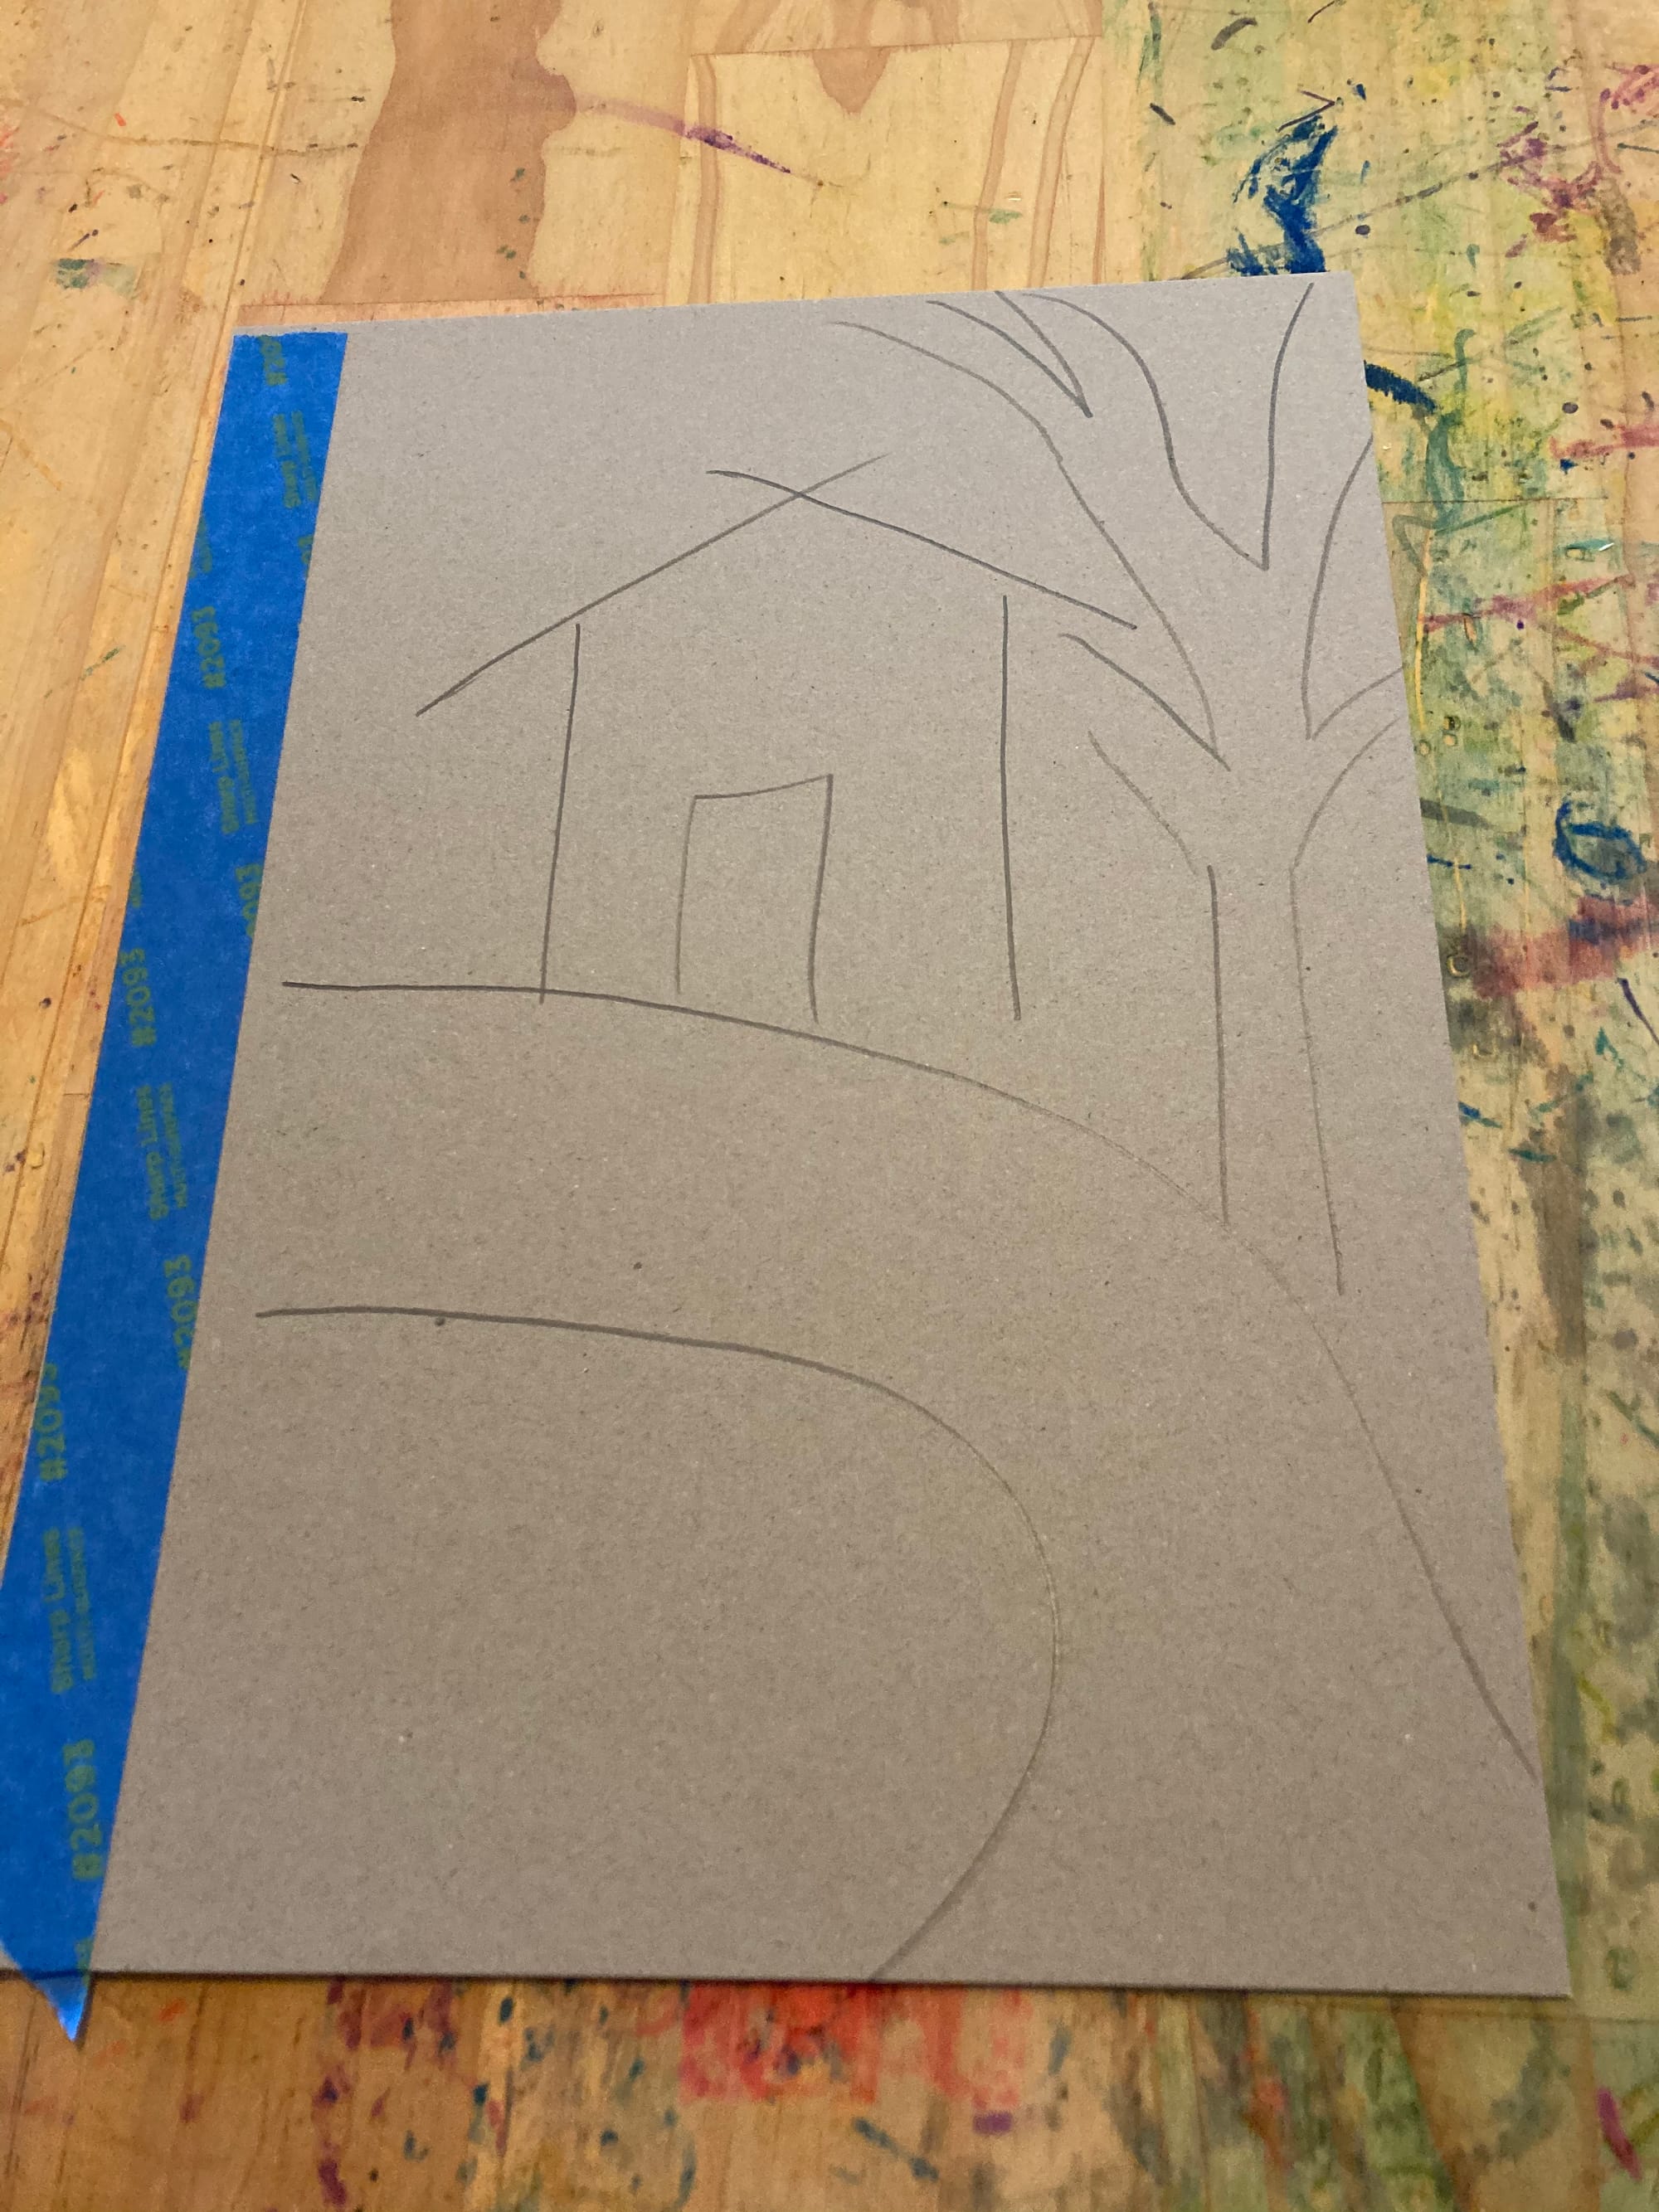
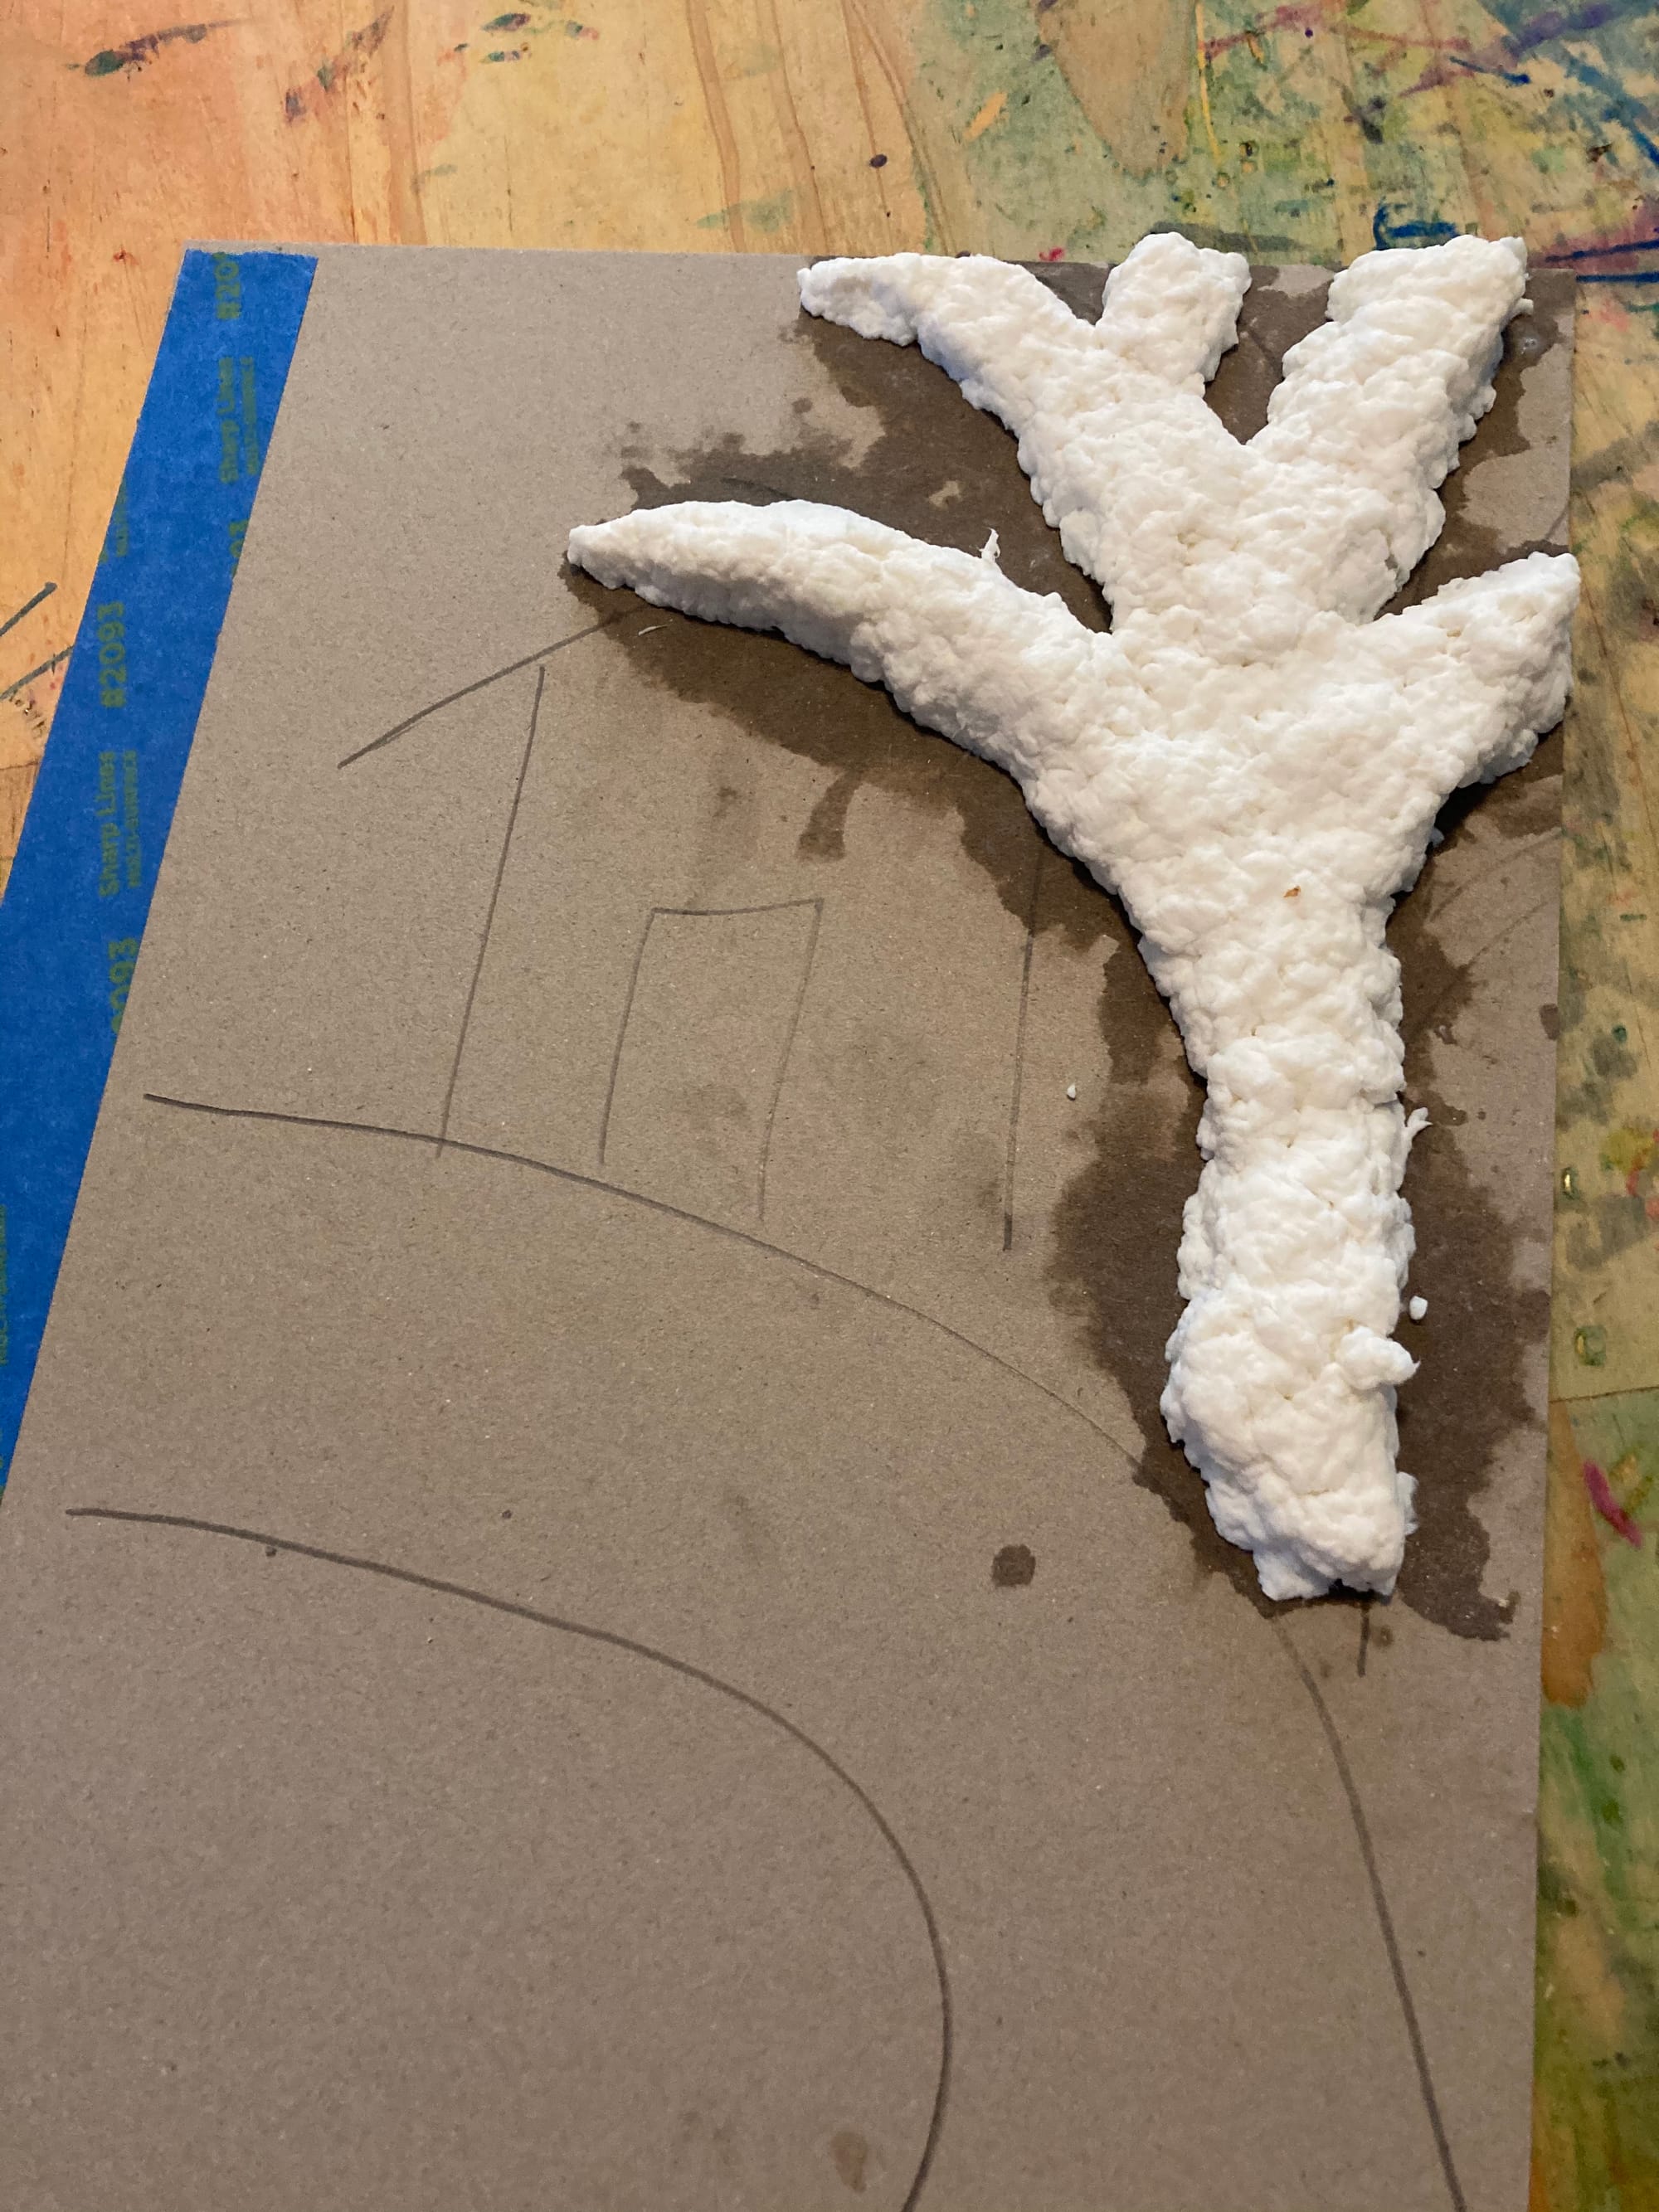
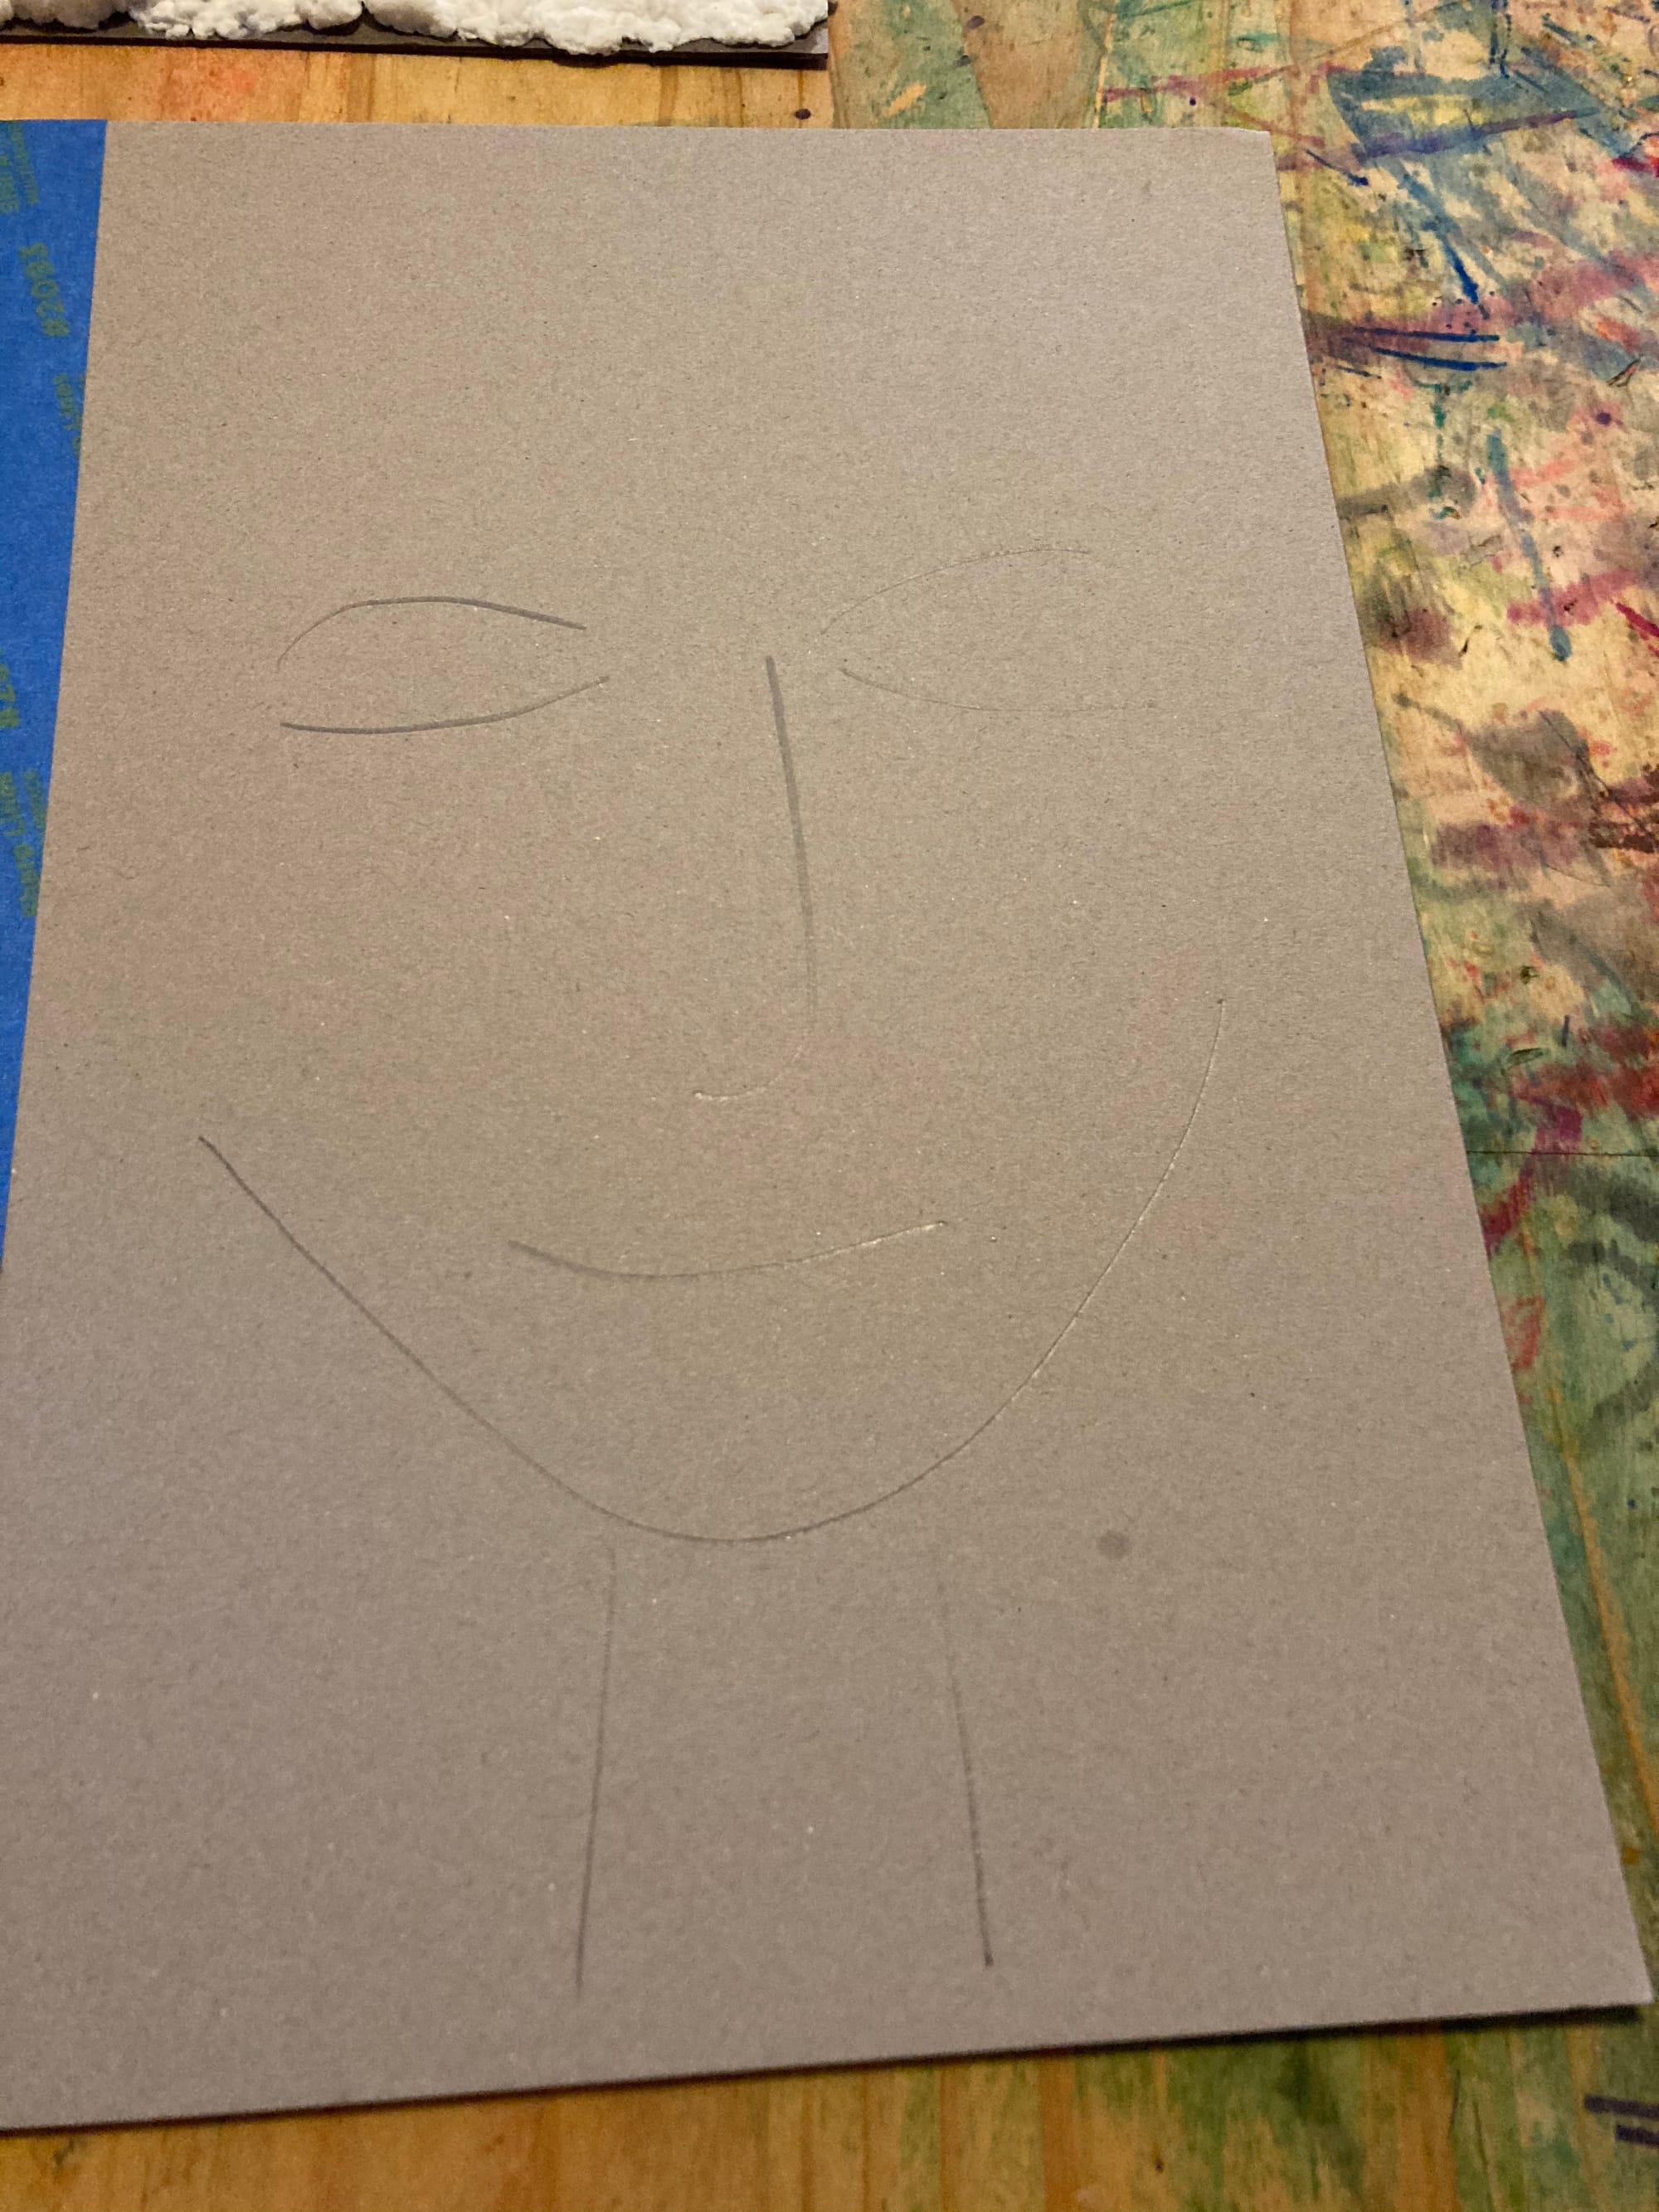
Tape off one side of the card, explaining that you will need that space to bind the book so their designs need to stay off the masking tape.
Loosely and very quickly sketch out a design, explain that it is a very rough guide.
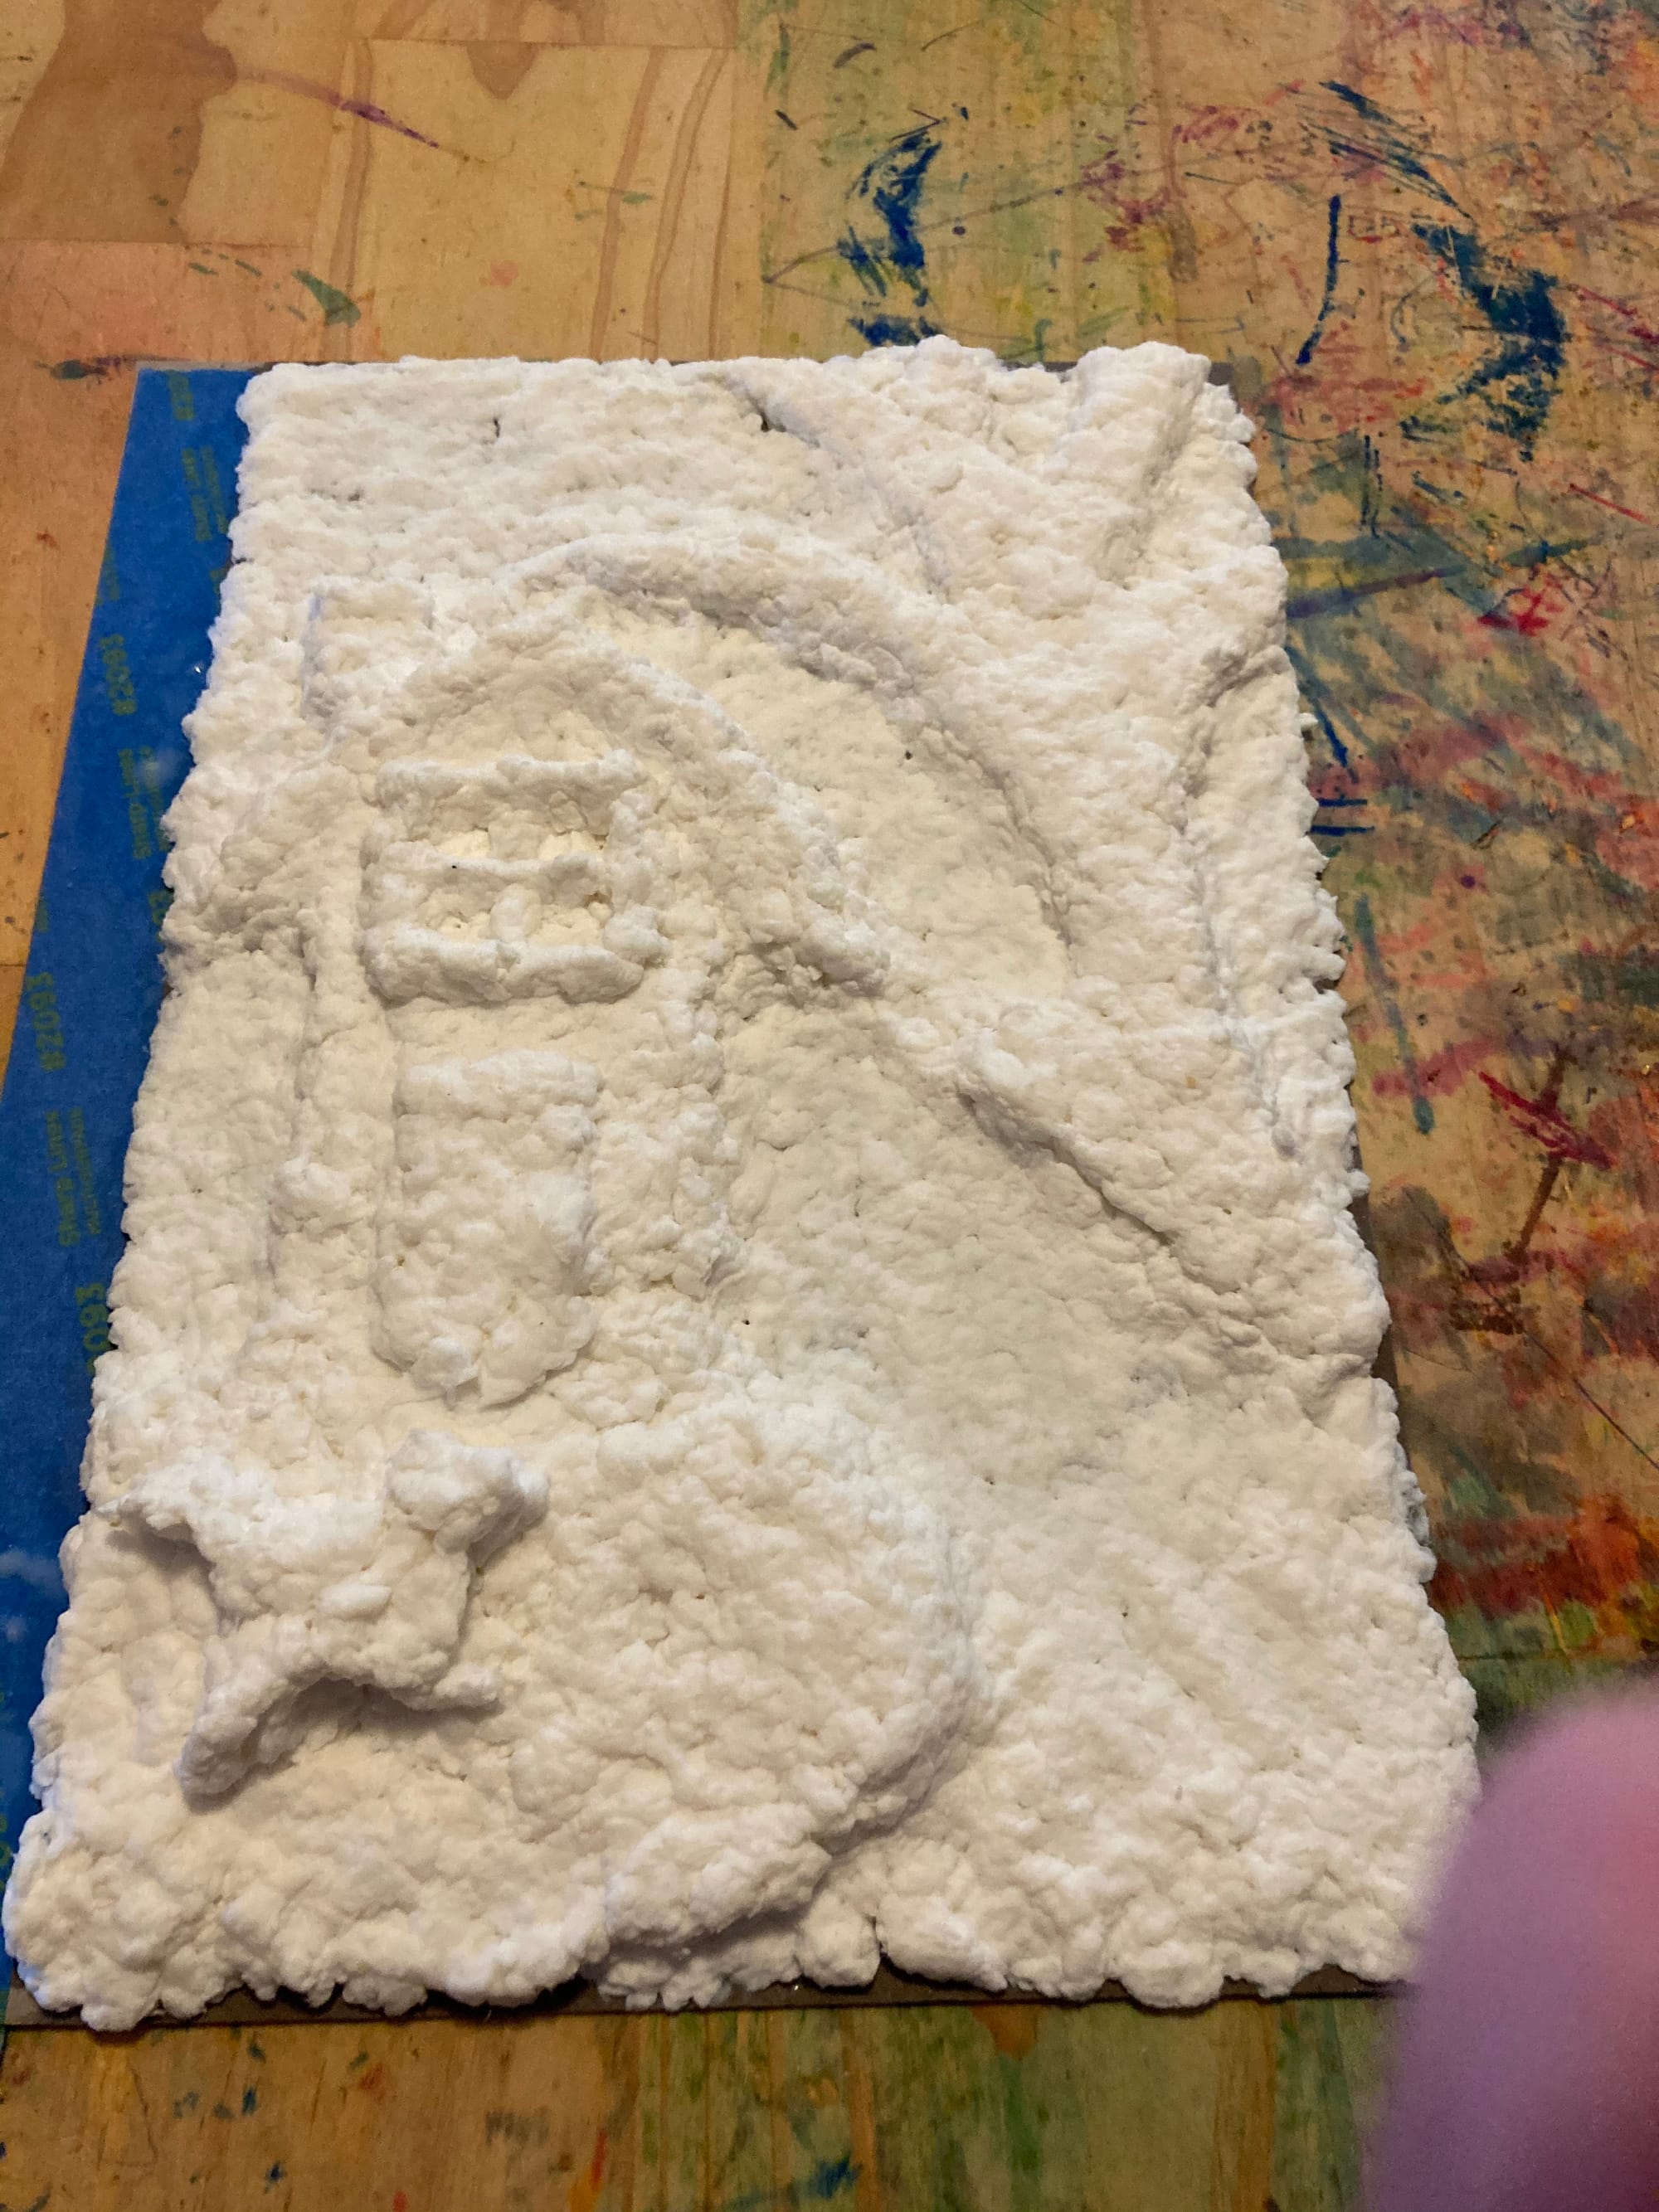
Introduce the paper clay, demonstrating how it doesn’t stick to hands or get all gooey the way clay or papier-mâché does. Some students may still find the sensation odd and need gloves.
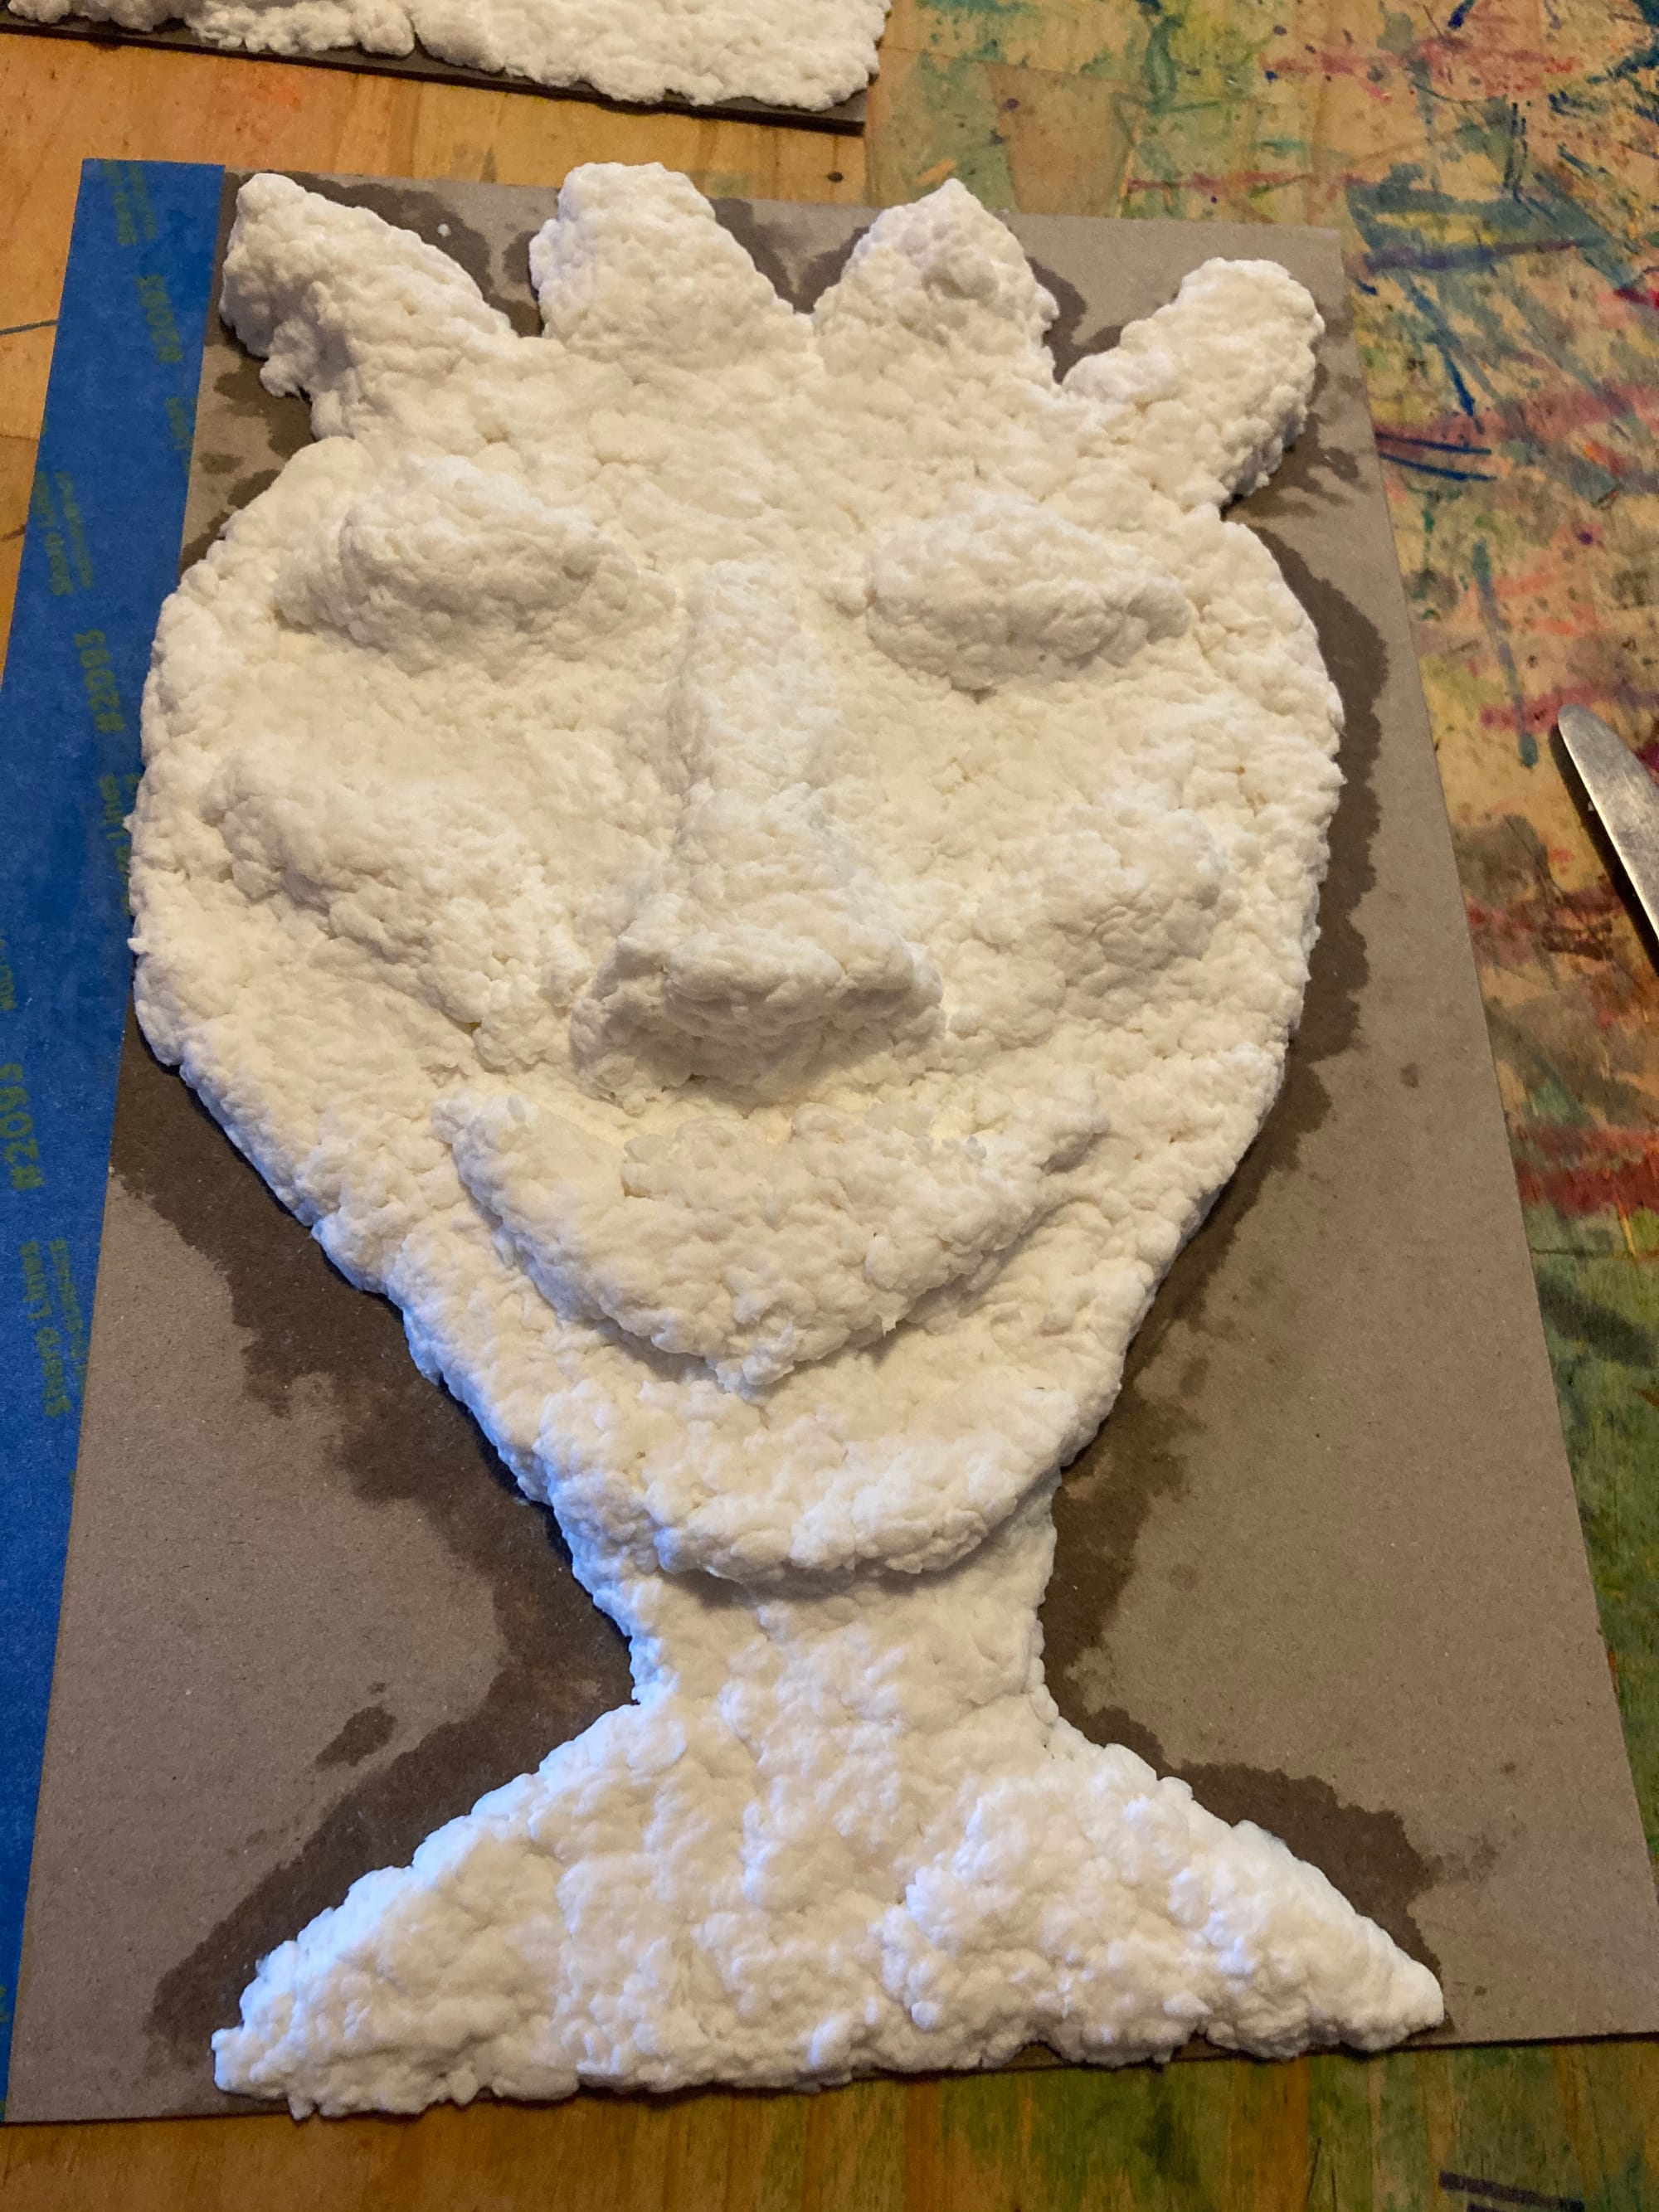
Demonstrate the dump then sculpt process, it’s a good idea to not follow the guide lines here to allow students to see that it is about the paper clay doing what it does much more so than a ‘staying inside the lines’ exercise.
Send the students off to work at tables, encourage them to work on the boards provided mostly just to aid with moving to the drying rack at the end as the card becomes very wet and soggy from the paper clay.
Whilst the students are working the teacher should move around the room. Helping any stuck students make a start by suggesting subject matter. Encouraging students to press the clay quite firmly onto the card to get a good ‘squish’ which will help it stick and prevent cracking as it dries.
Any early finishes can be encouraged to use small clumps of paper clay to make beads or charms to hang onto their books. Or to help any students that aren’t making headway.
At end of the session the book covers are moved to drying racks and tables wiped down and hands washed.
Teacher should move them off the board directly onto the drying rack ASAP to allow them to dry full before the next lesson.
Session 2 & 3
Sessions are introduced with the same song followed by discussion of how the last sessions went and demonstrations of the painting techniques used in the worked samples.
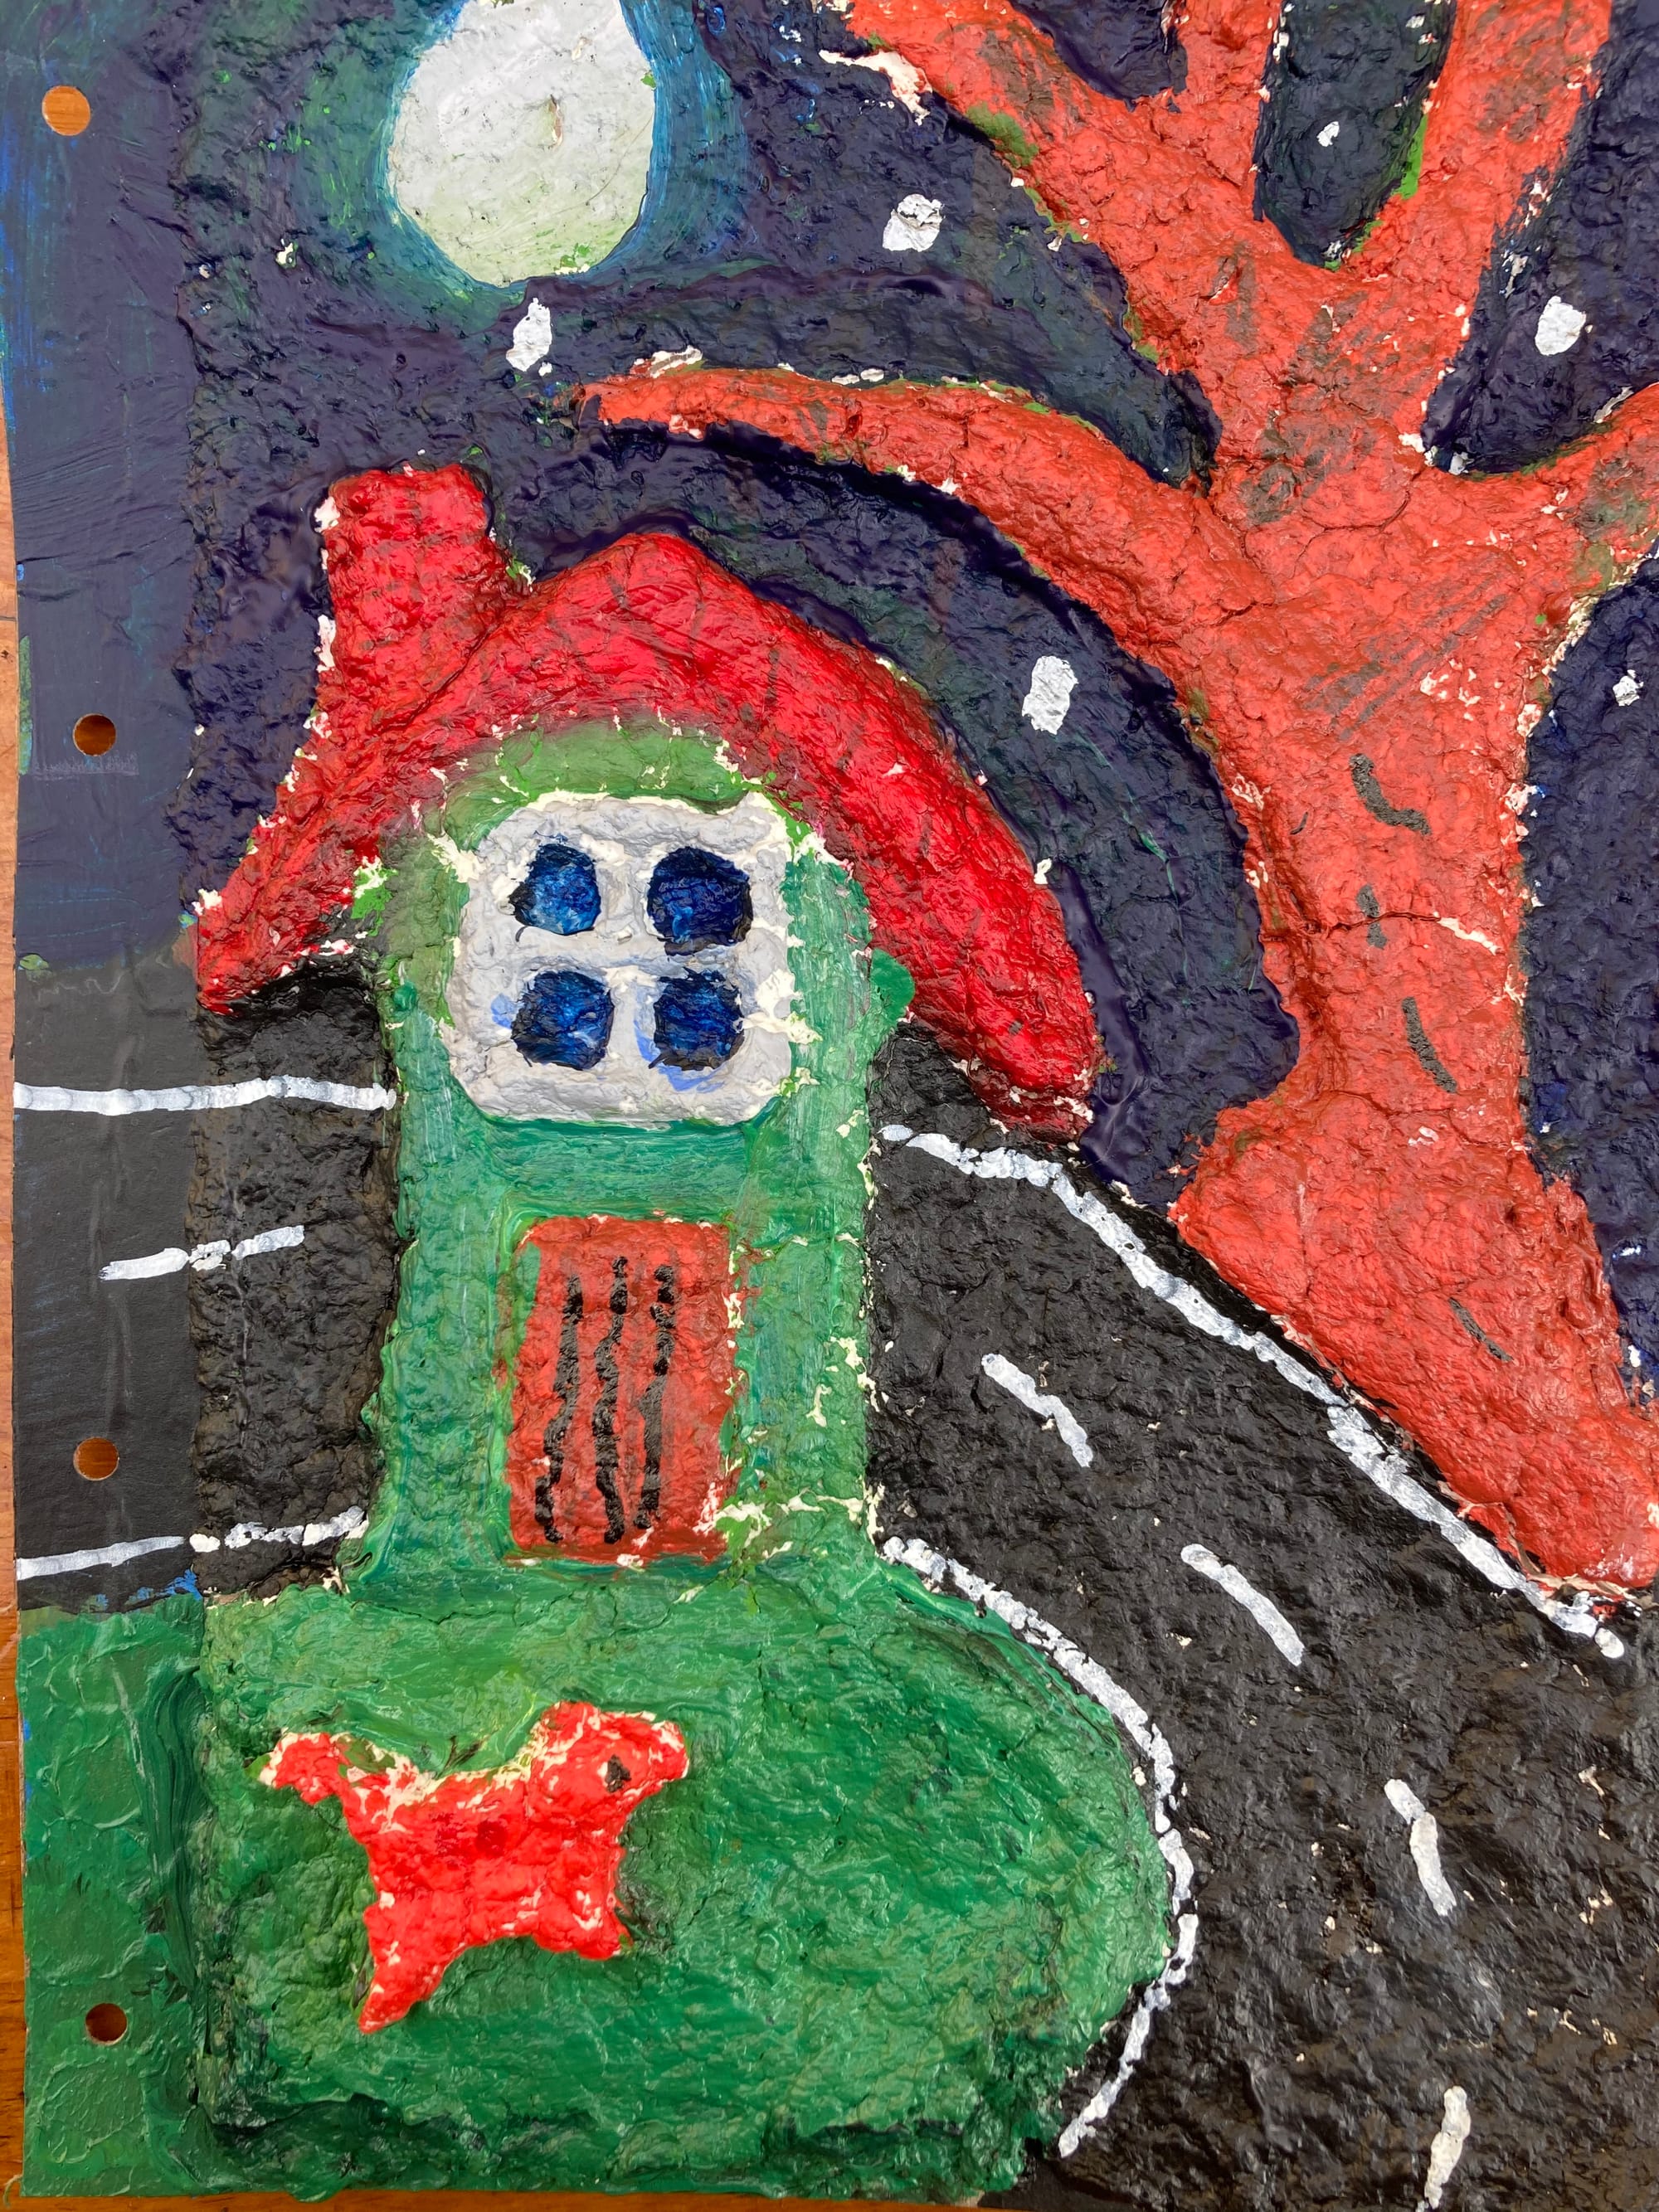
Book covers are completed with bright acrylic painting over the 3D elements, (thick paint assists in helping the paper clay stay together if it's starting to crack ) and then finished off with further details added using permanent or paint markers.
An additional piece of card is also painted for the back cover.
A peer review and gallery walk should be used in these sessions to help inspire deeper understanding by pointing out effective elements and provide inspiration.
Lesson 1 - Gallery


Lesson 4
Session 4
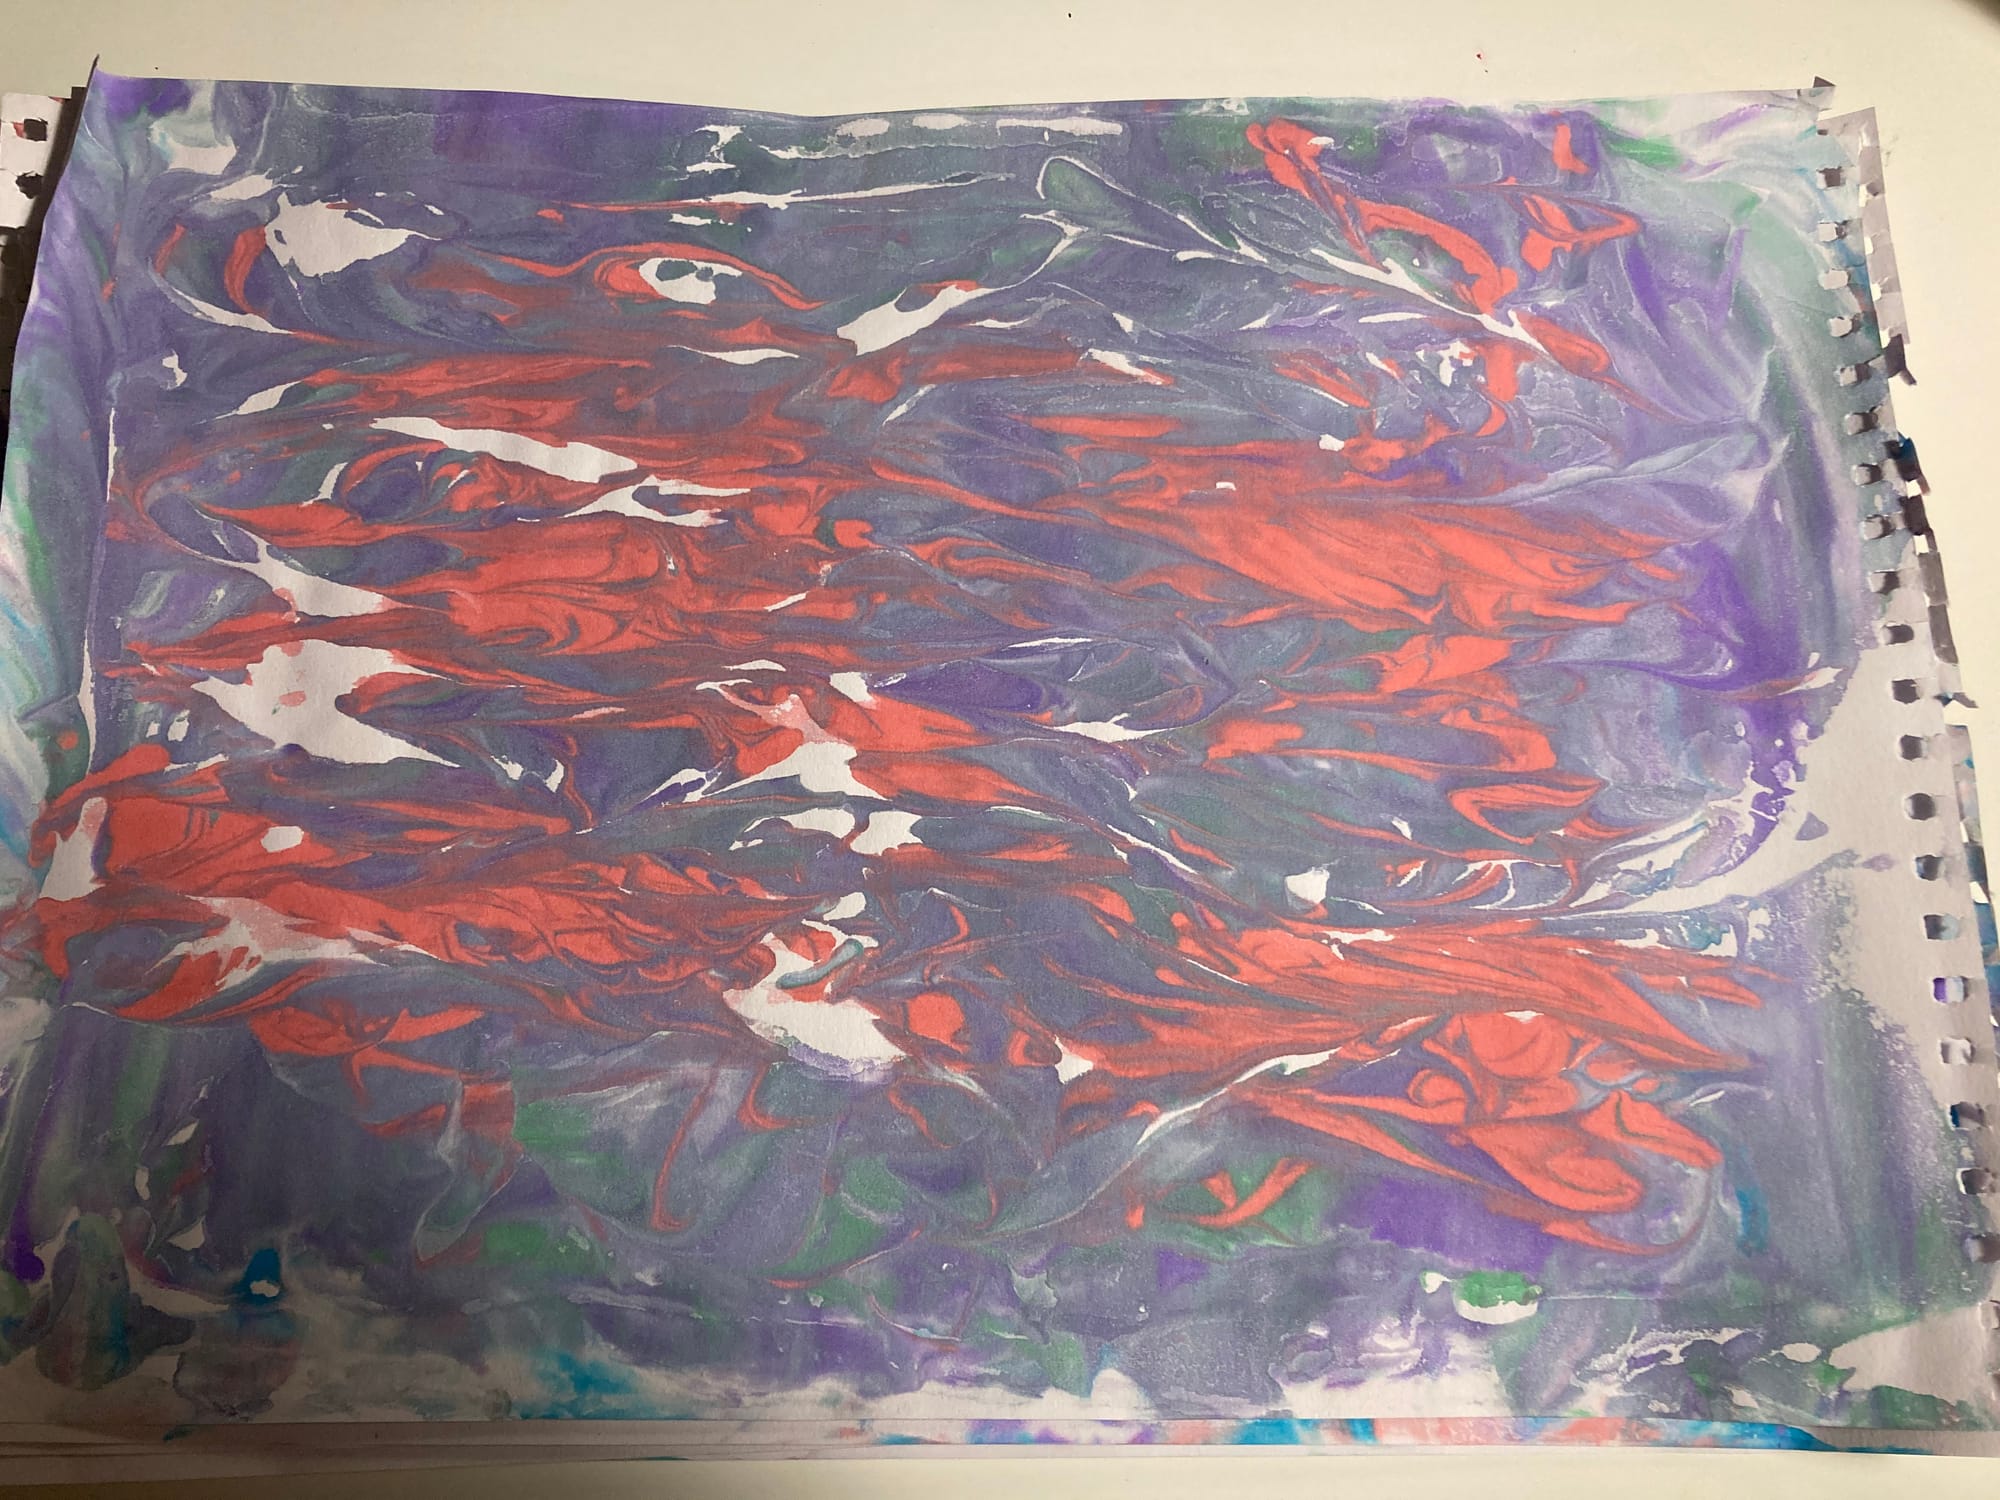
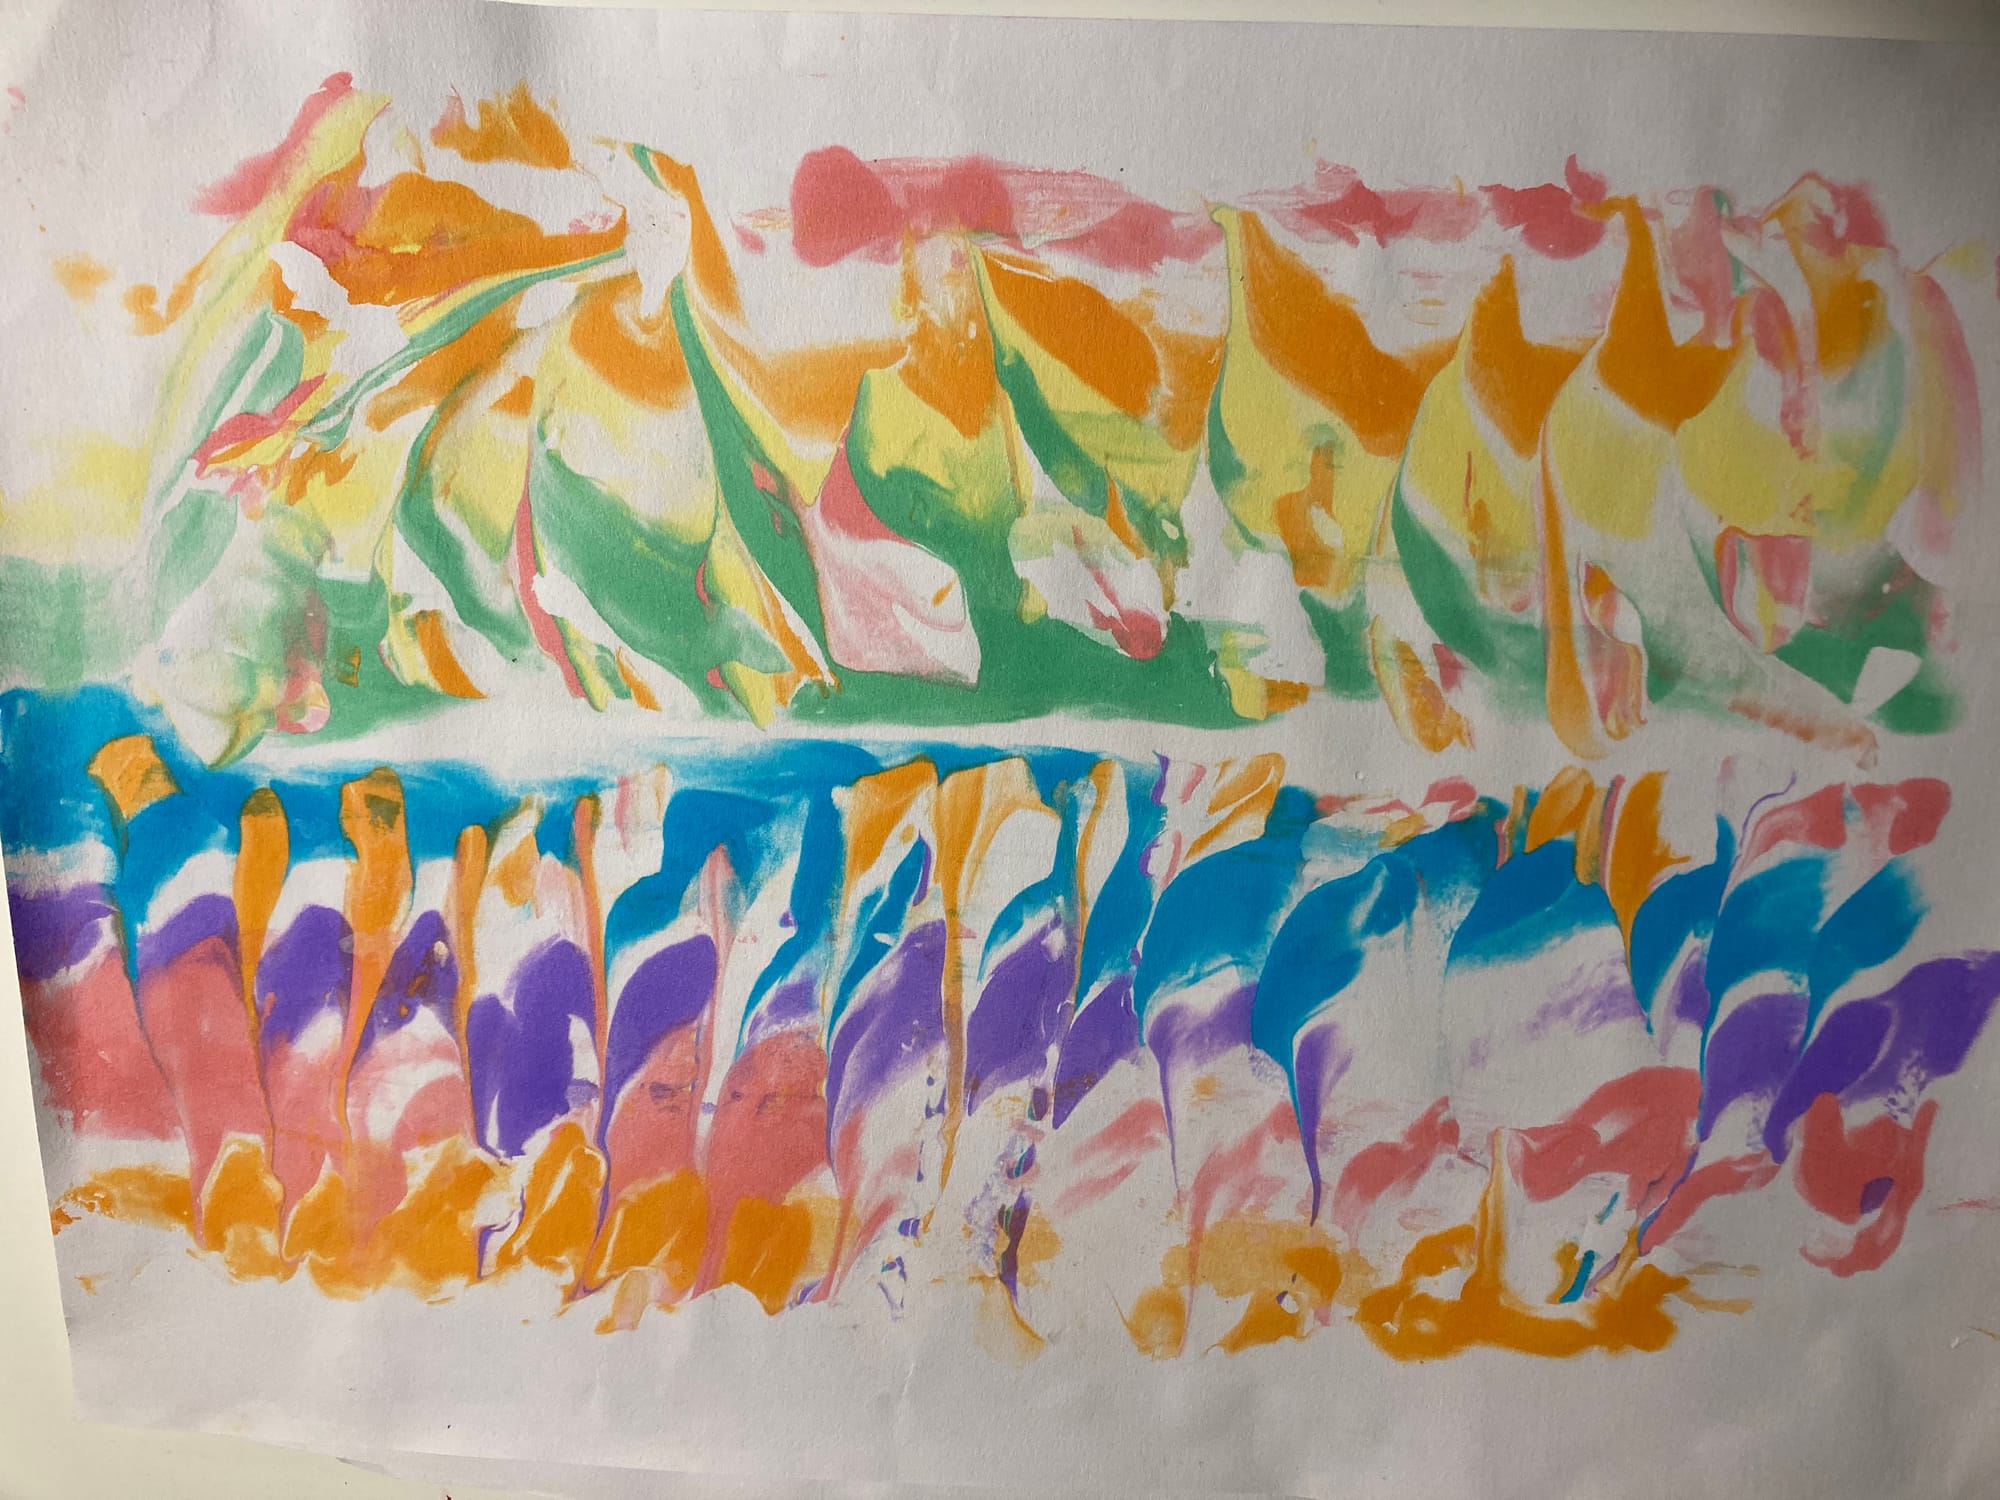
Marbling
Teacher preparation: If unfamiliar with shaving cream marbling technique watch this video
If unfamiliar with marbling read this
Supplies:
By now the students should be familiar with the music as introducing the topic for the day. Introduce some discussion about how colour theory and the importance in art about how we can use colours to express moods and emotions.
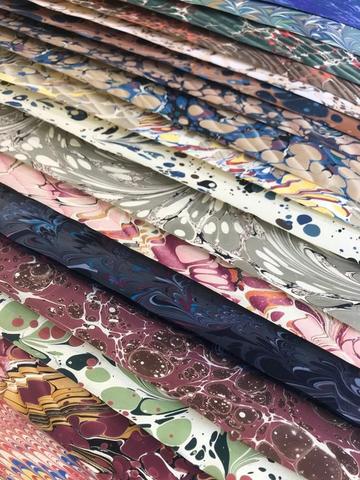
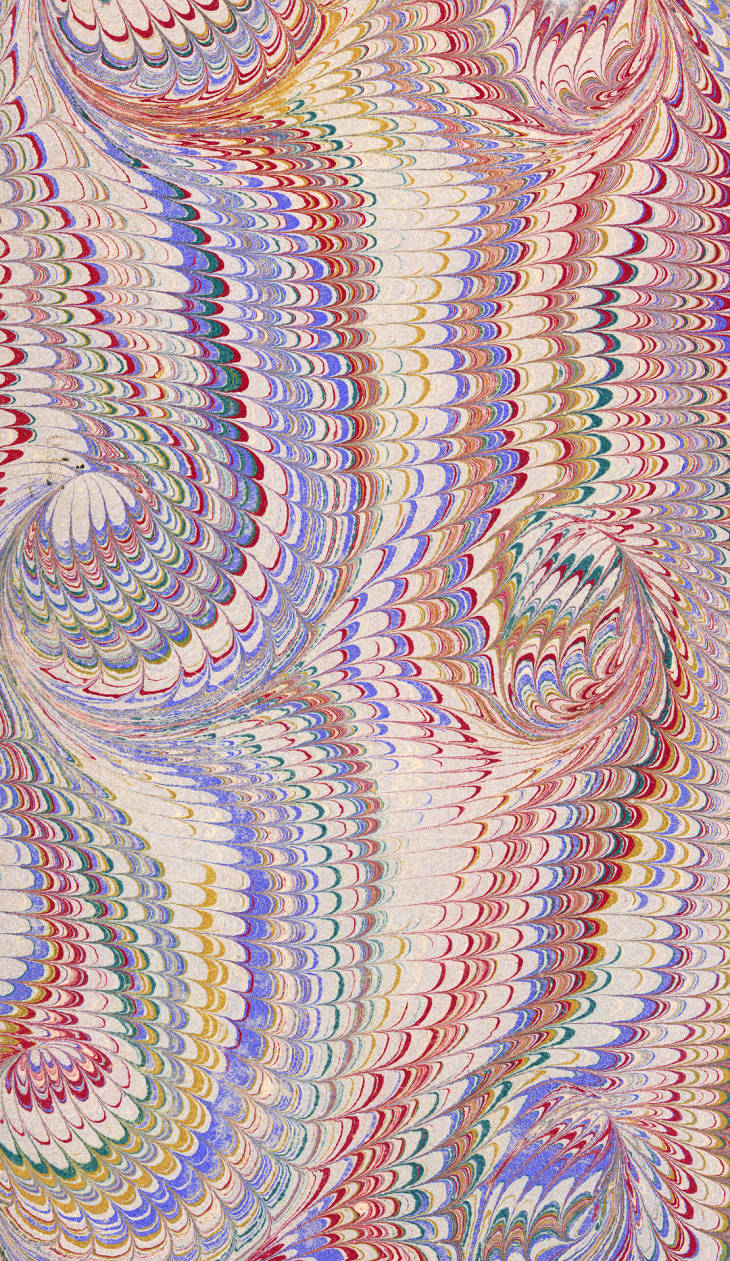
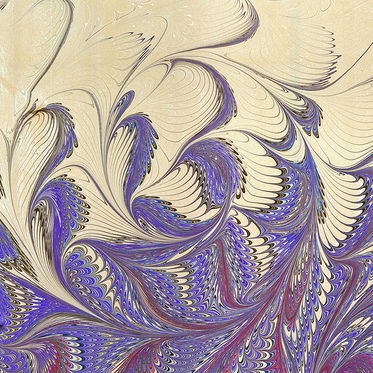
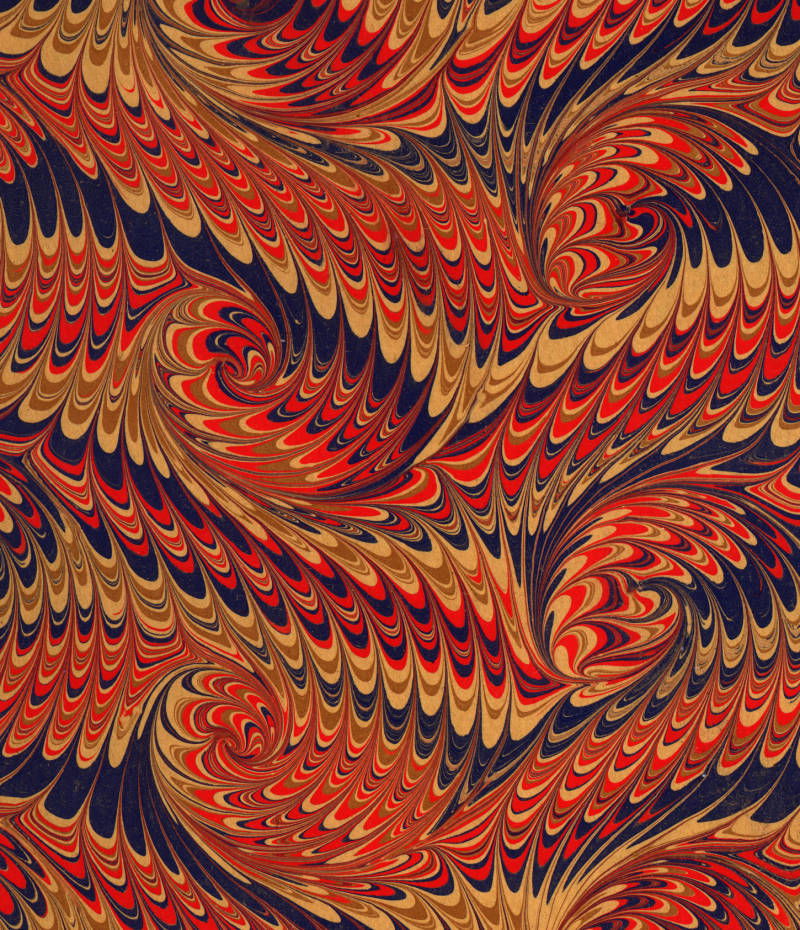
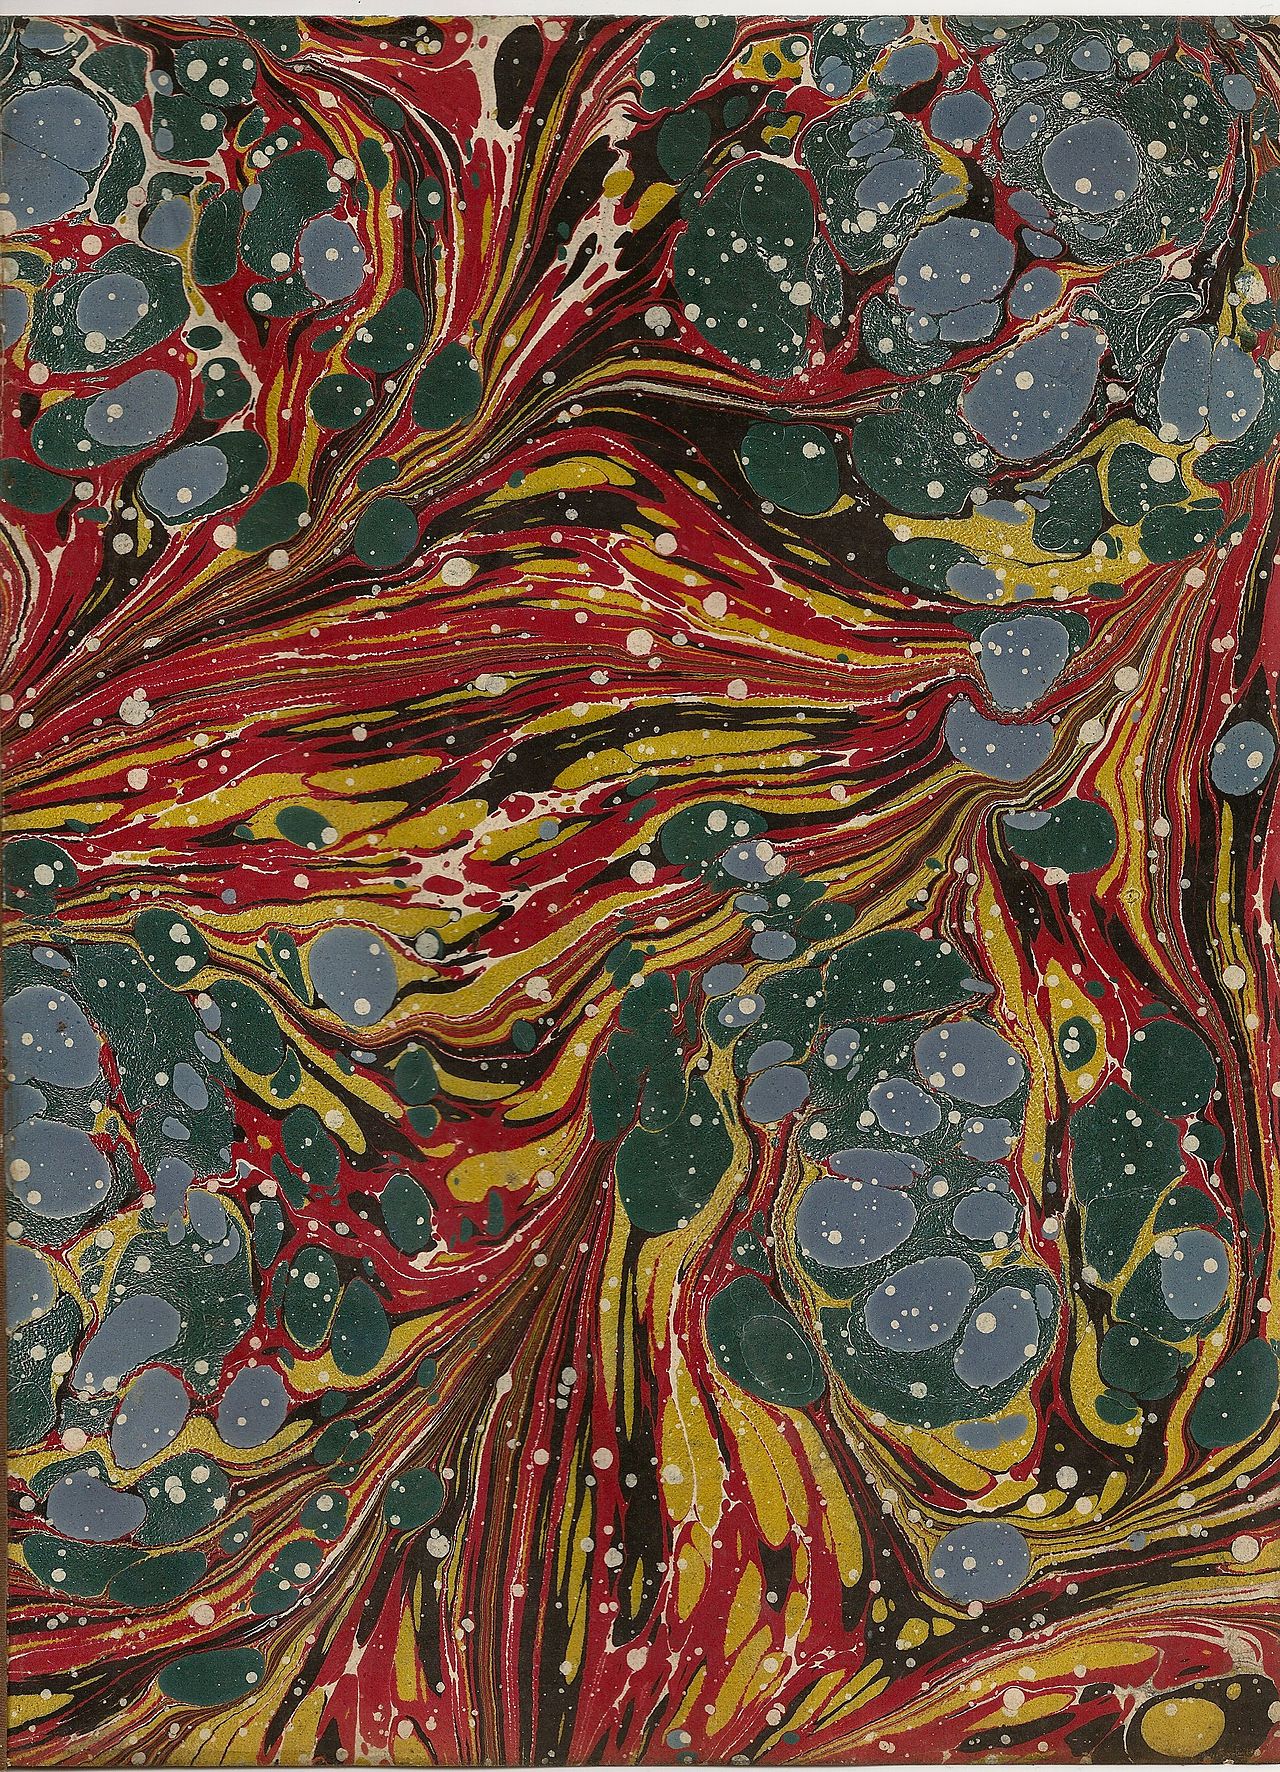
Show examples or marbled papers in book and talk briefly about the very old tradition, dating back to the year 900 in Japan!
Show examples from this gallery.
Show the pages in the worked samples that use the marbles backgrounds.
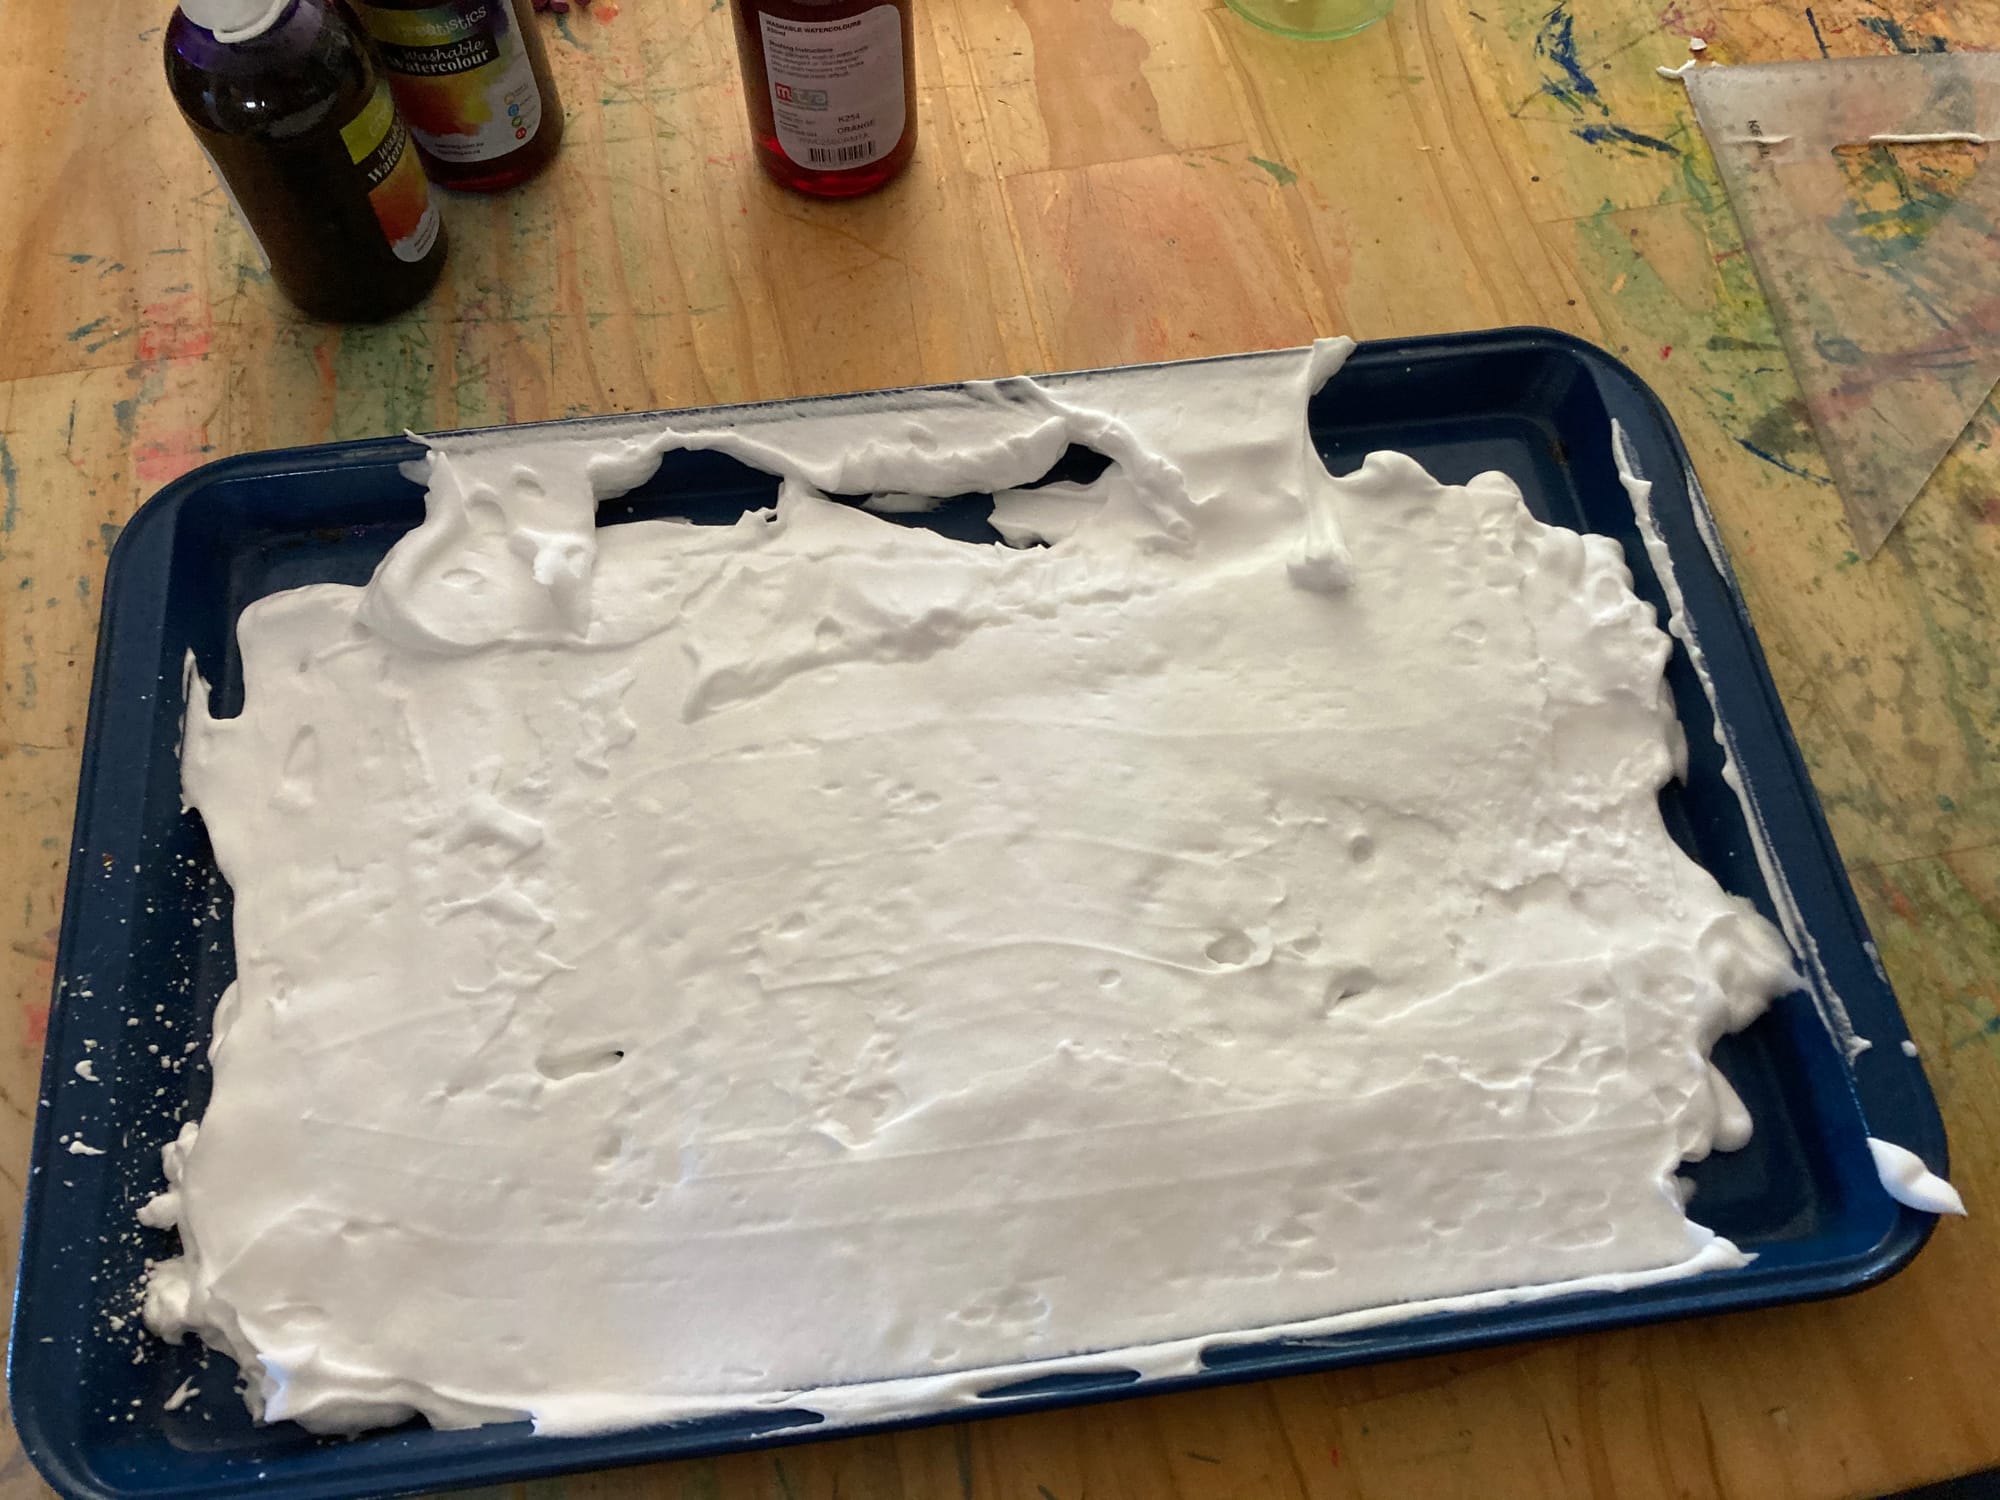
Demonstrate the process of squirting the shaving into the tray and smoothing over with a plastic ruler.
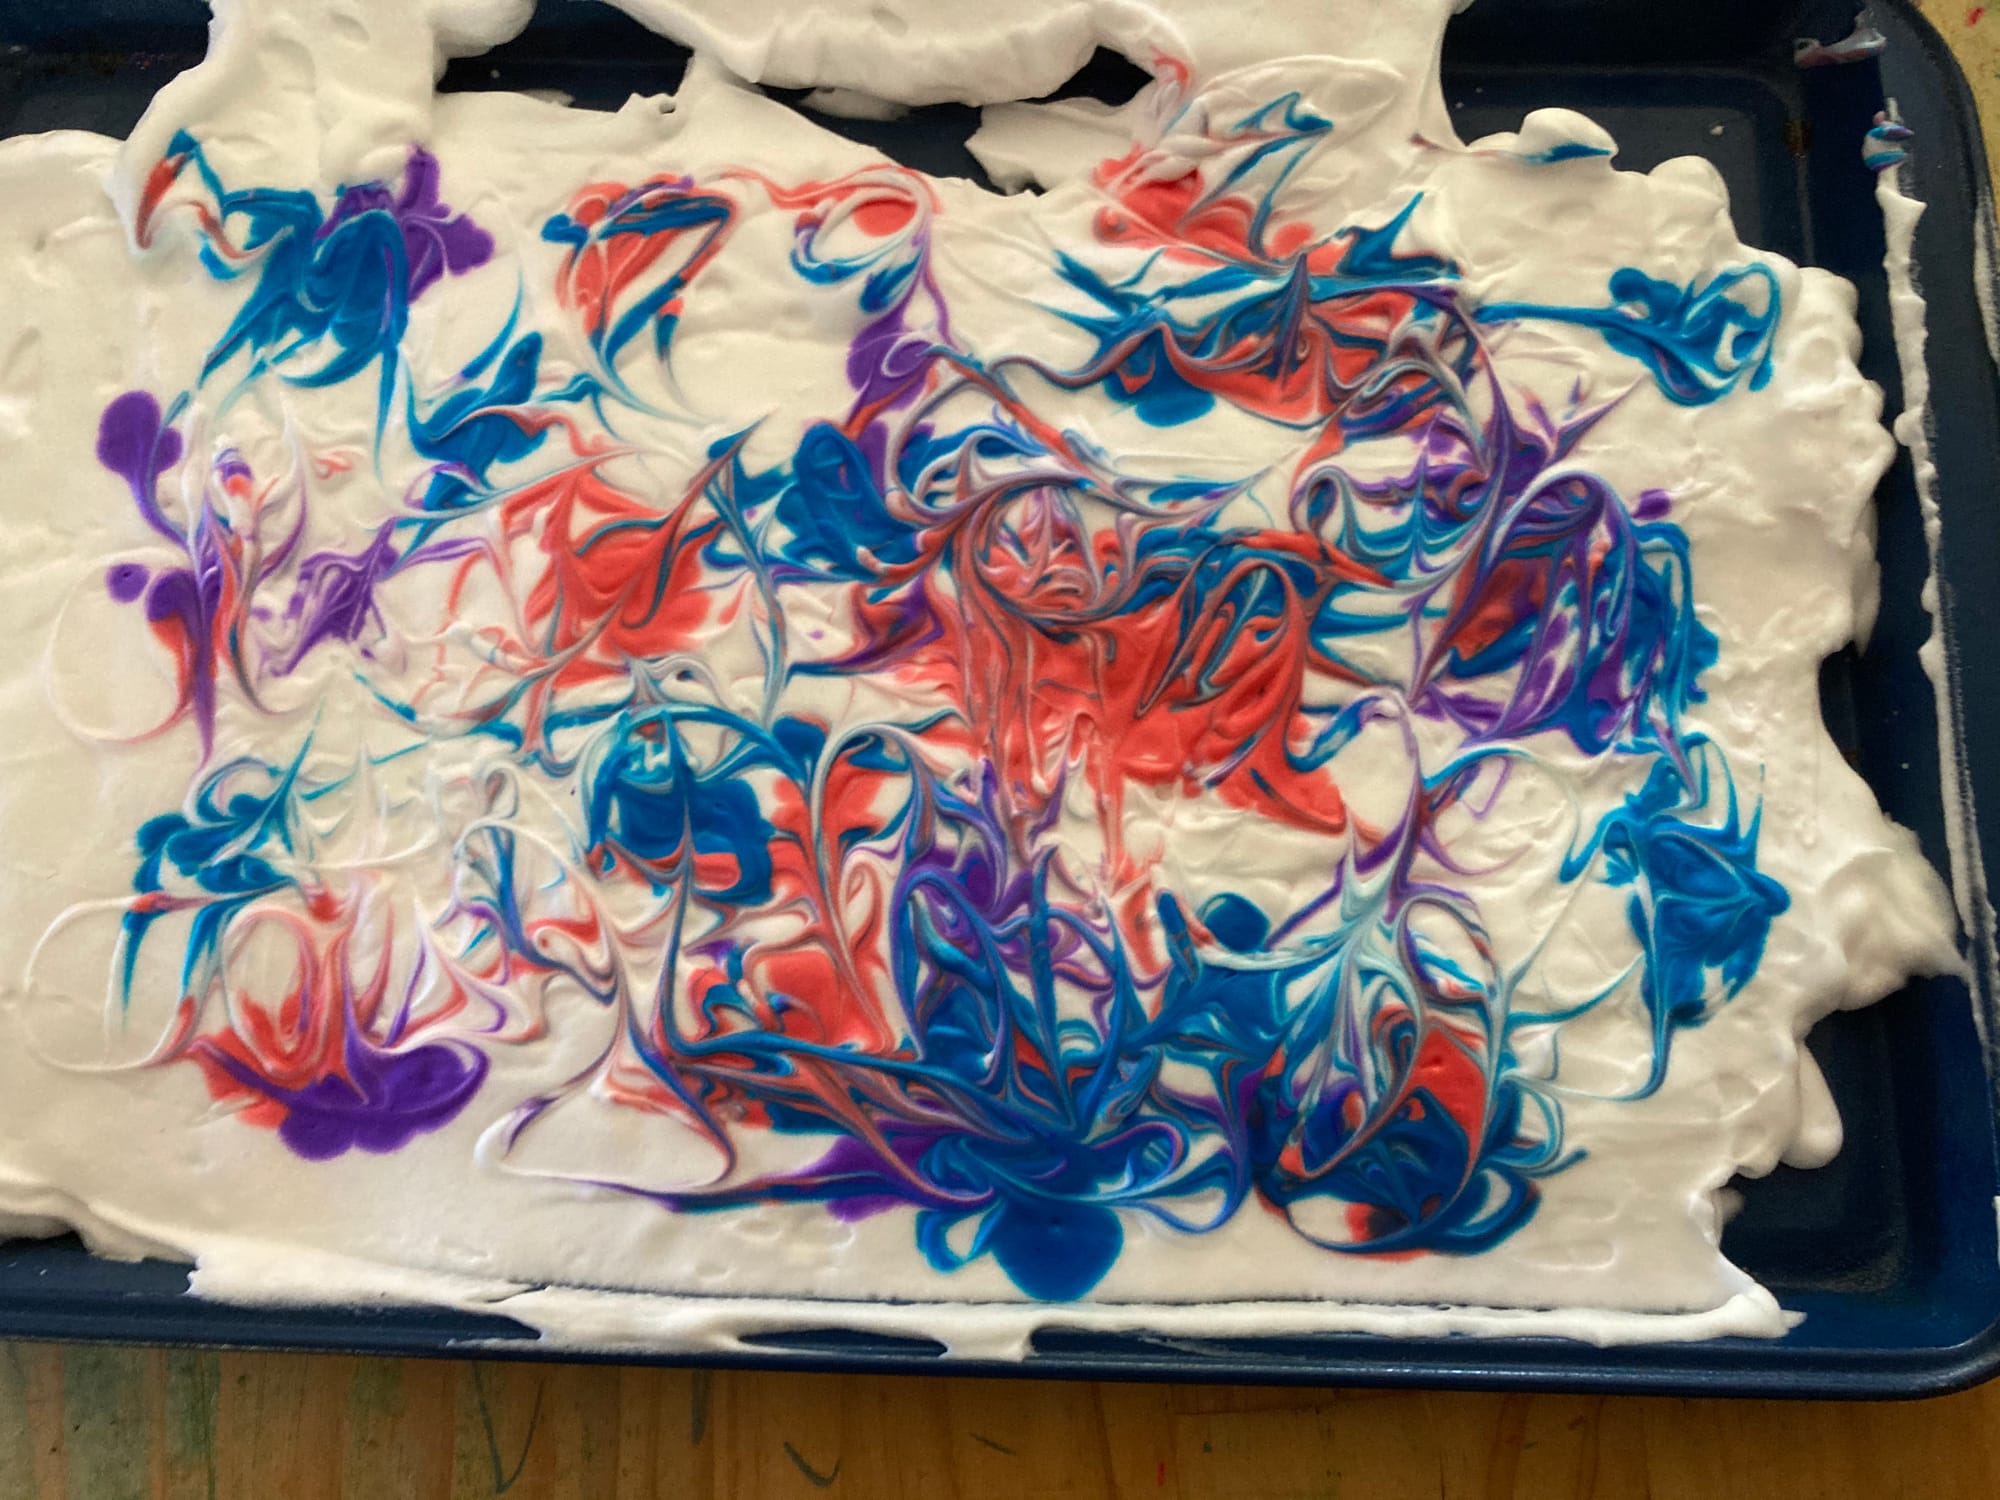
Demonstrate placing a small amount of liquid water colours with pipettes, it’s a good idea to suggest students stick to a warm or a cool colour pallet if they want a harmonious end result however, they are free to experiment.
Demonstrate the swirling and scraping techniques, to save time use a small section a very small sample pieces of papers for the demonstration.
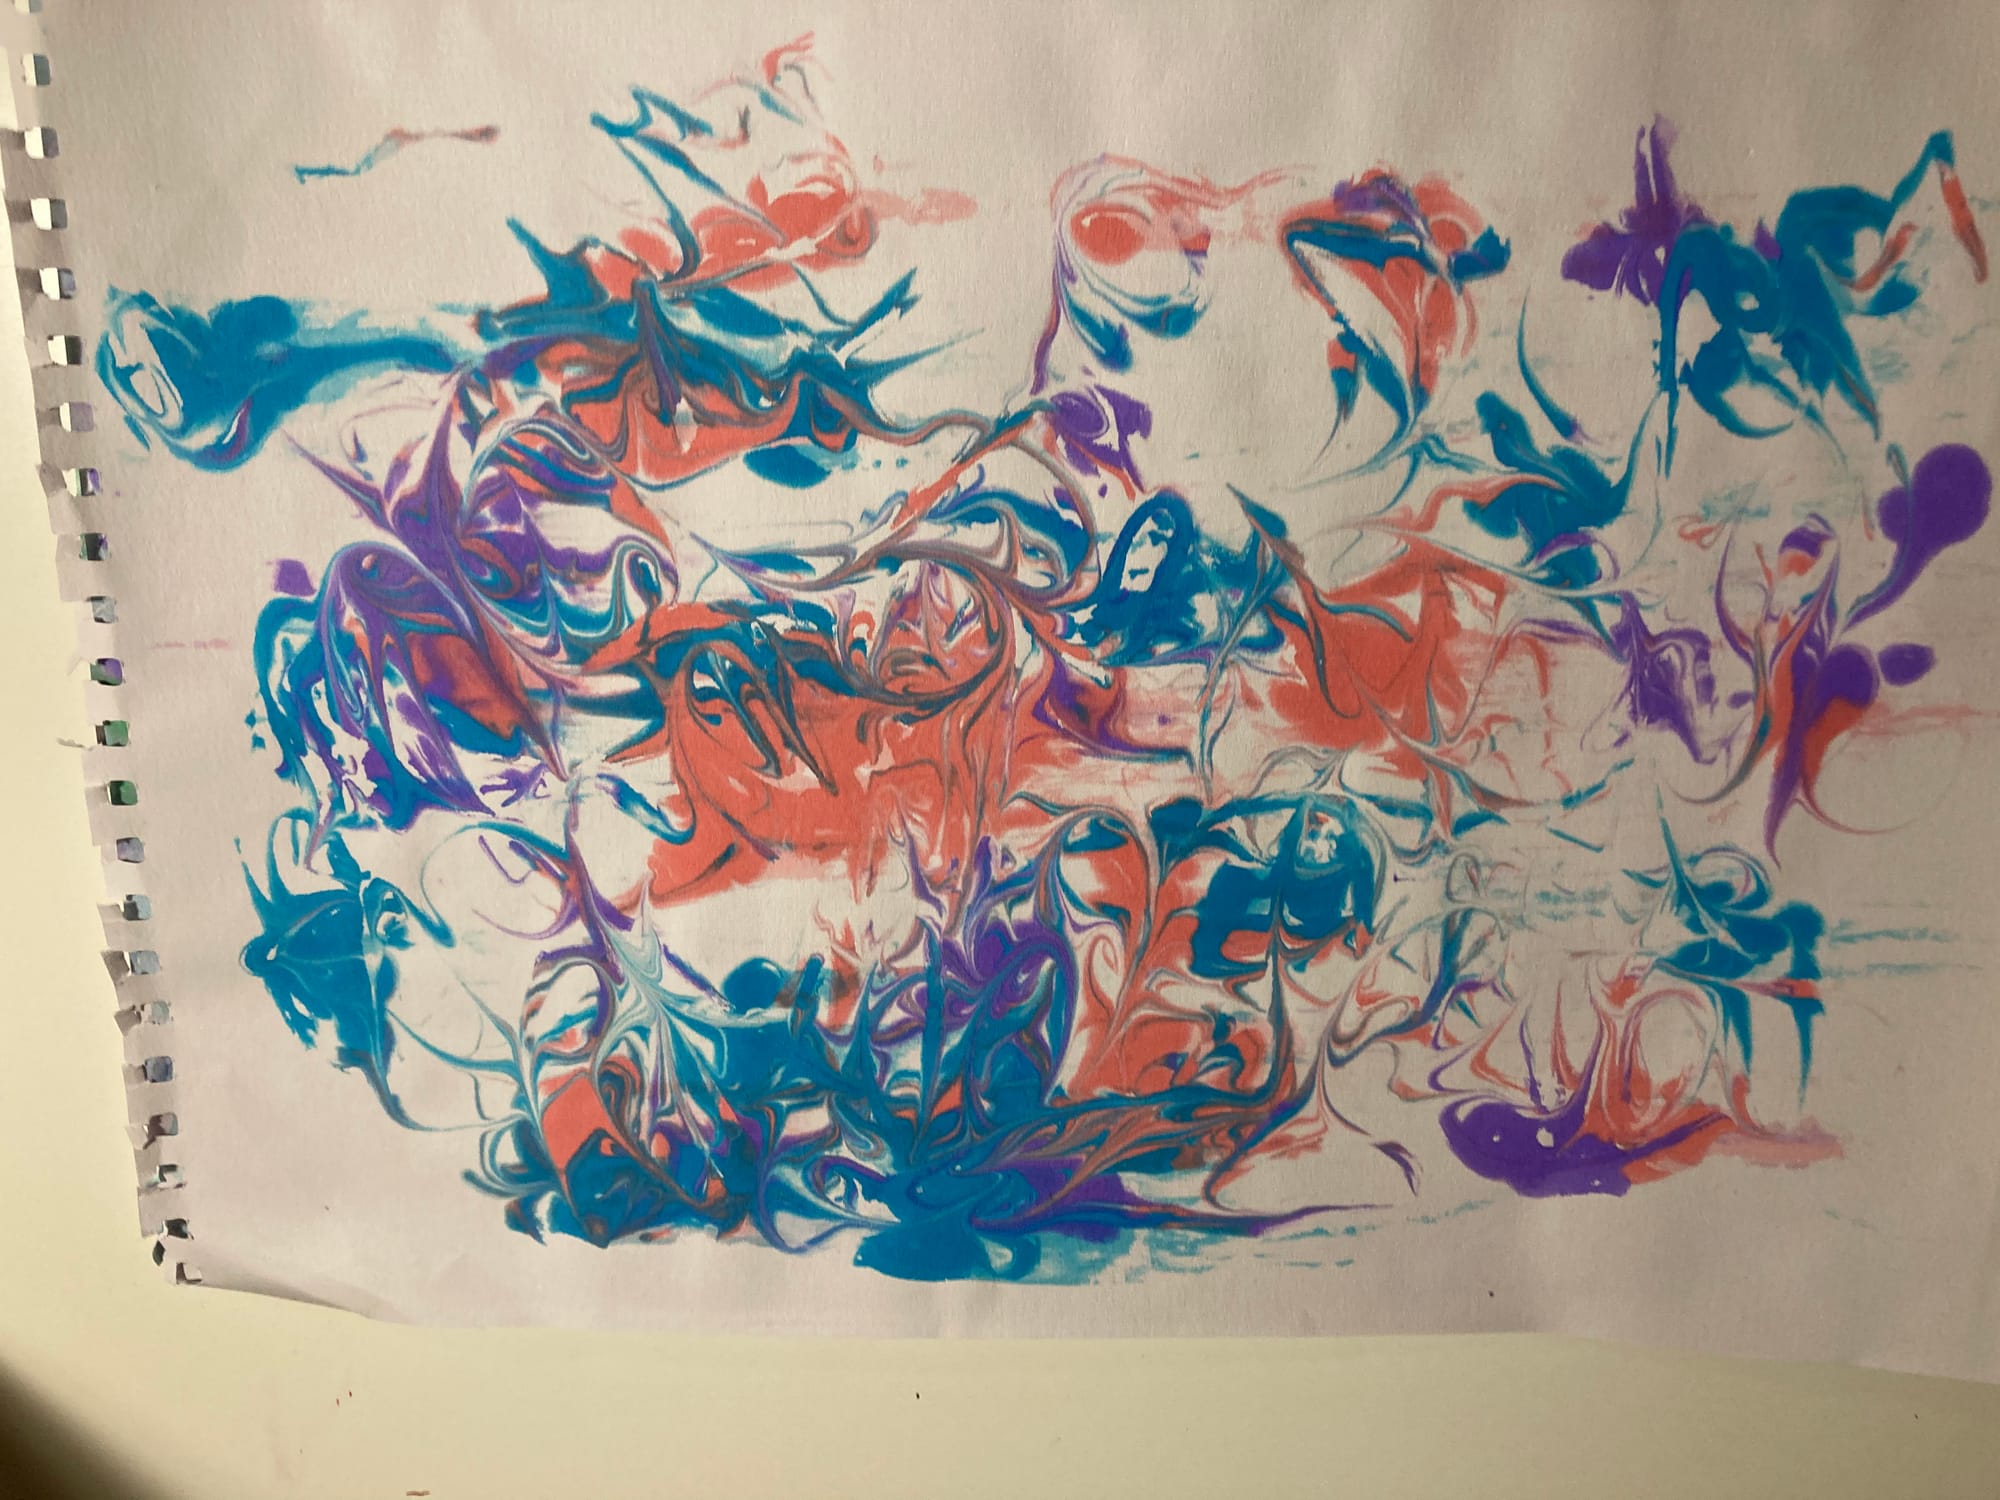
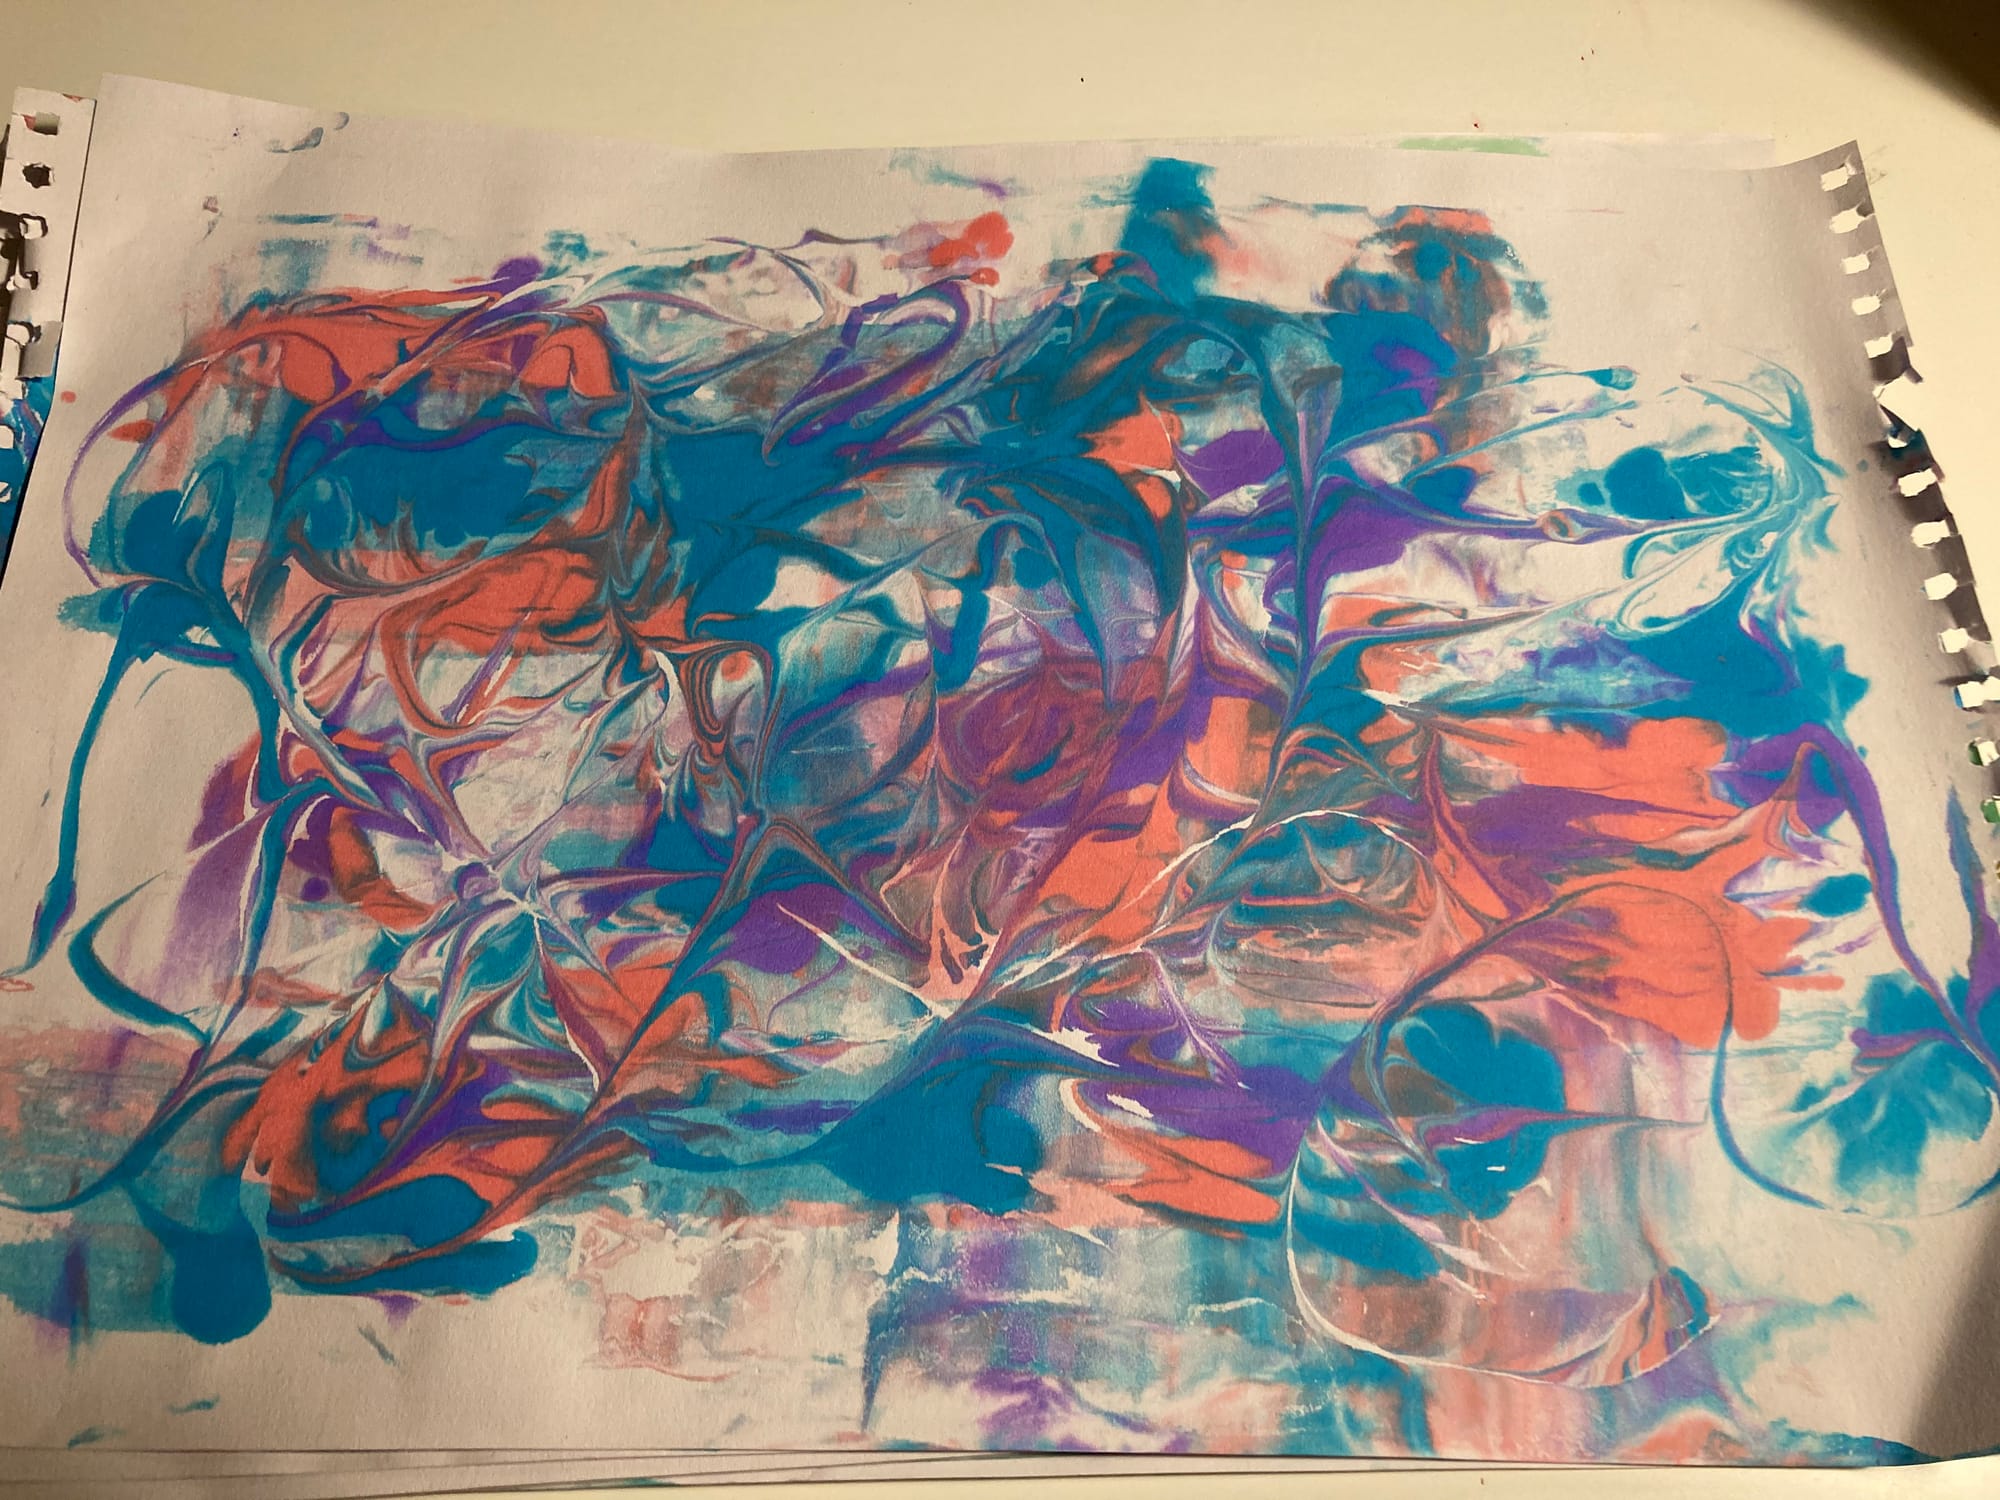
Students go to table to work in pairs making a minimum of six marbled sheets of paper.
Teacher roves around room providing instructions and feedback where appropriate.
Marbling
Teacher preparation: If unfamiliar with shaving cream marbling technique watch this video
If unfamiliar with marbling read this
Supplies:
- Shaving cream
- Shallow trays (1 per 2x students)
- Plastic rulers
- Liquid water colours (or food colouring)
- Pre-filled in small canisters on tables
- Pipettes
- Skewers or toothpicks
- Cartridge Paper
By now the students should be familiar with the music as introducing the topic for the day. Introduce some discussion about how colour theory and the importance in art about how we can use colours to express moods and emotions.
Show examples or marbled papers in book and talk briefly about the very old tradition, dating back to the year 900 in Japan!
Show examples from this gallery.
Show the pages in the worked samples that use the marbles backgrounds.
Demonstrate the process of squirting the shaving into the tray and smoothing over with a plastic ruler.
Demonstrate placing a small amount of liquid water colours with pipettes, it’s a good idea to suggest students stick to a warm or a cool colour pallet if they want a harmonious end result however, they are free to experiment.
Demonstrate the swirling and scraping techniques, to save time use a small section a very small sample pieces of papers for the demonstration.
Students go to table to work in pairs making a minimum of six marbled sheets of paper.
Teacher roves around room providing instructions and feedback where appropriate.
Lesson 4 - Gallery


Lesson 5
Session 5
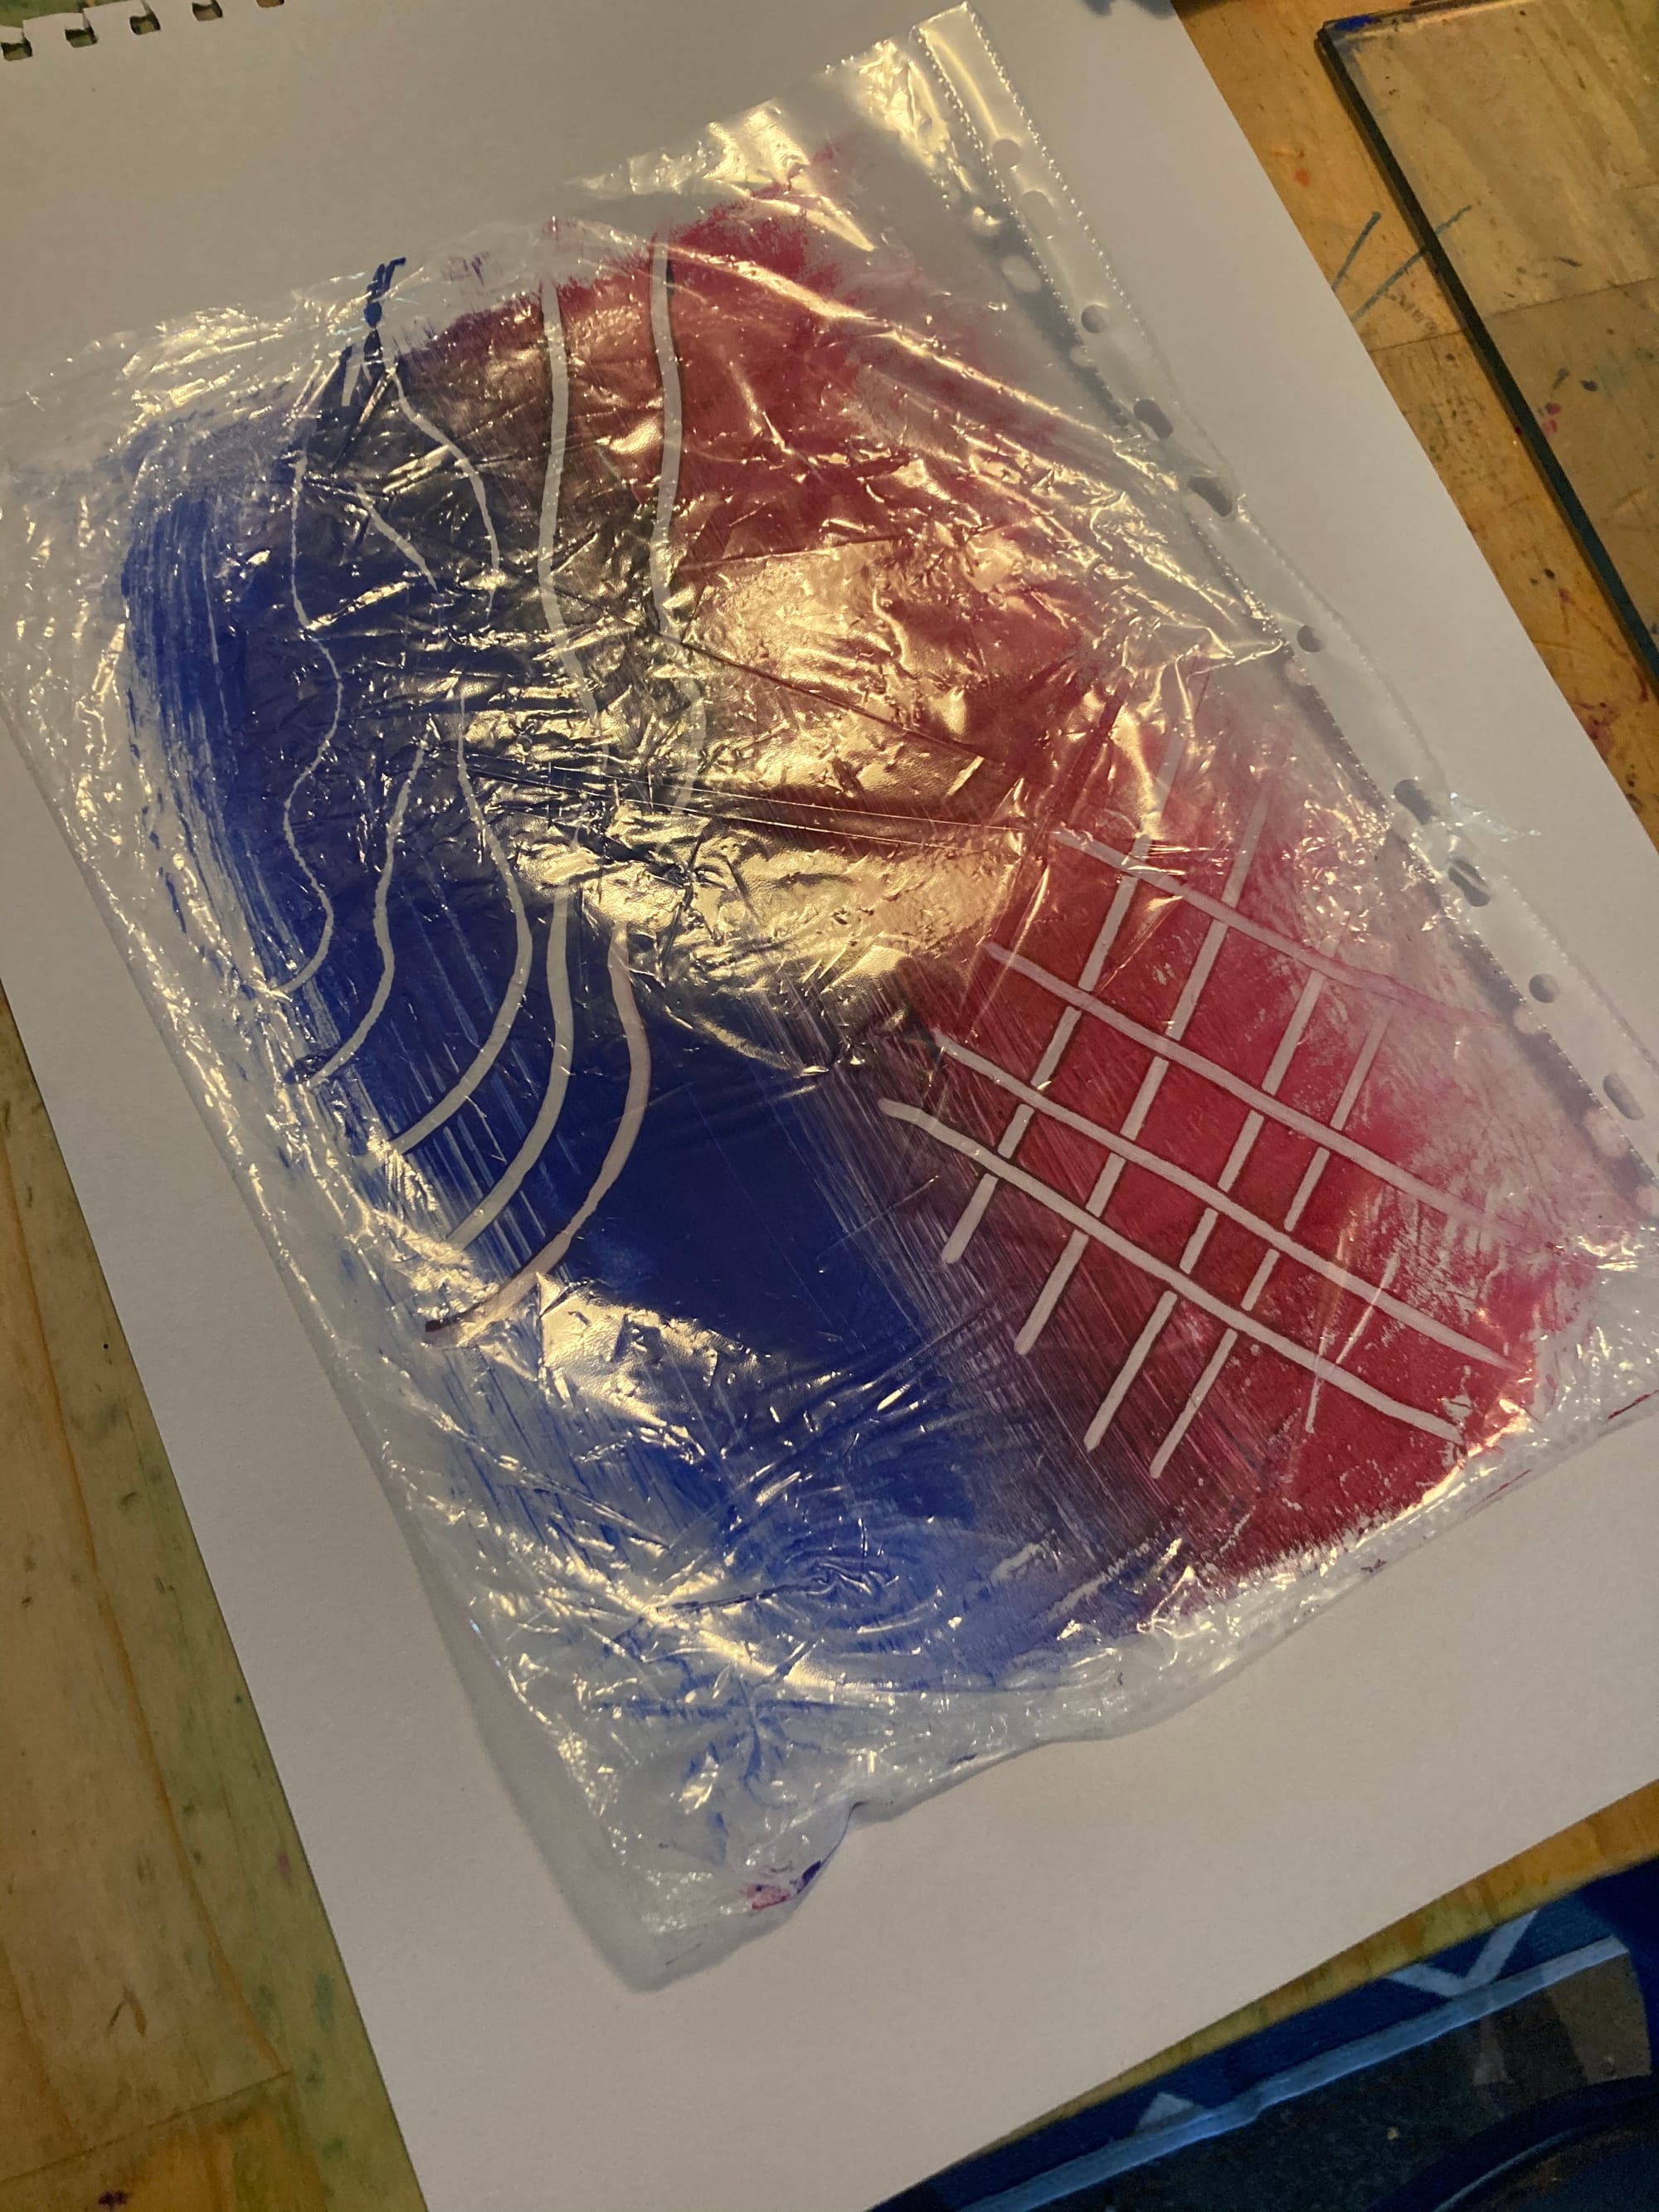
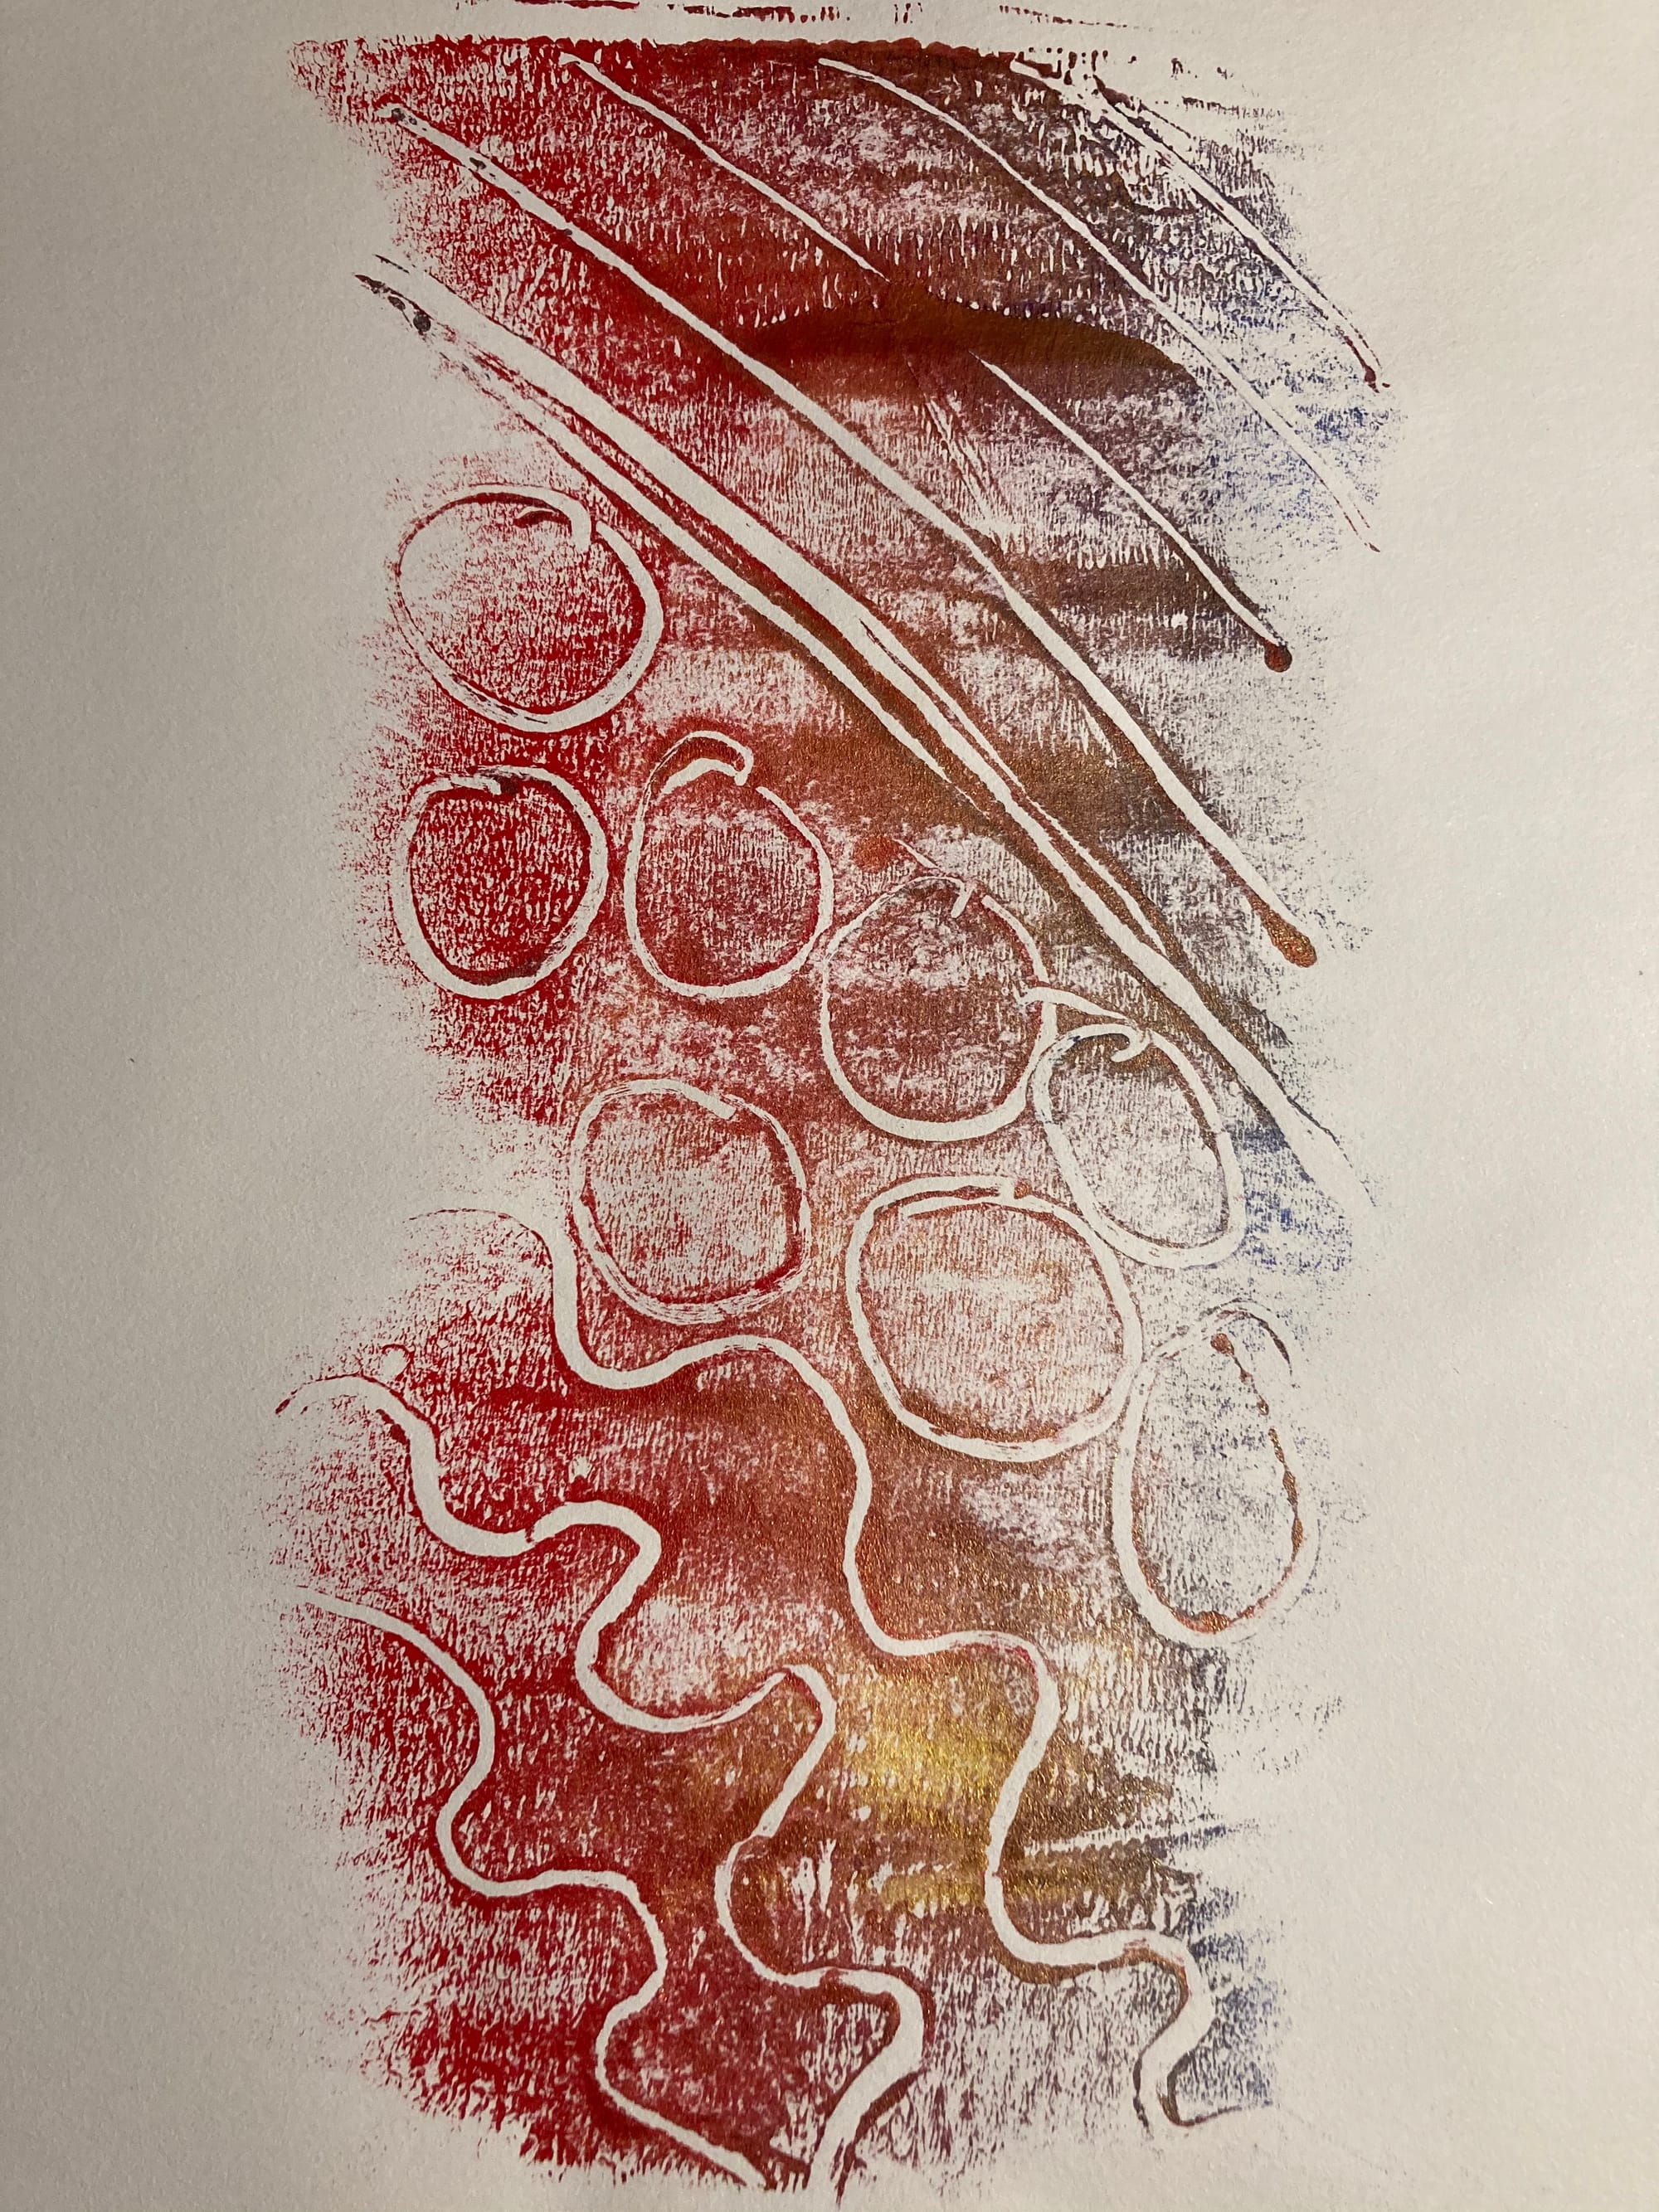
Pattern Mapping
Teacher preparation: read this post to (re)familiarize yourself with mono-printing technique and how it can be done using zip lock bags.
Supplies:
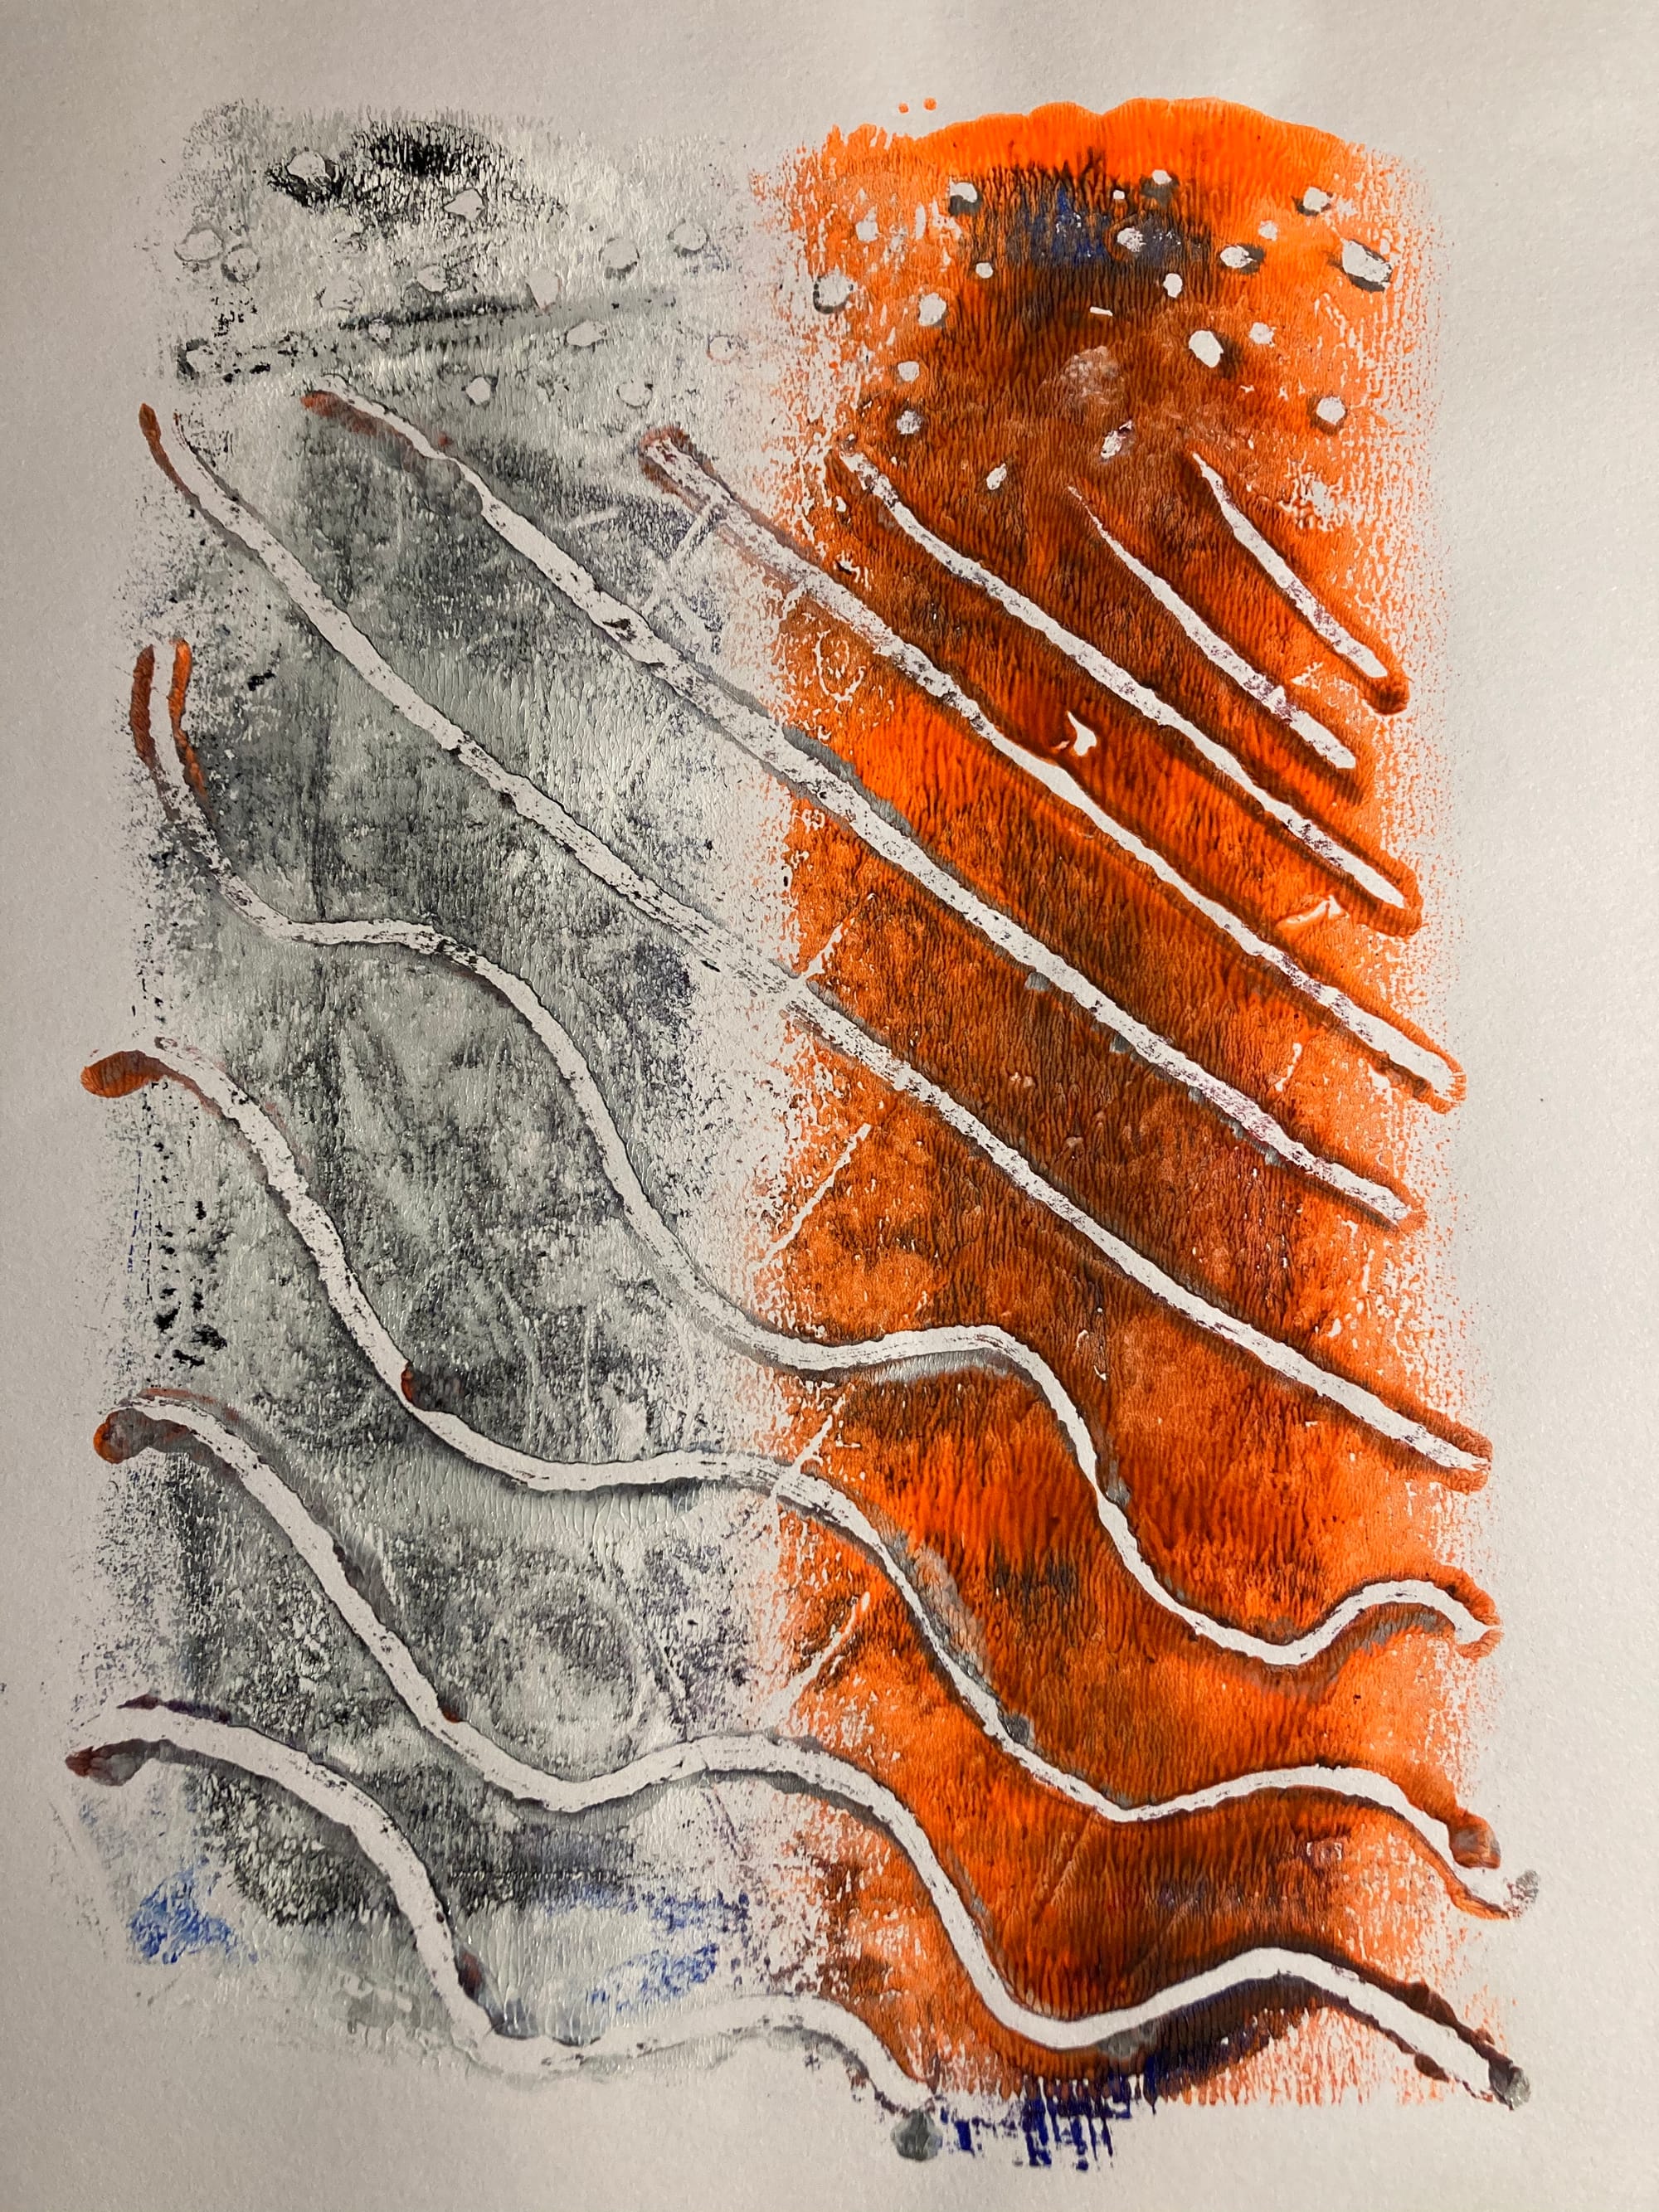
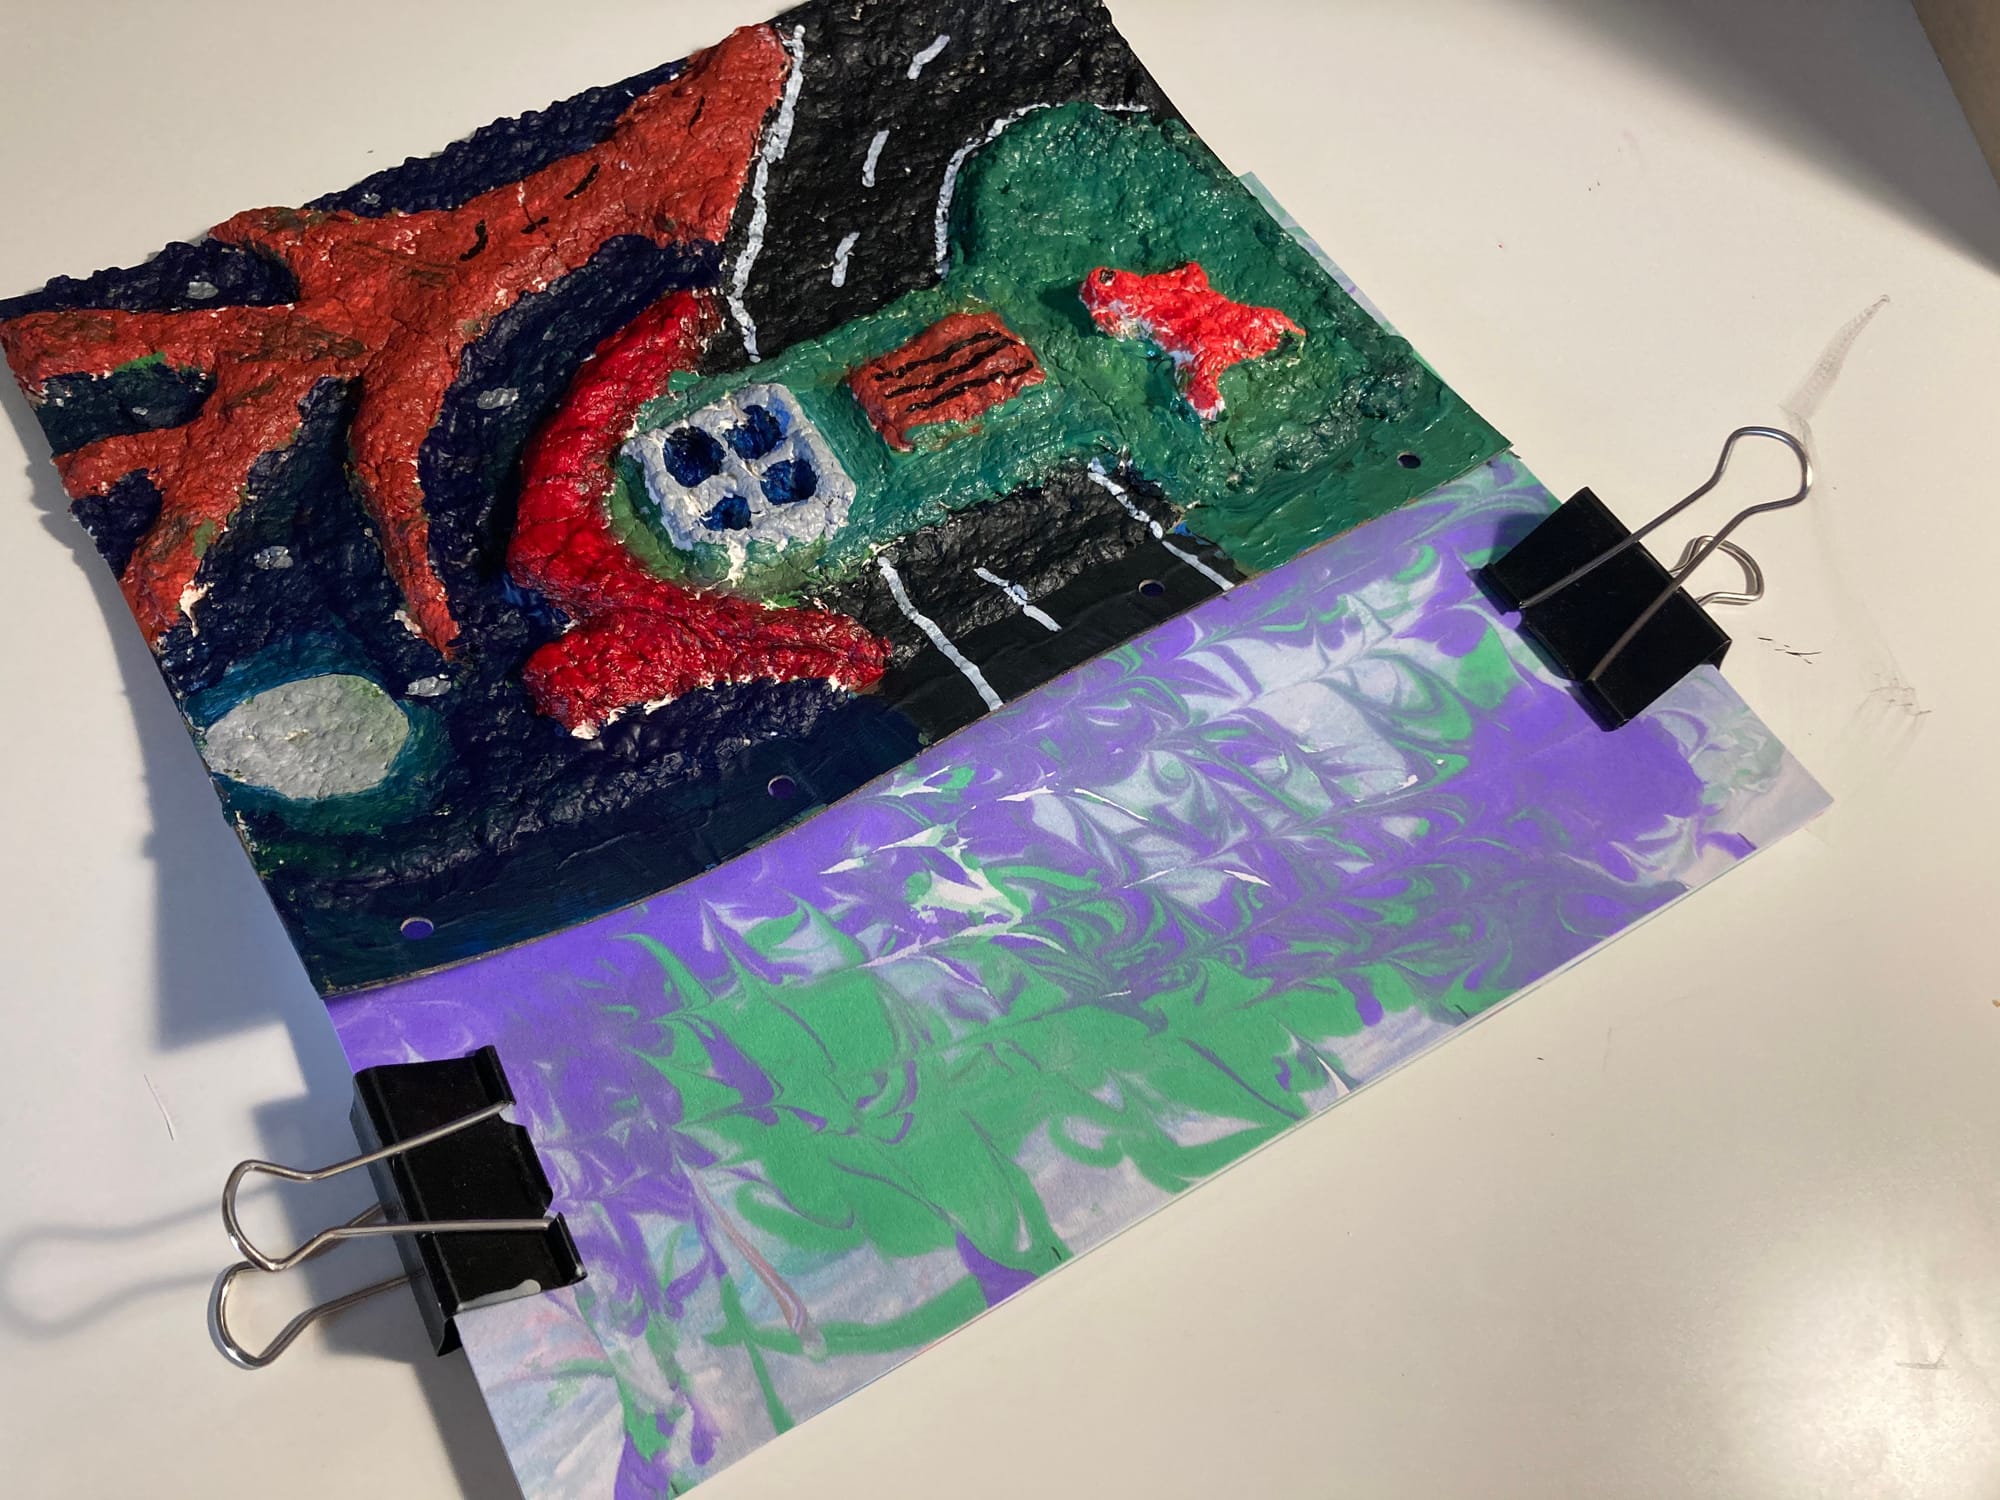
During this lesson students continue the pattern making element introduced with paper marbling but refine it to use pattern to make maps that relate to their lived experience. The maps are an interpretation not a literal map.
This is a further development of the lesson plan resource based on the work of Stevan Rhall and Sarrita King. These ideas of pattern and mapping are of course predominantly found in Aboriginal and Torres Strait Islander artworks something that should be made clear to students.
Show the samples of pattern maps in the worked sample My Story books, explaining things like an important place to me is the beach that has these wavy lines, or I like the city and you can show it just this cross-hatching pattern.
Ask the students to come up with some other ideas for patterns of different places and encourage a freedom in their choice and how they intersect. Explain that is doesn’t need to look exactly like something it’s an abstract interpretation.
Explain that to make these maps they are going to use a printmaking technique called mono-printing, which is a bit like back to front painting.
Demonstrate how to ink the plastic bag, ideally with a brayer or foam roller, if these are not available demonstrate using a large flat brush and explain that you don’t want the ink/paint to think, or it will squish out and mess up the patterns.
Then demonstrate a number of the discussed patterns as talked about and how then can then place the paper over onto their bag and gently rub it down to take the print, similar to the marbling technique.
Student then move to their worktables to make their own prints, three prints each would be optimum as there is a learning curve with the process.
Teacher roves and intervenes and offers feedback as per previous lessons.
Pattern Mapping
Teacher preparation: read this post to (re)familiarize yourself with mono-printing technique and how it can be done using zip lock bags.
Supplies:
- Large zip lock bag or plastic sheet protector per student
- Pre-taped to the work surface
- Printing Ink or Acrylic Paint in various colours
- Brayers or large flat foam or bristle paint brushes
- Clay sculpting tools or cotton buds
- Cartridge paper
During this lesson students continue the pattern making element introduced with paper marbling but refine it to use pattern to make maps that relate to their lived experience. The maps are an interpretation not a literal map.
This is a further development of the lesson plan resource based on the work of Stevan Rhall and Sarrita King. These ideas of pattern and mapping are of course predominantly found in Aboriginal and Torres Strait Islander artworks something that should be made clear to students.
Show the samples of pattern maps in the worked sample My Story books, explaining things like an important place to me is the beach that has these wavy lines, or I like the city and you can show it just this cross-hatching pattern.
Ask the students to come up with some other ideas for patterns of different places and encourage a freedom in their choice and how they intersect. Explain that is doesn’t need to look exactly like something it’s an abstract interpretation.
Explain that to make these maps they are going to use a printmaking technique called mono-printing, which is a bit like back to front painting.
Demonstrate how to ink the plastic bag, ideally with a brayer or foam roller, if these are not available demonstrate using a large flat brush and explain that you don’t want the ink/paint to think, or it will squish out and mess up the patterns.
Then demonstrate a number of the discussed patterns as talked about and how then can then place the paper over onto their bag and gently rub it down to take the print, similar to the marbling technique.
Student then move to their worktables to make their own prints, three prints each would be optimum as there is a learning curve with the process.
Teacher roves and intervenes and offers feedback as per previous lessons.
Lesson 5 - Gallery


Lesson 6-8
Sessions 6 – 8
Self-portraits
Teacher preparation: This blog post provides some excellent strategies for how to teach a self-portrait class and suggestions for prompting students about what to focus on
How could you do an identity unit without self-portraits?
There are a number of excellent resources regarding self-portraits if time allows (due to an 11-week term or work being finished faster than anticipated) This MOMA resource would be an extremely through introduction for students to compare some of the many styles and reasons for self-portraits although would take some modifying to be completely appropriate to level 5 & 6.
Self-Portrait 1
Supplies
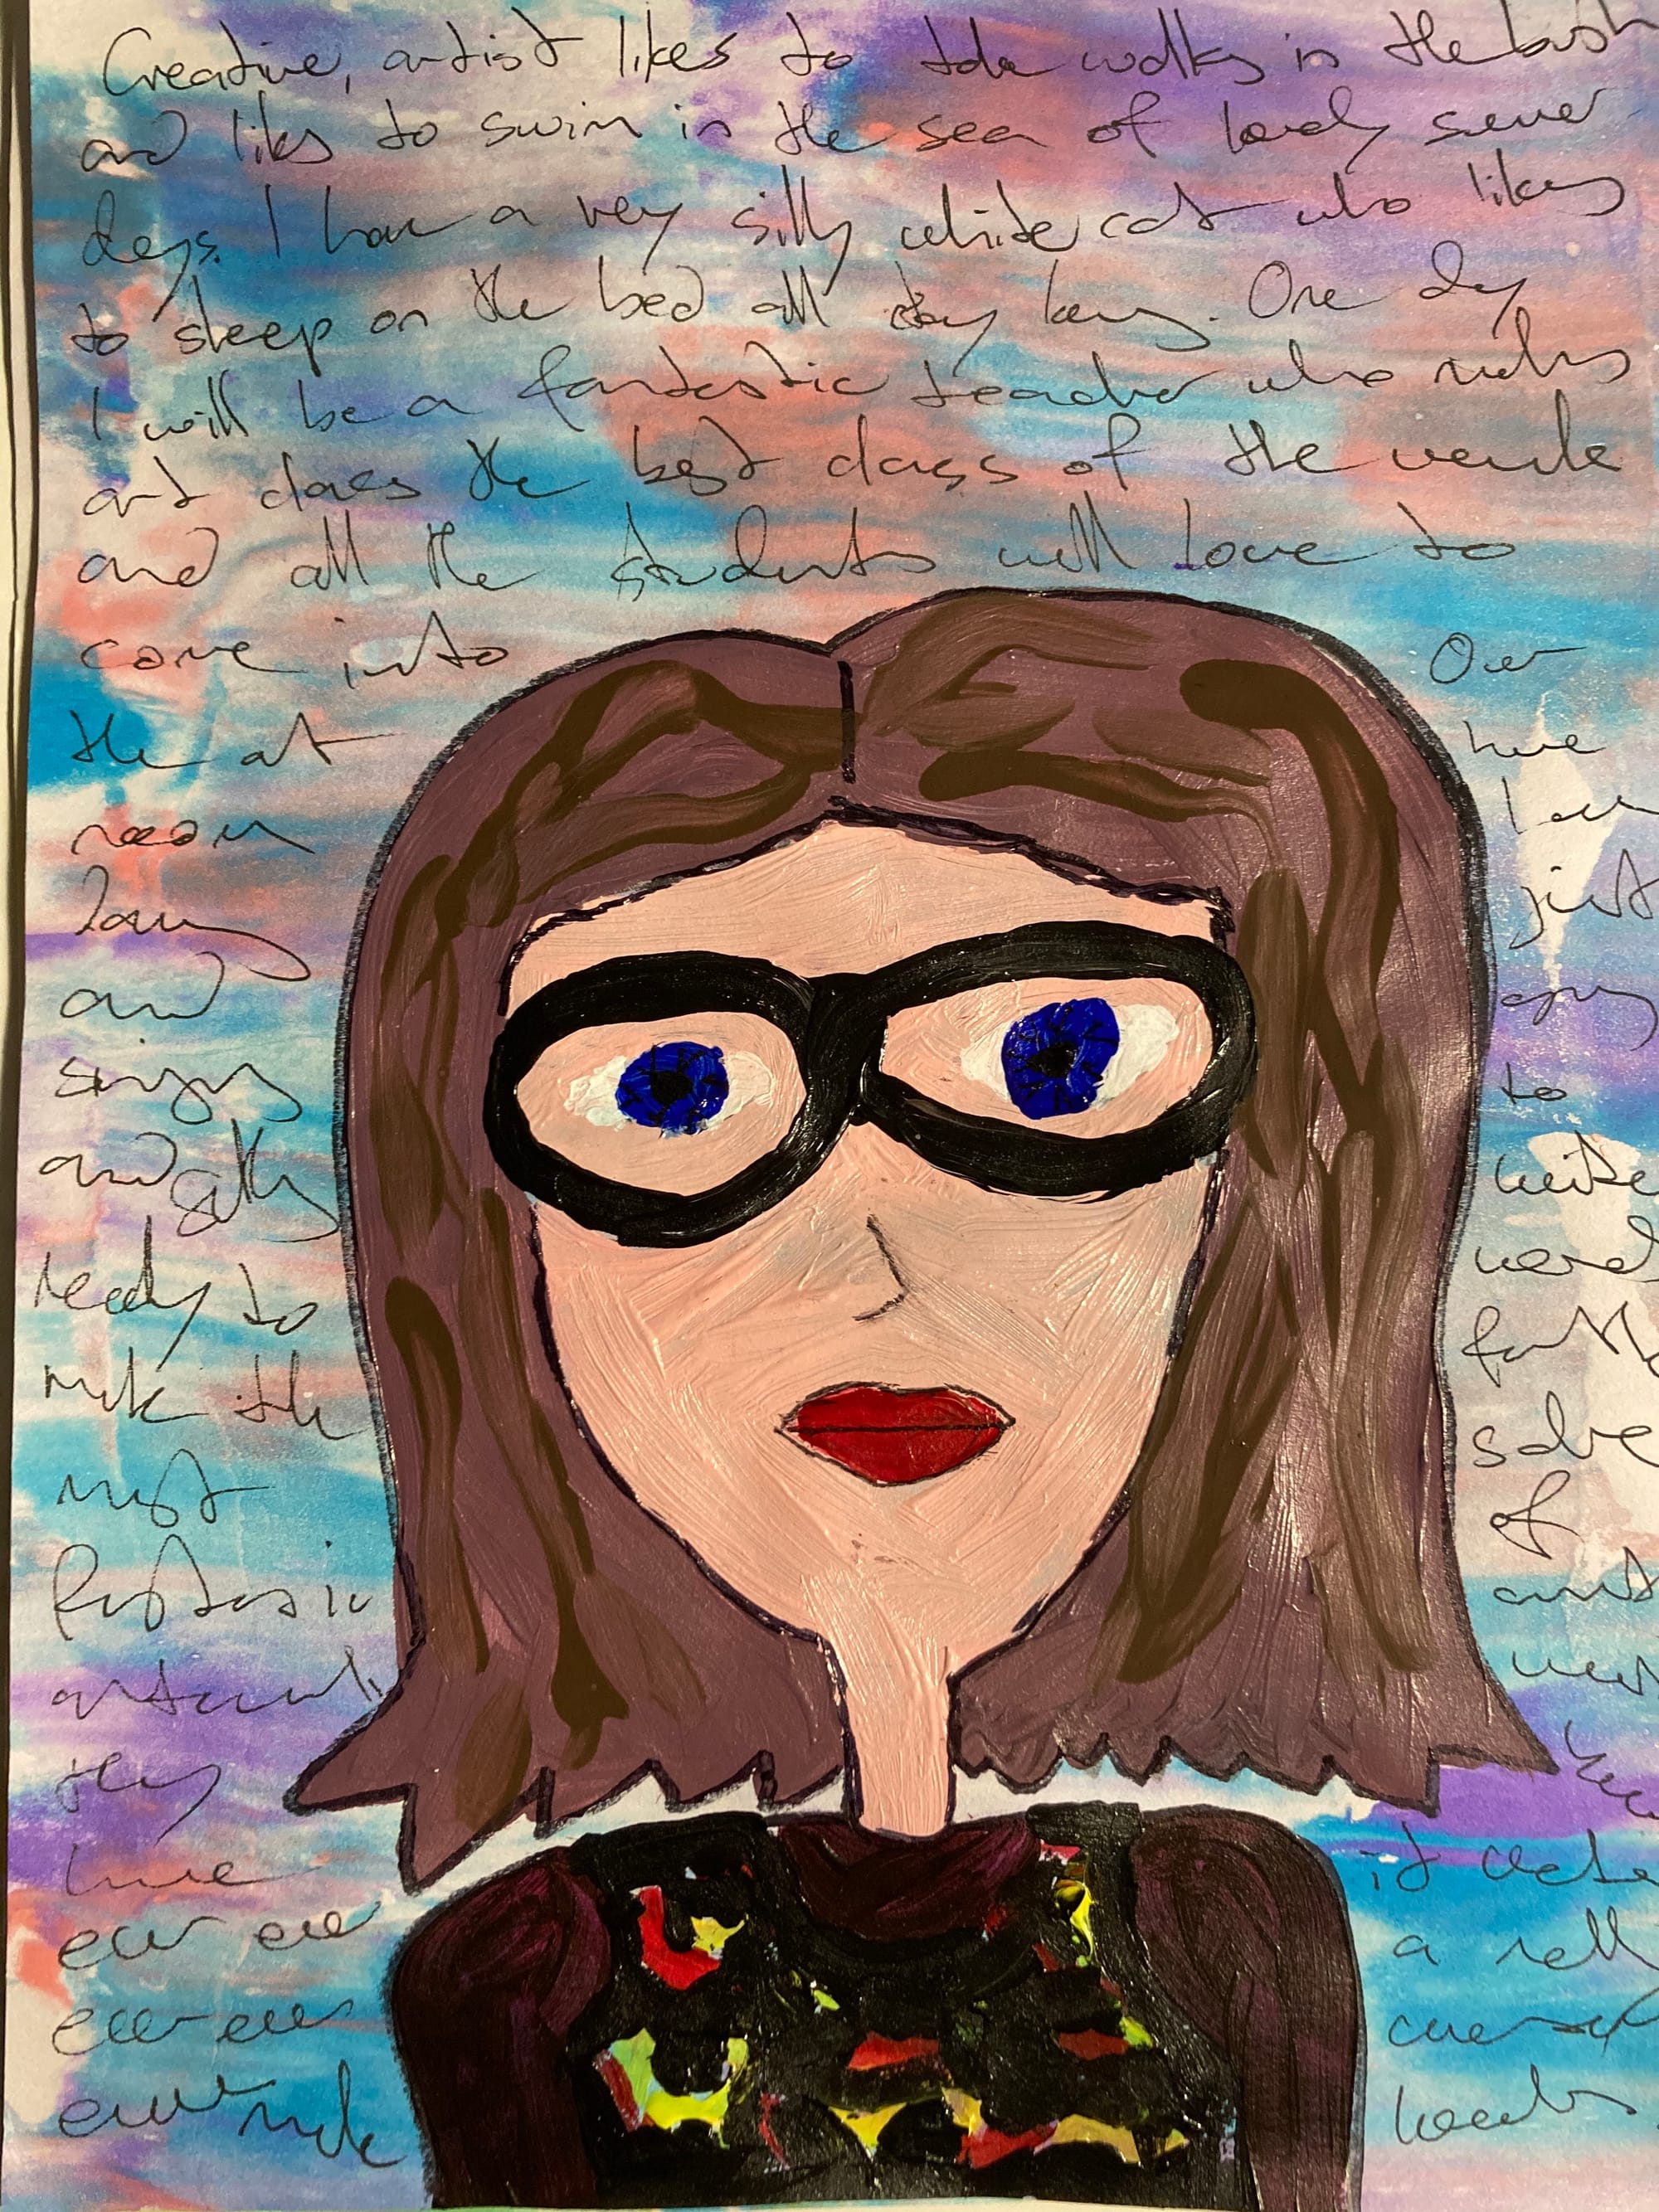
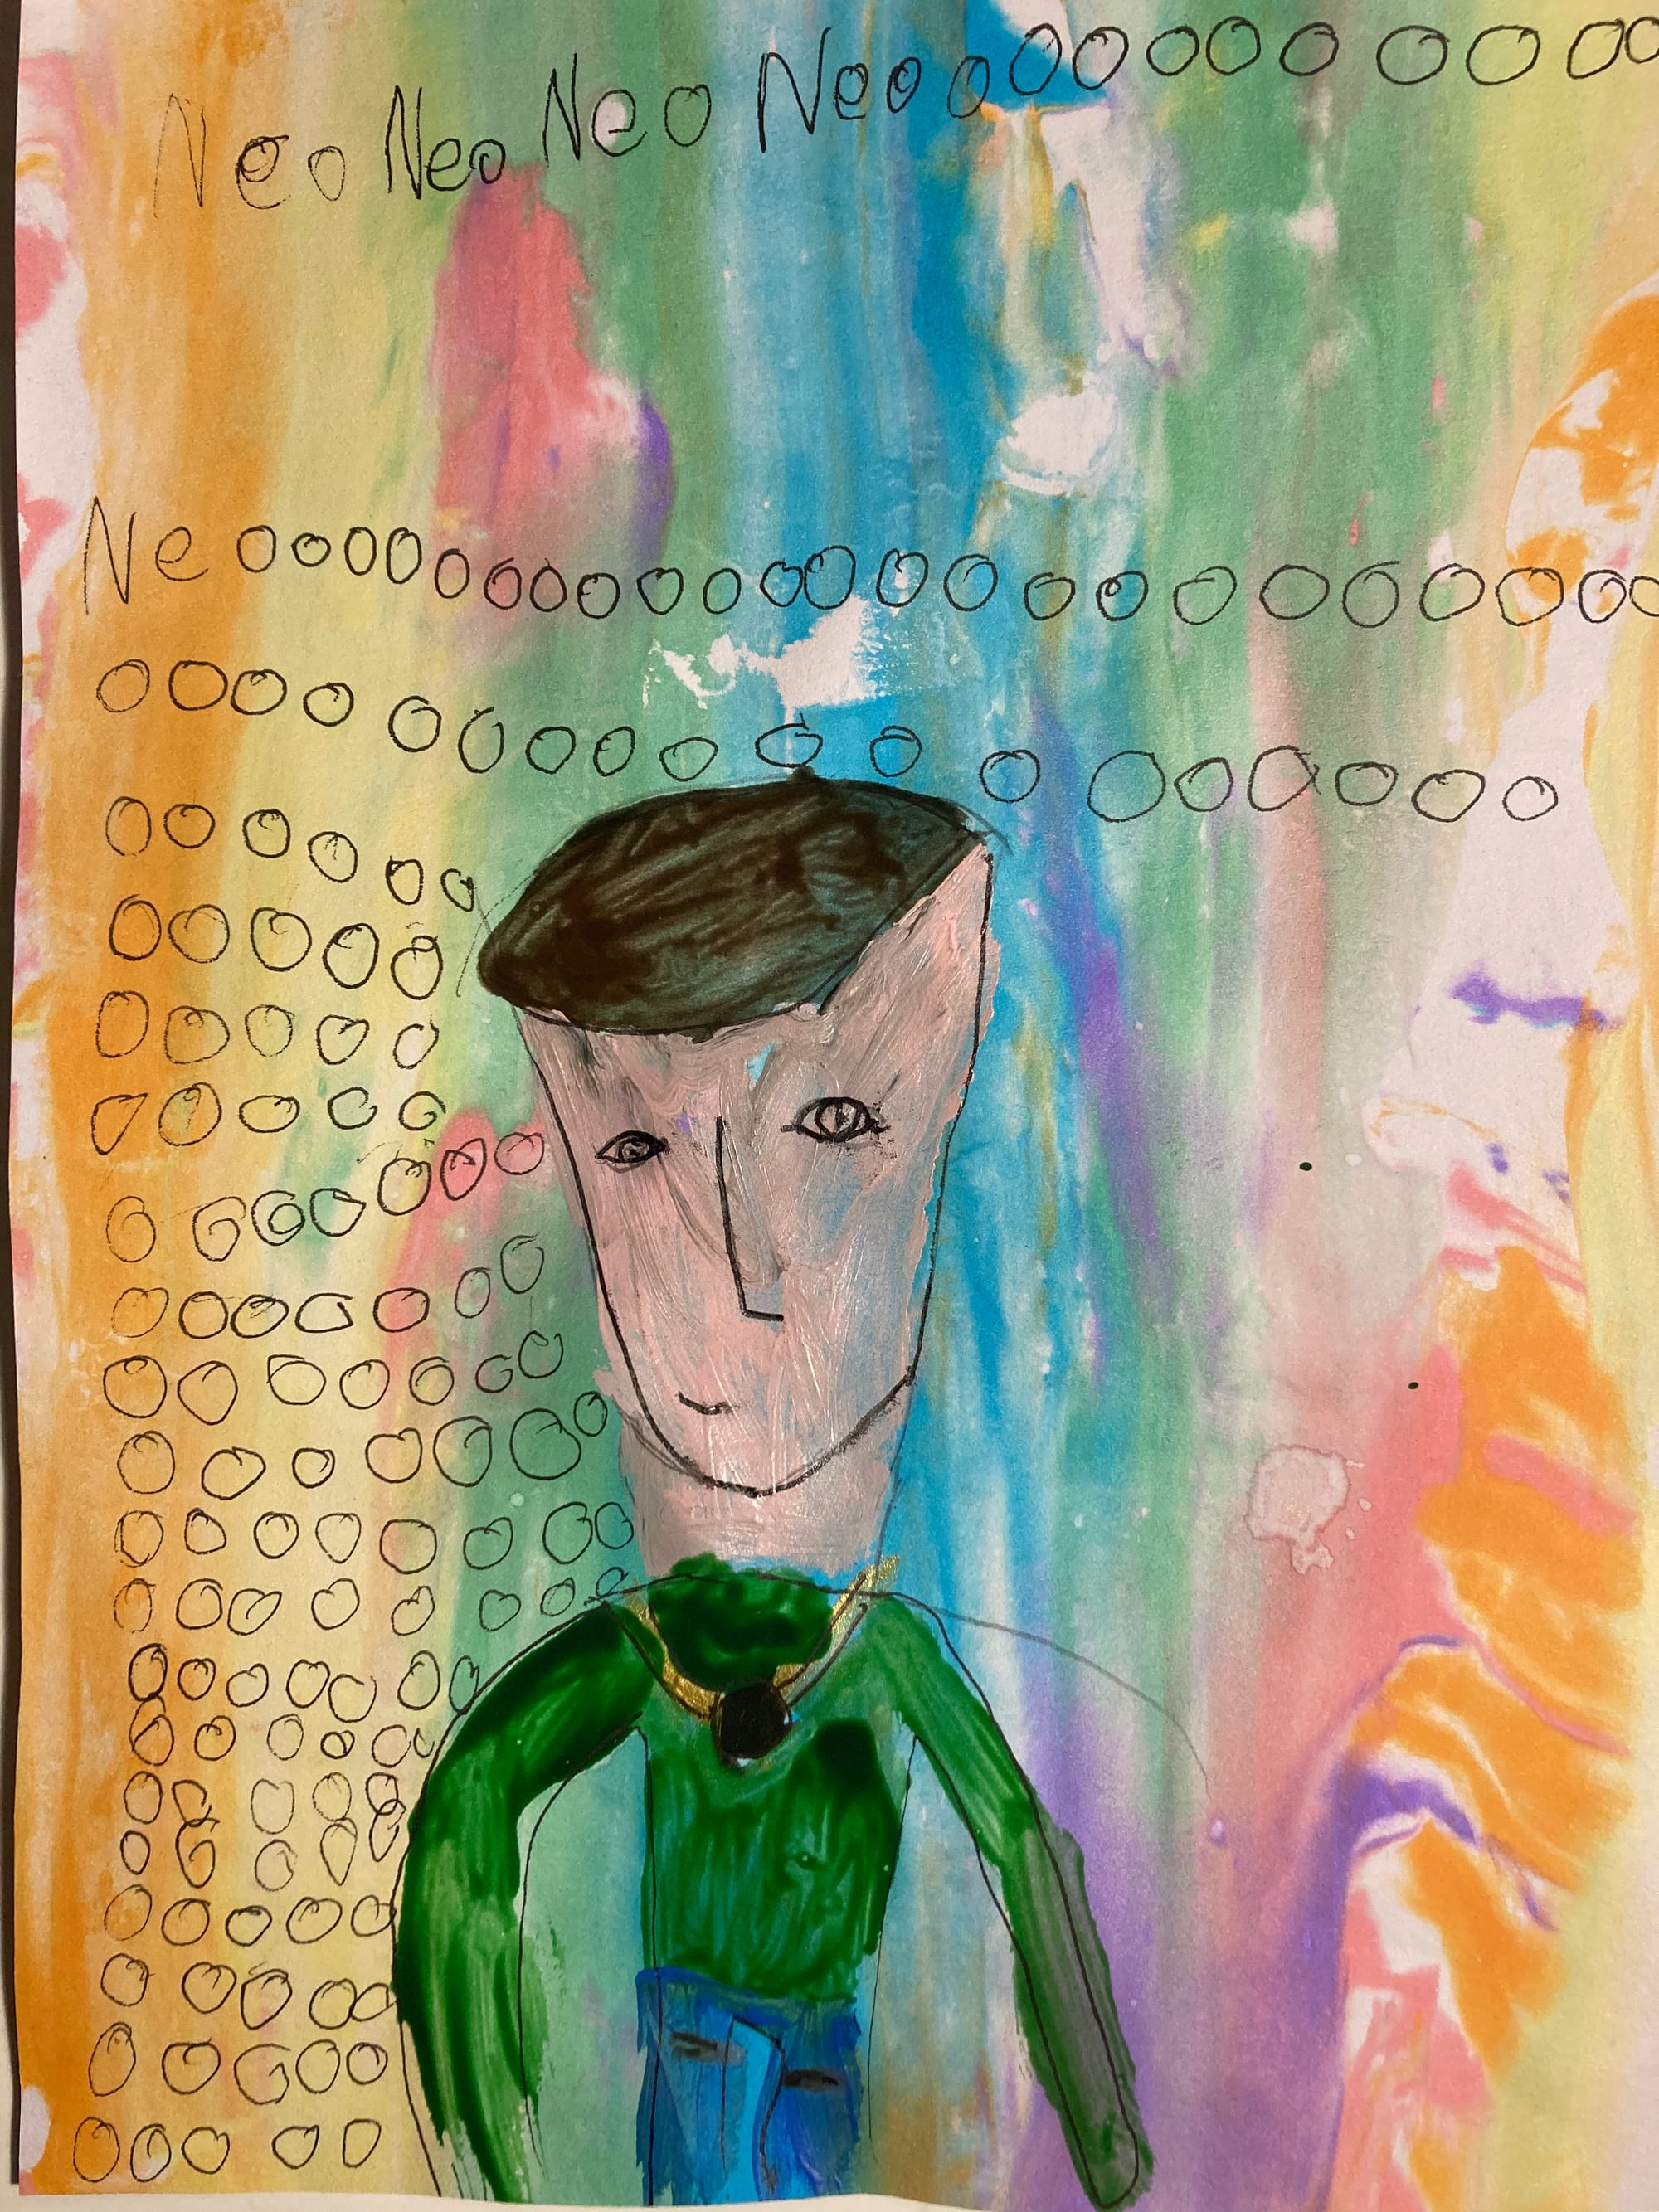
The first of two self-portraits is inspired by the work of Howard Finster, an American folk artist who very easily accessible for students due to his somewhat childlike drawing style. Inspired by this resource.
Show students the worked samples in from the and talk about facial shapes and features.
Demonstrate that they are going to do these self-portraits on some of the marbled paper from lesson 4.
Start by drawing in the outline and this painting in with poster paints, in the following lesson they will add outlines, details and most importantly they will write around their portraits about things that make them who they are using permeant/paint markers.
These techniques should be very familiar to students in levels 5 & 6 however discussion time around the style and how it’s not about perfectly drawing themselves is crucial and the text they add helps tell their story.
Students should have a mirror on their table to help them remember what they look like but should also be encouraged to draw from memory if they prefer.
Teacher moves around room providing formative feedback, staying positive and constructive.
Self-Portrait 2
Supplies
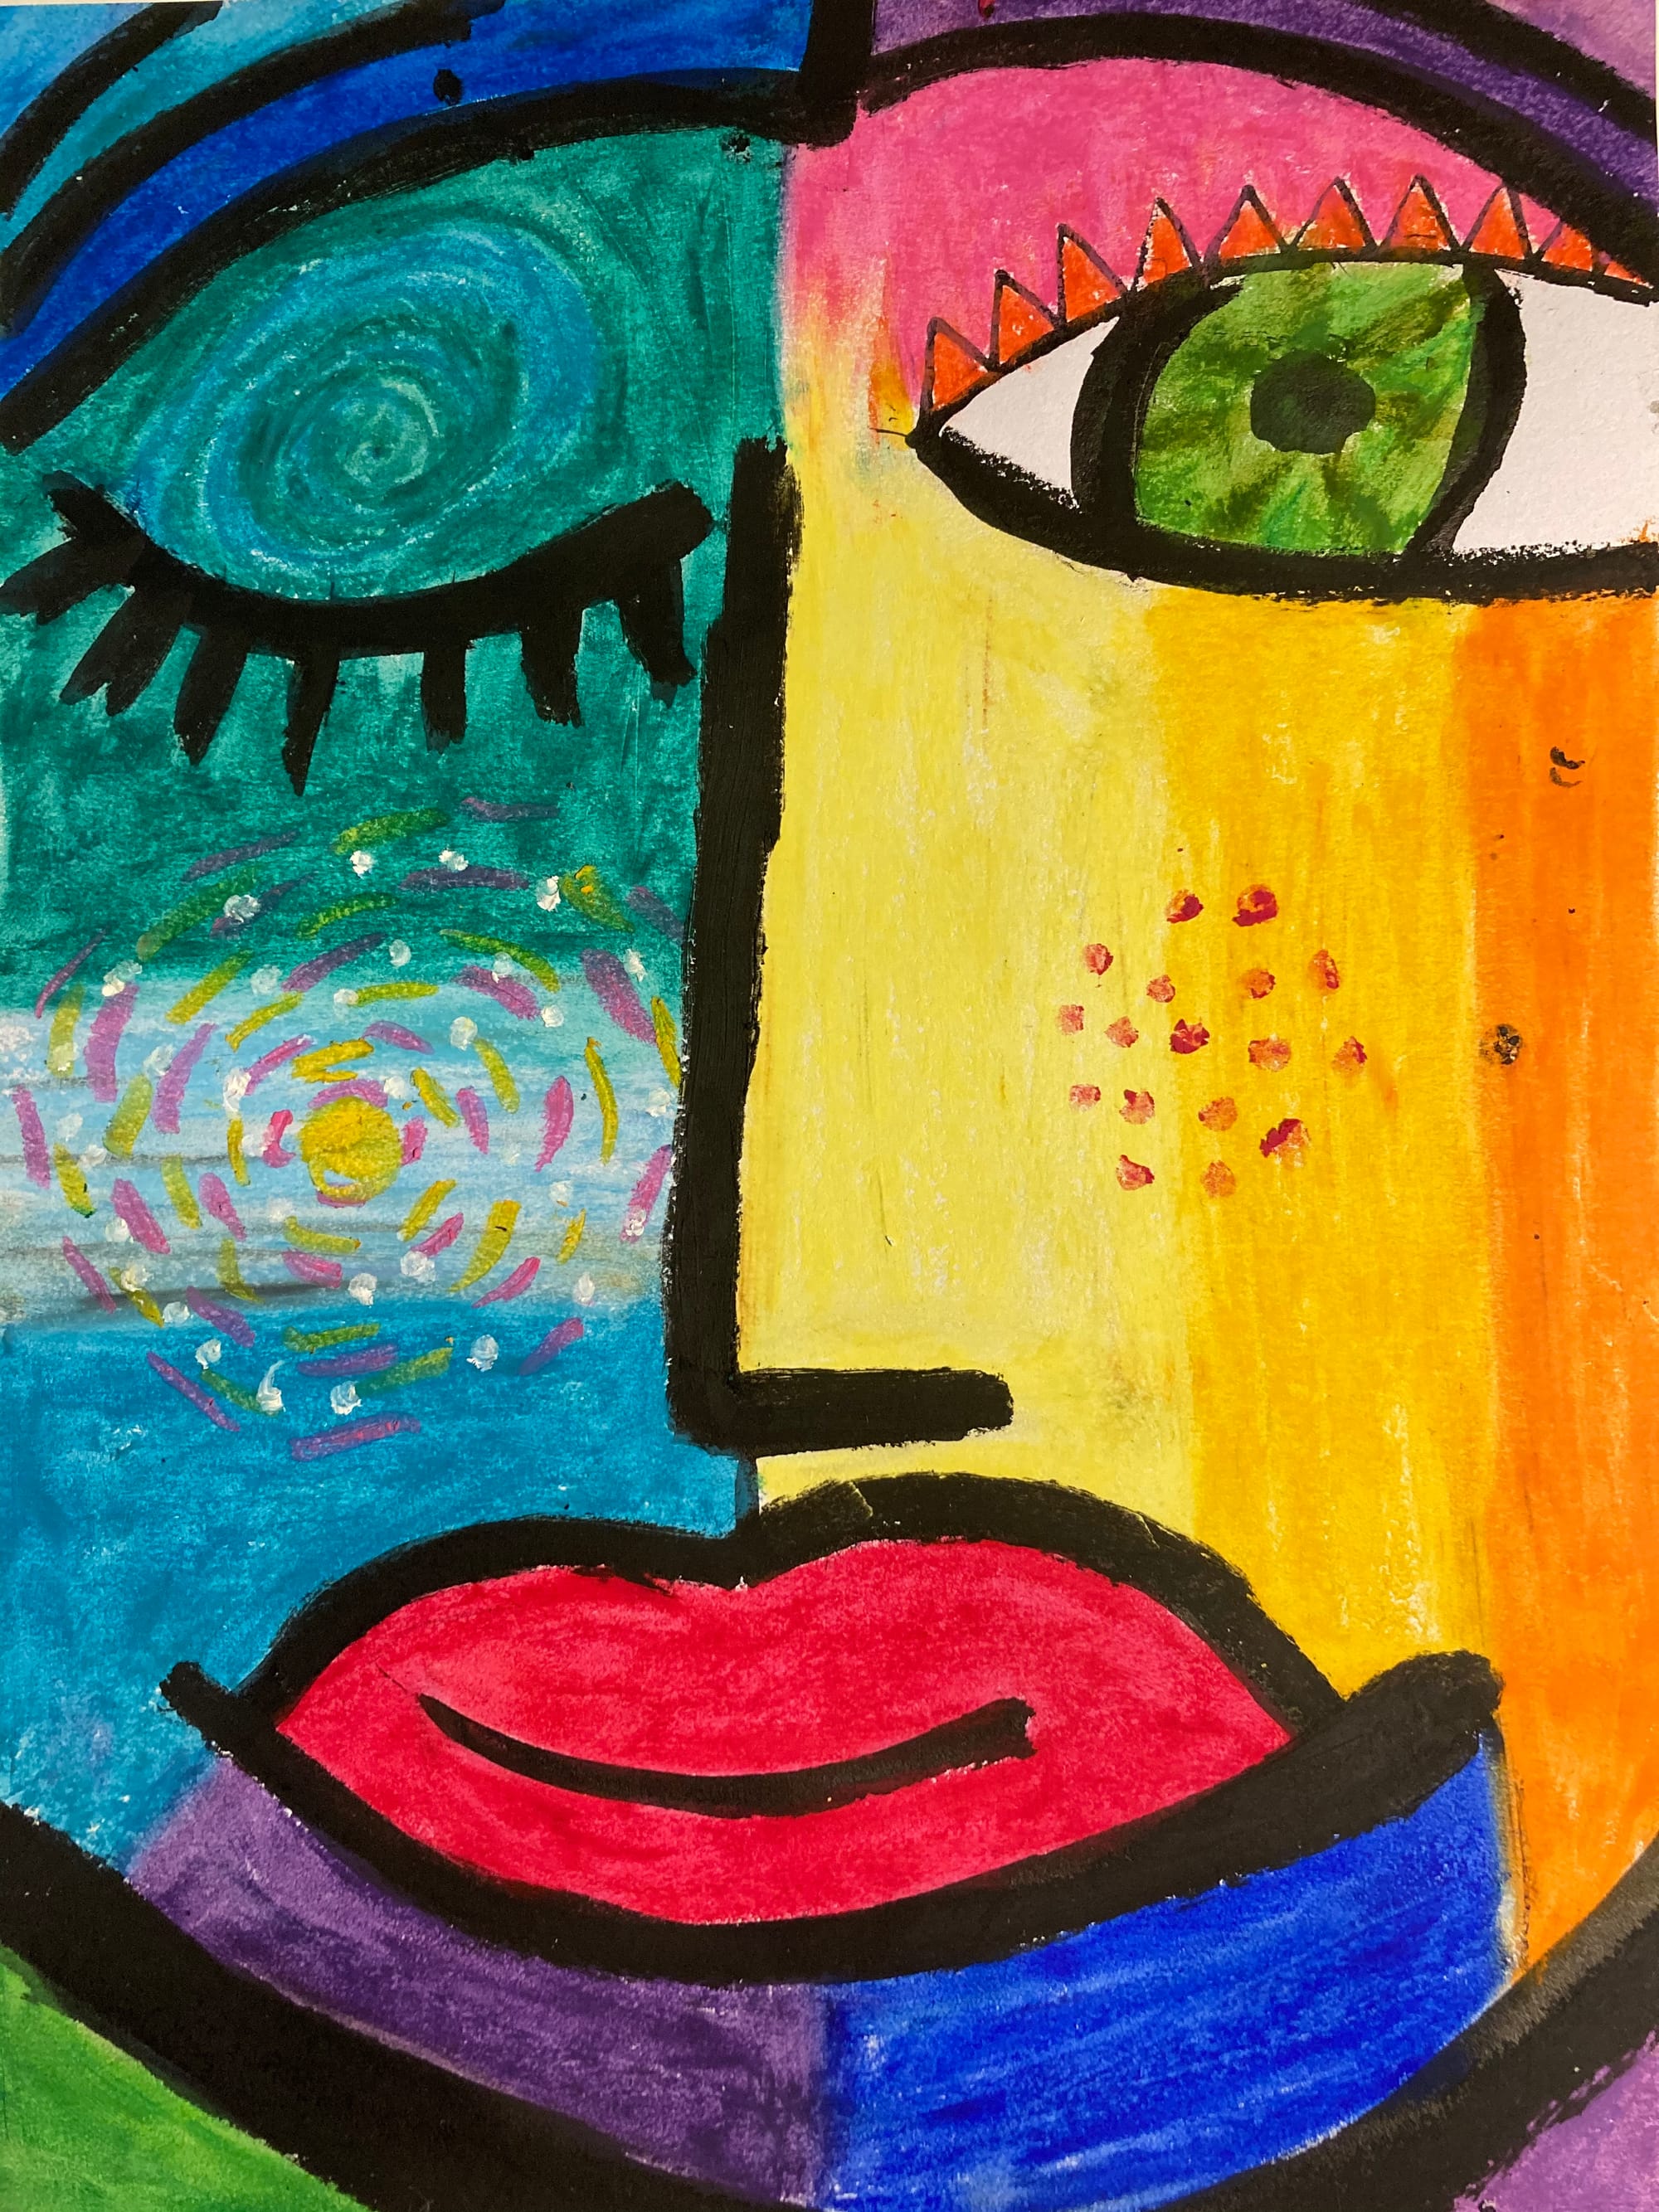
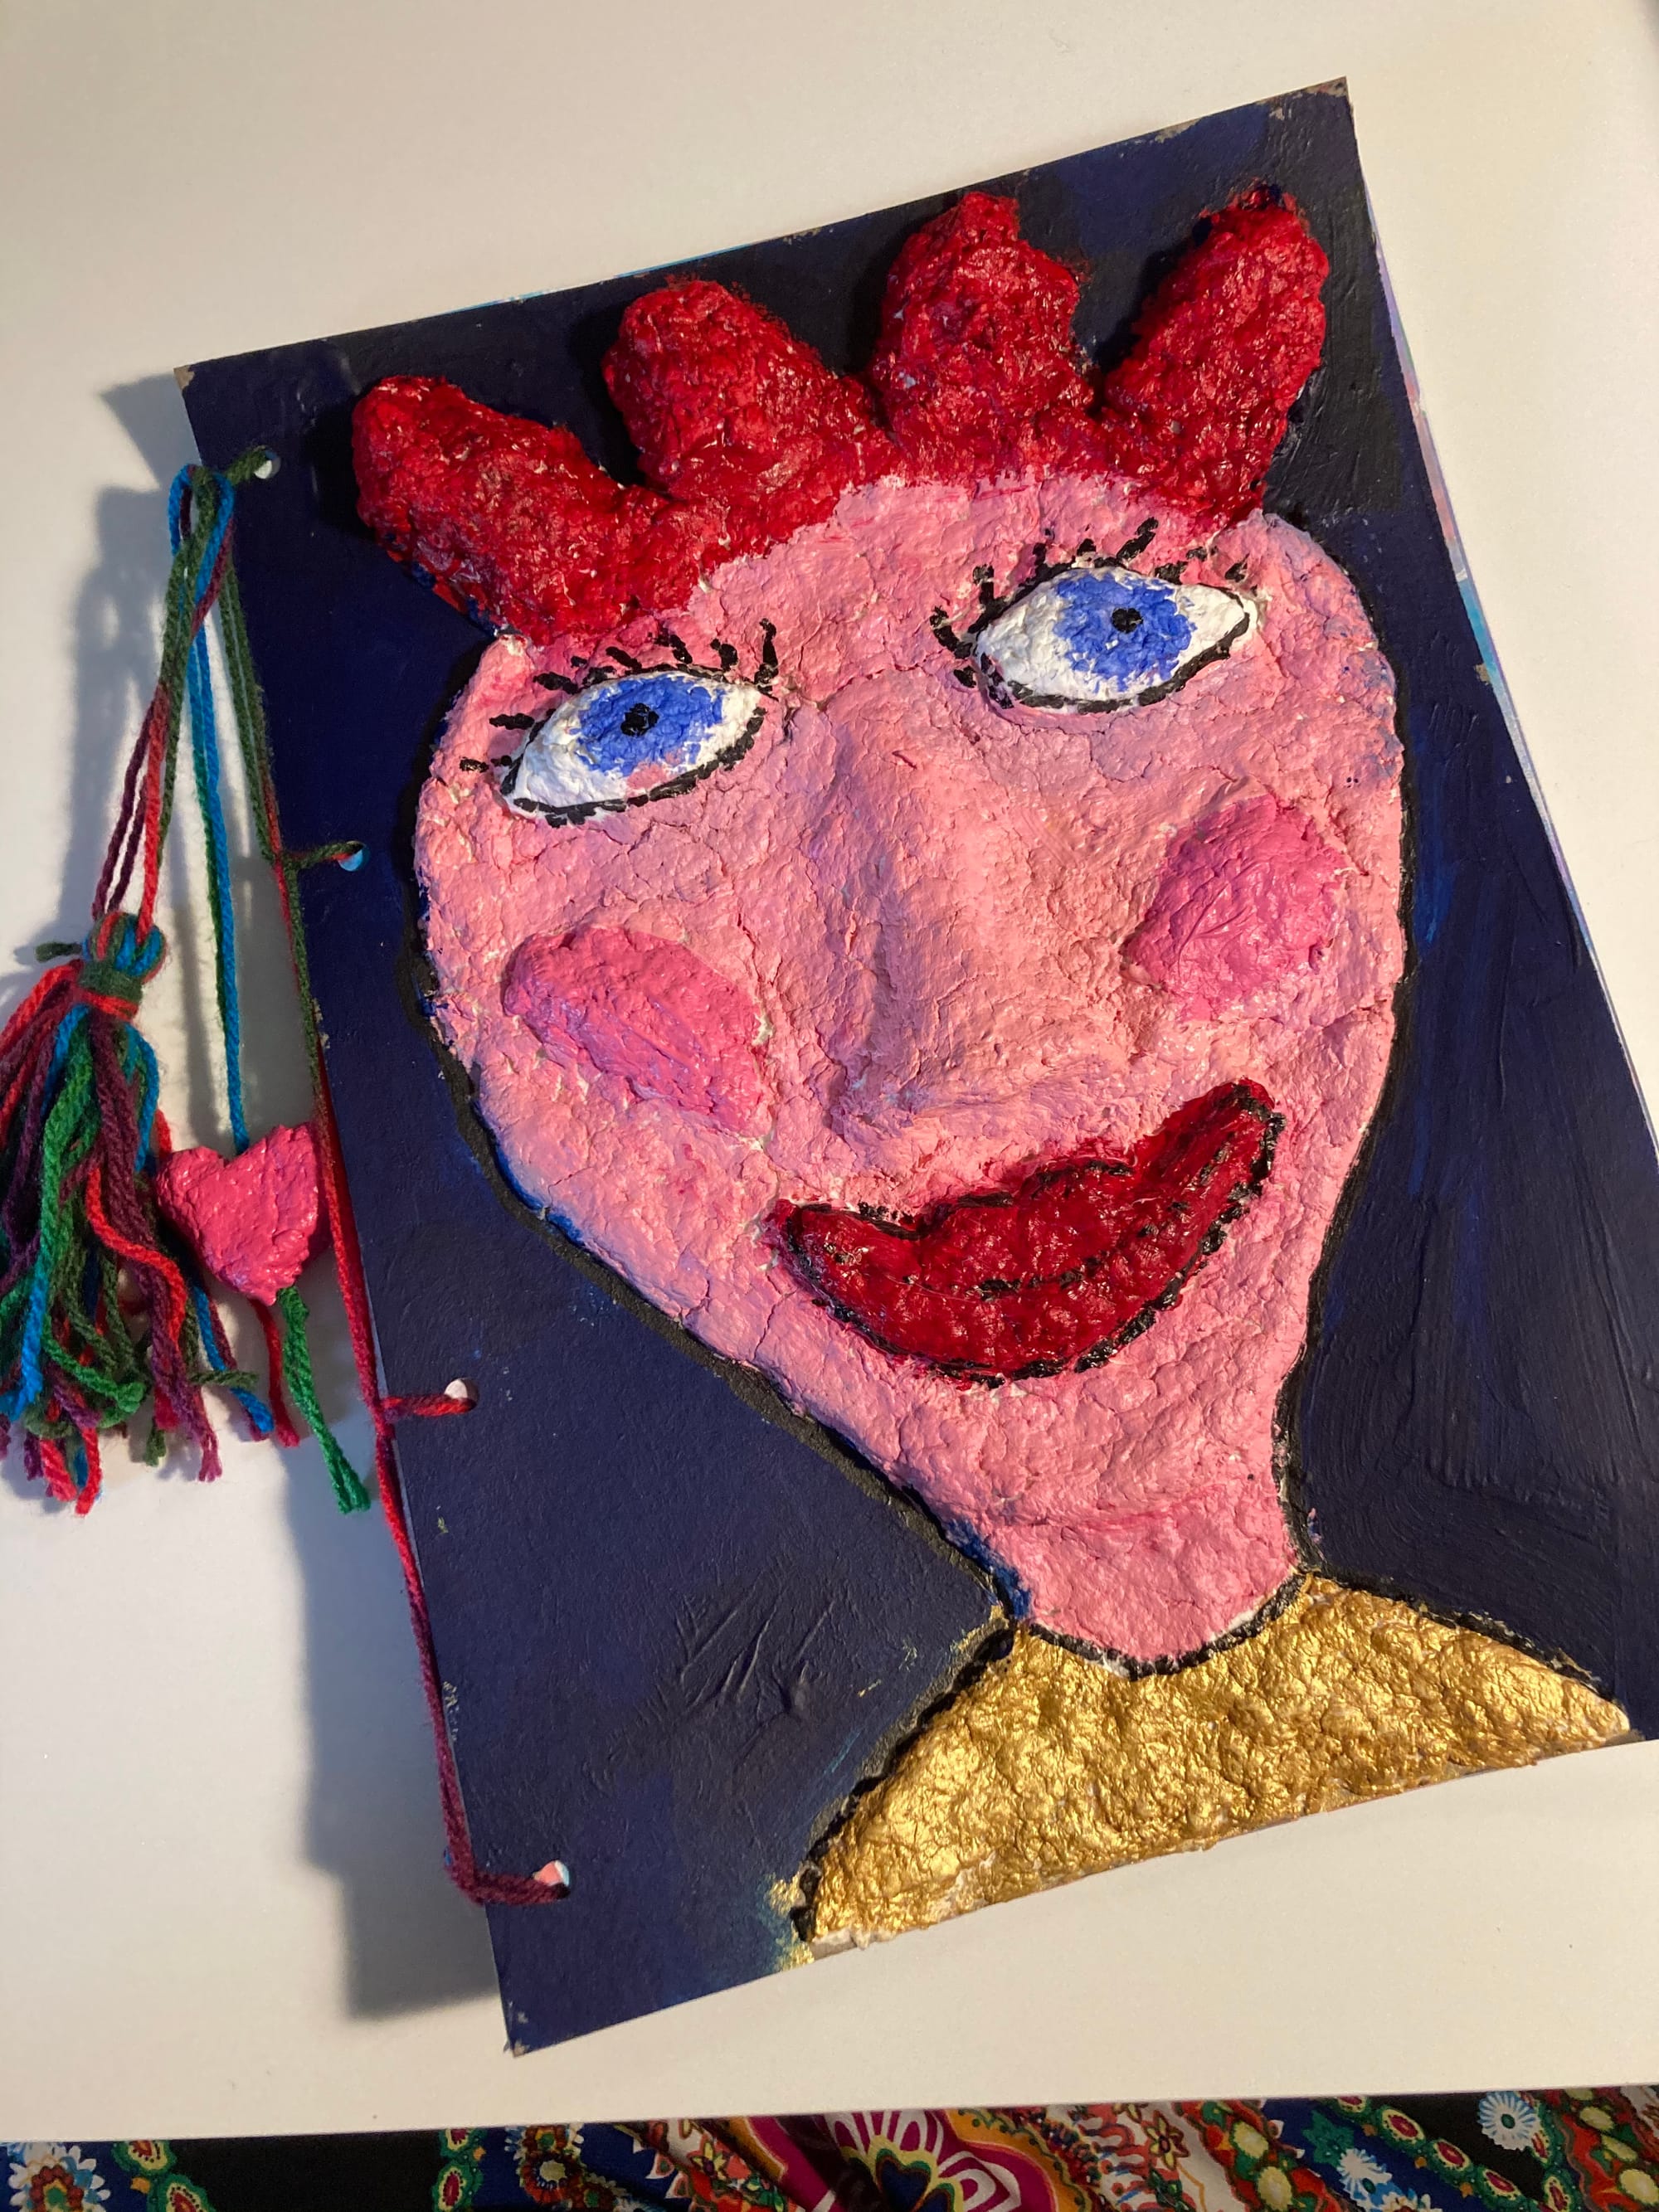
The second self-portrait takes on a more abstract form.
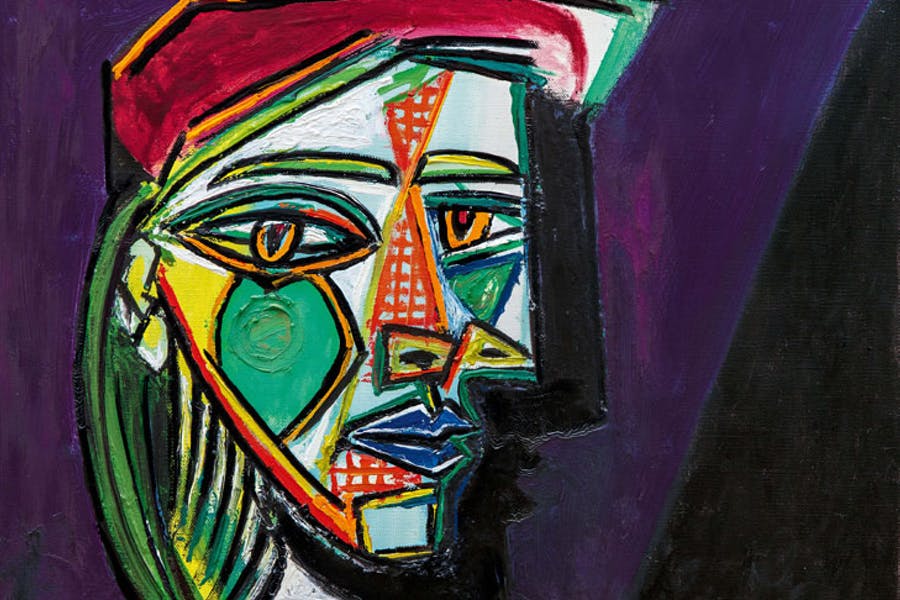
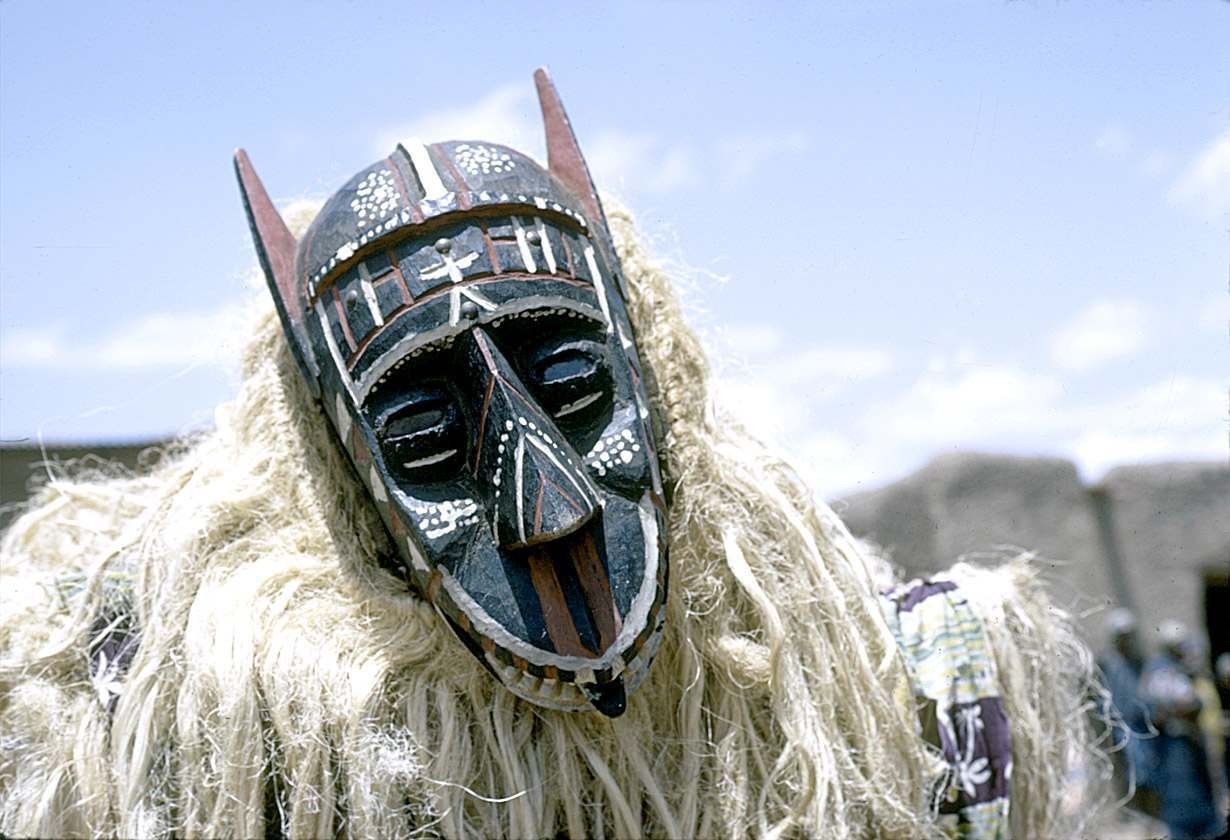
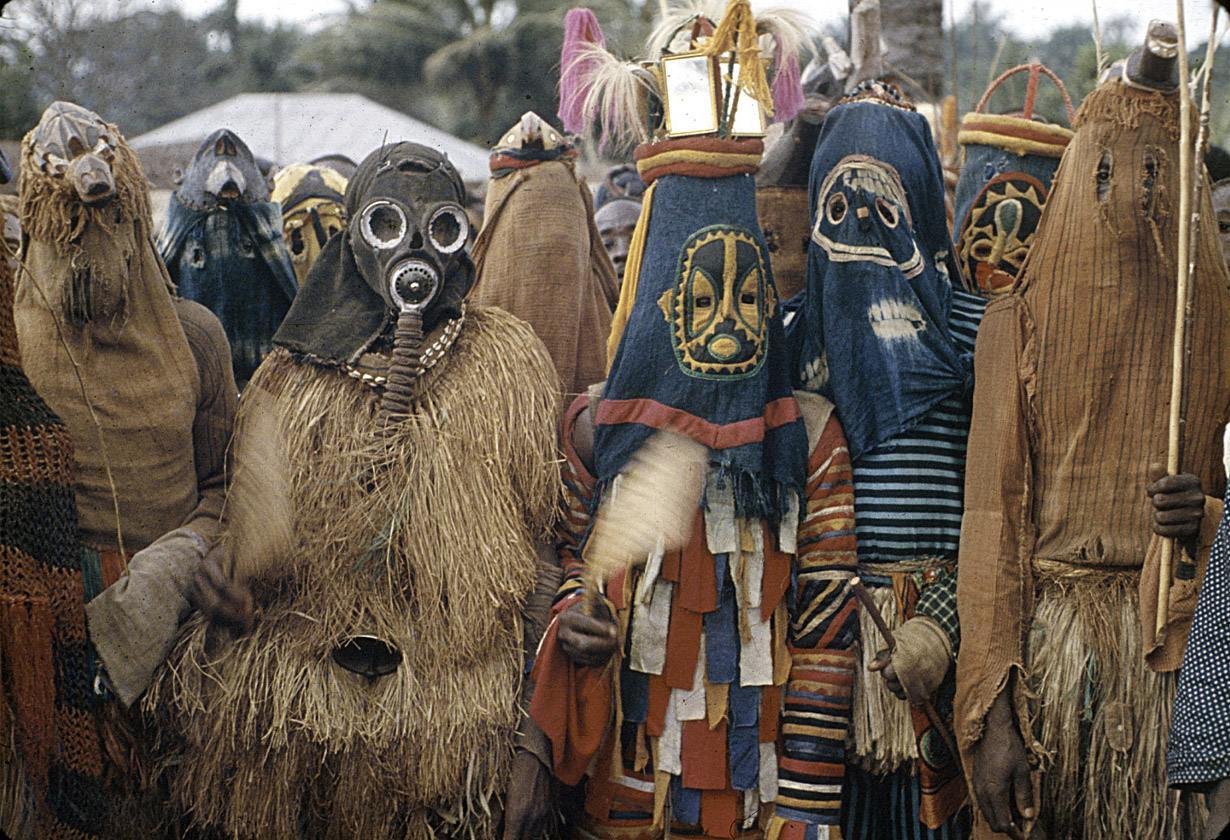
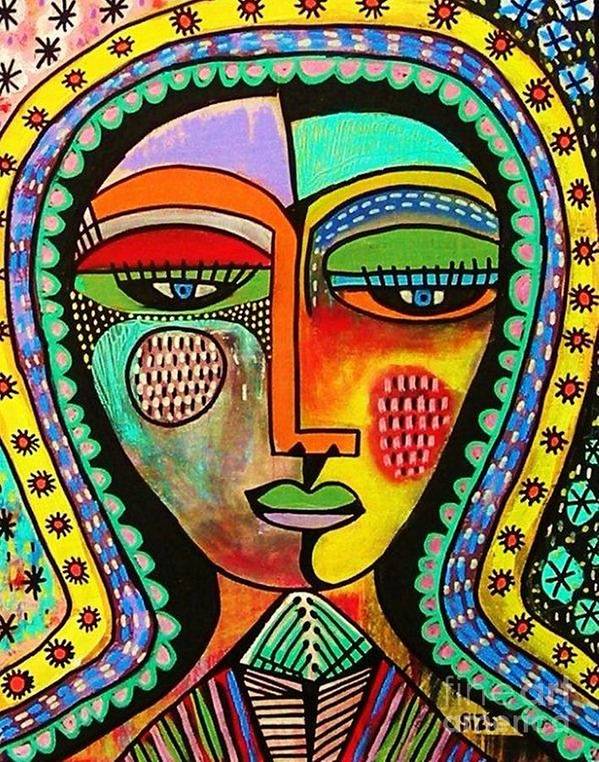
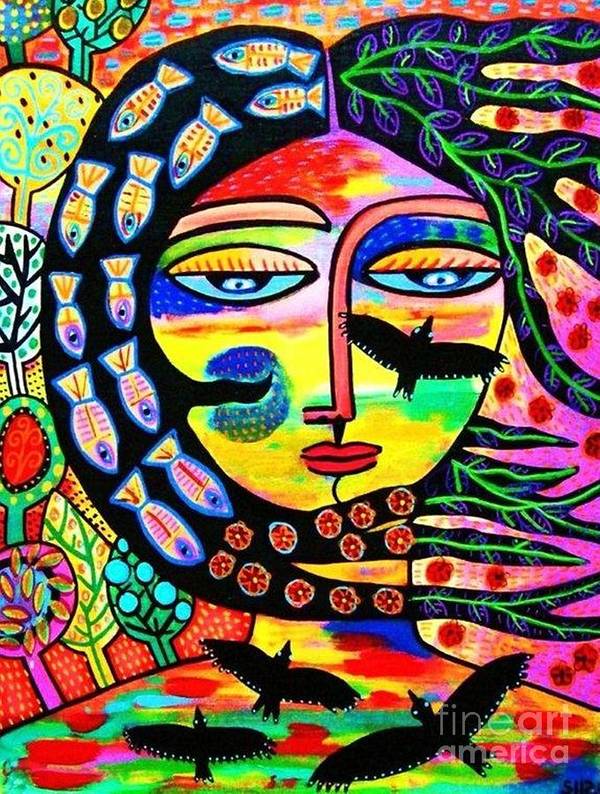
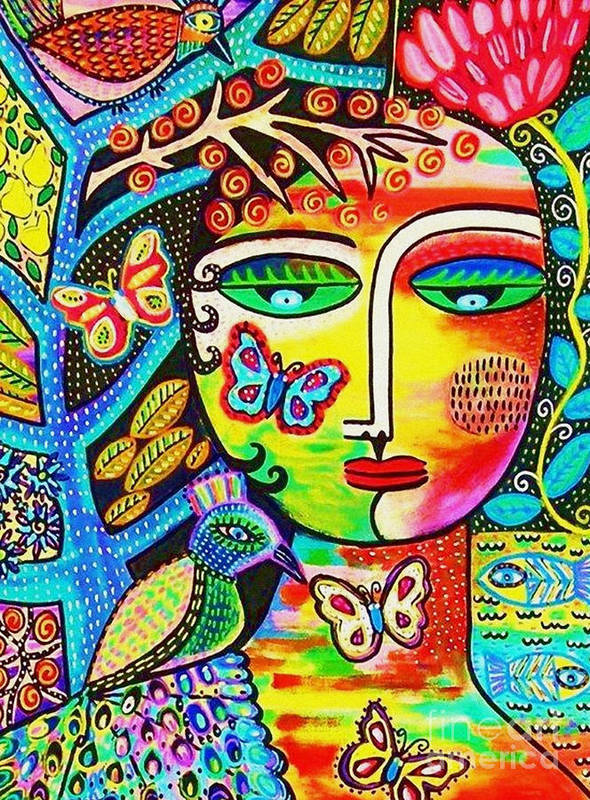
Students are introduced to the portraits of Pablo Picasso and how he was inspired by African masks and Sandra Silberzweig, using this gallery and you can talk about traditional Calavera (sugar skulls) she is inspired by, as well as the information that she has synththesia, which would be familiar to students having previously used the Kandinsky resource.
Looking at both these artists students are asked to respond to the features about what makes the works so interesting, features exaggerated, bright colours, bold black lines etc.
For this portrait students paint of memory and are encouraged add any interesting elements they think might best show who they are.
There are a number of art teacher blogs with lesson plans based on the work of Sandra Siberzweig, Cassie Stephens is a notable one. However, I feel that this way of asking students to work so closely inspired by an artist’s style can be limiting for students and reduce art class to busy work rather than authentic self-expression which is the underlying principle of this unit of work. Of course, the instructional videos can be helpful for teachers unfamiliar with processes.
The following steps are demonstrated by the teacher to the class before students work independently.
To encourage a freedom of self-expression, this self-portrait begins with freehand expressive features being directly drawn on with brush and black ink.
The colours are then filled in between the features by blending oil pastels in analogous colours then adding additional details with dots and dashes.
It may be necessary for students to go over their black lines in black oil pastel if the colours smudge over to much.
Self-portraits
Teacher preparation: This blog post provides some excellent strategies for how to teach a self-portrait class and suggestions for prompting students about what to focus on
How could you do an identity unit without self-portraits?
There are a number of excellent resources regarding self-portraits if time allows (due to an 11-week term or work being finished faster than anticipated) This MOMA resource would be an extremely through introduction for students to compare some of the many styles and reasons for self-portraits although would take some modifying to be completely appropriate to level 5 & 6.
Self-Portrait 1
Supplies
- Previously made marble paper
- Pencils
- Poster Paint
- Paint markers
- Mirrors
The first of two self-portraits is inspired by the work of Howard Finster, an American folk artist who very easily accessible for students due to his somewhat childlike drawing style. Inspired by this resource.
Show students the worked samples in from the and talk about facial shapes and features.
Demonstrate that they are going to do these self-portraits on some of the marbled paper from lesson 4.
Start by drawing in the outline and this painting in with poster paints, in the following lesson they will add outlines, details and most importantly they will write around their portraits about things that make them who they are using permeant/paint markers.
These techniques should be very familiar to students in levels 5 & 6 however discussion time around the style and how it’s not about perfectly drawing themselves is crucial and the text they add helps tell their story.
Students should have a mirror on their table to help them remember what they look like but should also be encouraged to draw from memory if they prefer.
Teacher moves around room providing formative feedback, staying positive and constructive.
Self-Portrait 2
Supplies
- Thin white card or cartridge paper
- Pencils
- Black ink
- Ink brushes
- Oil Pastels
The second self-portrait takes on a more abstract form.
Students are introduced to the portraits of Pablo Picasso and how he was inspired by African masks and Sandra Silberzweig, using this gallery and you can talk about traditional Calavera (sugar skulls) she is inspired by, as well as the information that she has synththesia, which would be familiar to students having previously used the Kandinsky resource.
Looking at both these artists students are asked to respond to the features about what makes the works so interesting, features exaggerated, bright colours, bold black lines etc.
For this portrait students paint of memory and are encouraged add any interesting elements they think might best show who they are.
There are a number of art teacher blogs with lesson plans based on the work of Sandra Siberzweig, Cassie Stephens is a notable one. However, I feel that this way of asking students to work so closely inspired by an artist’s style can be limiting for students and reduce art class to busy work rather than authentic self-expression which is the underlying principle of this unit of work. Of course, the instructional videos can be helpful for teachers unfamiliar with processes.
The following steps are demonstrated by the teacher to the class before students work independently.
To encourage a freedom of self-expression, this self-portrait begins with freehand expressive features being directly drawn on with brush and black ink.
The colours are then filled in between the features by blending oil pastels in analogous colours then adding additional details with dots and dashes.
It may be necessary for students to go over their black lines in black oil pastel if the colours smudge over to much.
Portrait - Gallery


Lesson 10
Lesson 9
Is set aside for students for finishes touches and completion or catch up on any of the work thus far.
Lesson 10
Bind the book
Supplies:
- Hole punches
- Tissue Paper
- Additional Papers
- Hinged rings
The lesson begin with a class discussion of all the work that they have produced over the course of the term and how the students are feeling about their identity.
Whilst there are many binding processes that would work for the My Story books most of them create a permeant bind that finish a book. However, to symbolise that we never really finishing making our identity and to allow for more pages to be added to the book, for instance additional artwork produced throughout the year or if students want to use it as a journal.
The book will be bound with a simple hinged ring that can be opened and closed anytime.
The sample books shown here were bound with keyrings and handsewn with wool due to product availability during lockdown. Some students may require an extension to the lesson in which case they sew their books using a simple blanket stitch.
Then all pages are collected in the appropriate order, the students favourite marble pages act as end papers.
Tissue paper maybe layered in before artworks, the oil pastel portrait in paritcular to prevent accidental transfer, also provides a very ‘artist’ feel. Students are free to add a few additional sheets to act as journal pages as well.
When in the desired order the pages are straightened by tapping on the table then temporarily held together with binder clips along the top and bottom edges.
Then 4 holes are made using a regular hole punch, they may need to be done it sections depending on strength of hole punch.
The position for the holes is then marked on the cover pieces and they are made.
All the pages and covers are then piled together, and the rings are placed through the holes and closed.
Then ribbon/string/wool can be tied to the top ring to act as a bookmark and beads/charms or further embellishments may be added.
When all students have completed their books, a final gallery walk followed by a class discussion is held.
Binding - Gallery


Marble - Gallery


Inspiration - Gallery